Dapol Intercity 08570
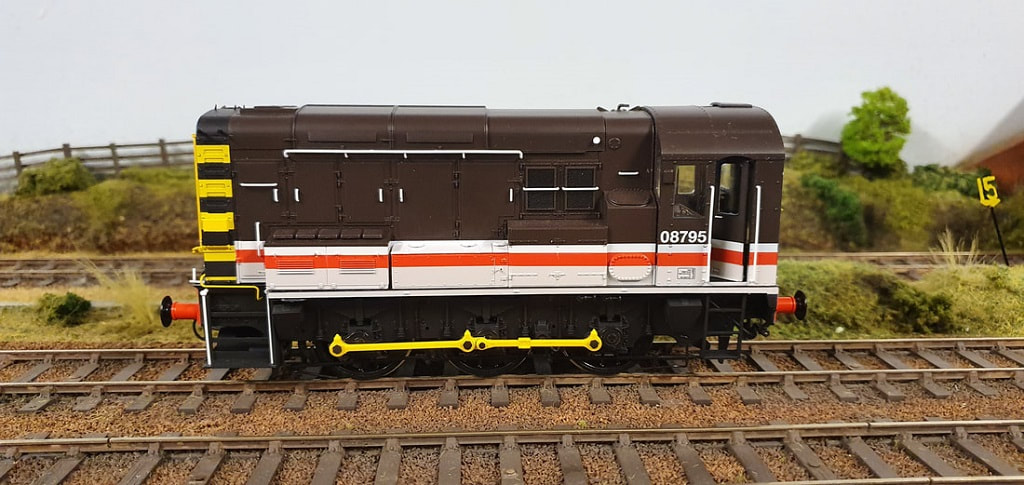
I’ve been looking out for a Dapol 08 for a while, preferably a blue one to become part of a speed-link train being moved between Yard/Depot for maintenance, so keeping my eye out for a ‘second’! Earlier this year I managed to acquire a ‘second’ Dapol 08795 in Intercity. This was an ideal buy although the wrong livery! Looking at it all I could find up with it was a missing door and that someone had messed up attempting to re-number it. Clearly in far too good a condition to be stripped down and de-motored.
|
So now that it was clear it was in too good a condition to strip, what do I do with it? I have no real need for an 08 as I have no interest in ‘shunting’ layouts. A trawl of the intercity 08’s on flickr.com lead to a potential candidate that would at least fit with my ScR area of operation. 08570 being a Haymarket loco and regular Waverly Pilot mainly used for shunting motorail vans & sleeper portions was the perfect candidate. Now, let me be quite clear, this will not be a 100% accurate model. I will change what I can with relative ease, but there are a few bits that I am not going to entertain otherwise it will need a full re-paint anyway so I don’t see the point. 08570 should have wooden doors, this version comes with the later metal doors, as there is one missing I will at some point likely get a set of wooden doors and re-paint them, or I may just replace with a set of Intercity one and ignore the fact, 08’s are not really my thing! The other thing that will not get done is the Dapol Intercity 08 comes with vertical angles on the cab front, again, 08570 does not have these and the faff of removing them and re-painting the wasp stripes is a step too far! The rest of the work involves some minor re-painting, transfers and sound fitting.
|
|
Re-painting
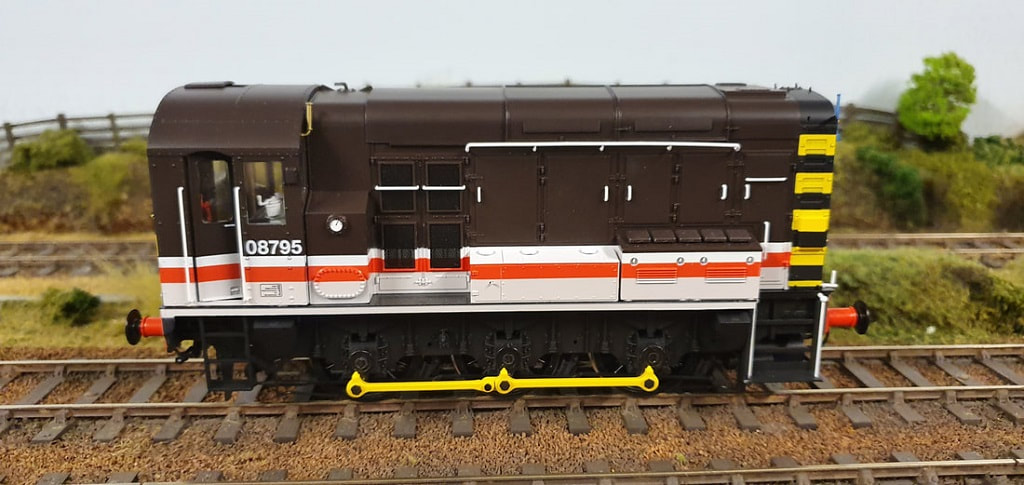
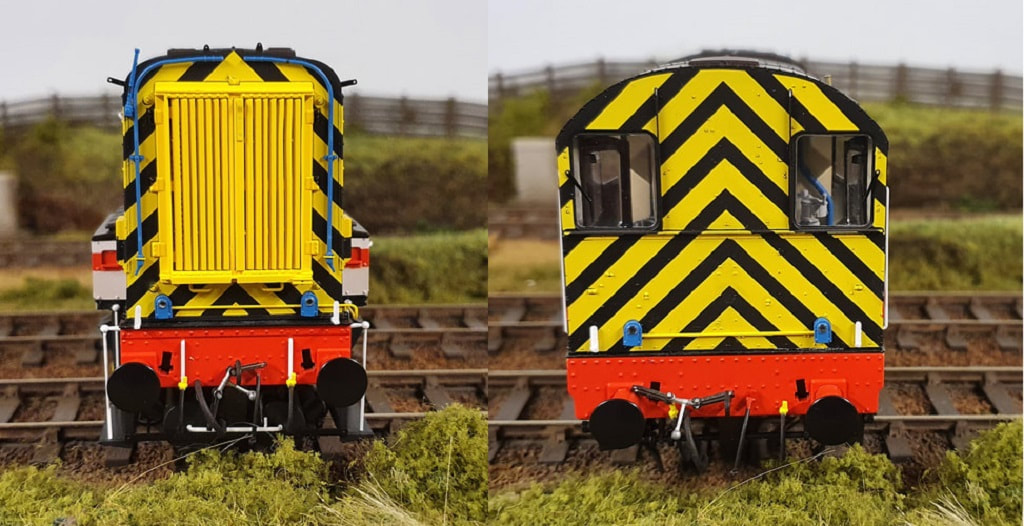
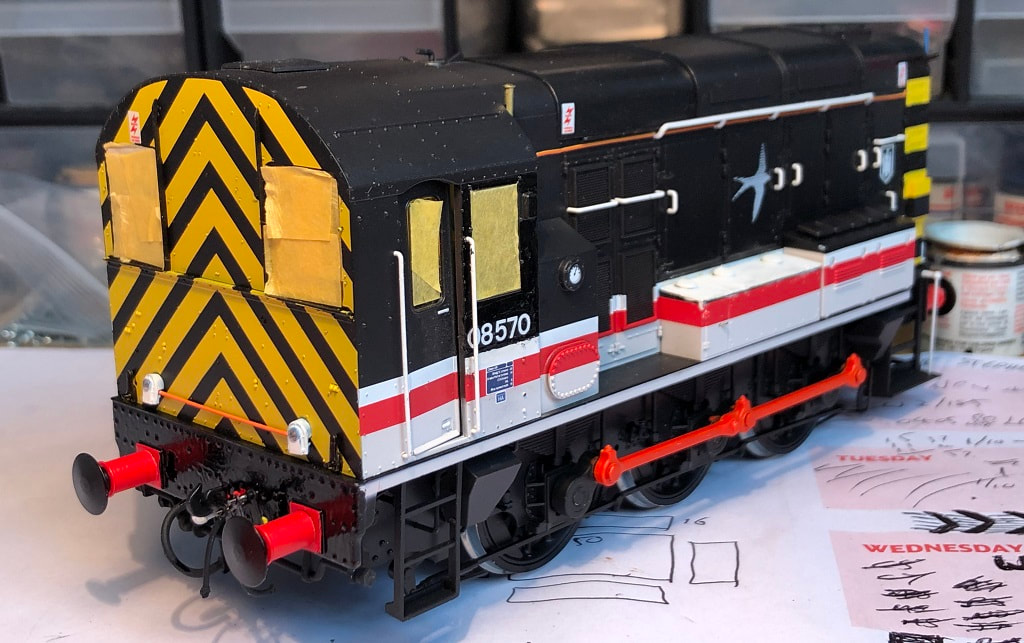
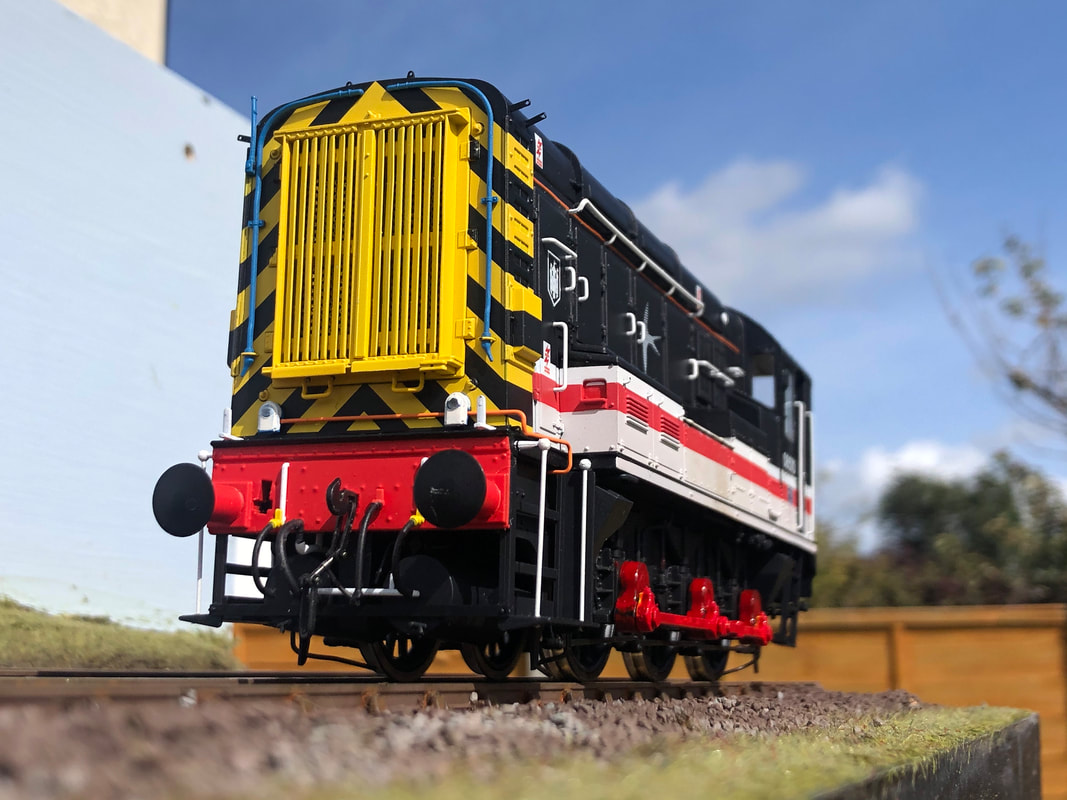
The livery applied to the Dapol 08 is very good, but there are a few bits where 08570 differed from 08795. The most obvious of this is the red connecting rods & the black buffer beam on the cab end. The cab end buffer beam was simply painted with a basic Humbrol Matt Black paint avoiding the buffer shanks which remained red and the connecting rods being re-painted with Humbrol 228 (again an in-stock paint that will be toned down when weathered). Less obvious are the marker lights which should be white on the nose and on the cab end white with a black stripe underneath. Lastly the battery boxes on the solebar should be the same shade of white as the stripe which runs through them. I’ve not got the correct white to hand, but again a basic Humbrol white will suffice as once complete this loco will get a judicious coating of grime.
Before this became a ‘second’ the previous owner has clearly attempted to remove the original numbers and patch repainted where the number had been. With a small piece of 400 grit wet and dry I gently rubbed away the paint, this left what was left of the original number and the tell tail signs of the paint being rubbed through. I continued two work away with the wet & dry until I had removed what was left of the number. Again, I have not got the correct colour to patch paint but hopefully a plain black will suffice, we will see.
Before this became a ‘second’ the previous owner has clearly attempted to remove the original numbers and patch repainted where the number had been. With a small piece of 400 grit wet and dry I gently rubbed away the paint, this left what was left of the original number and the tell tail signs of the paint being rubbed through. I continued two work away with the wet & dry until I had removed what was left of the number. Again, I have not got the correct colour to patch paint but hopefully a plain black will suffice, we will see.
Transfers
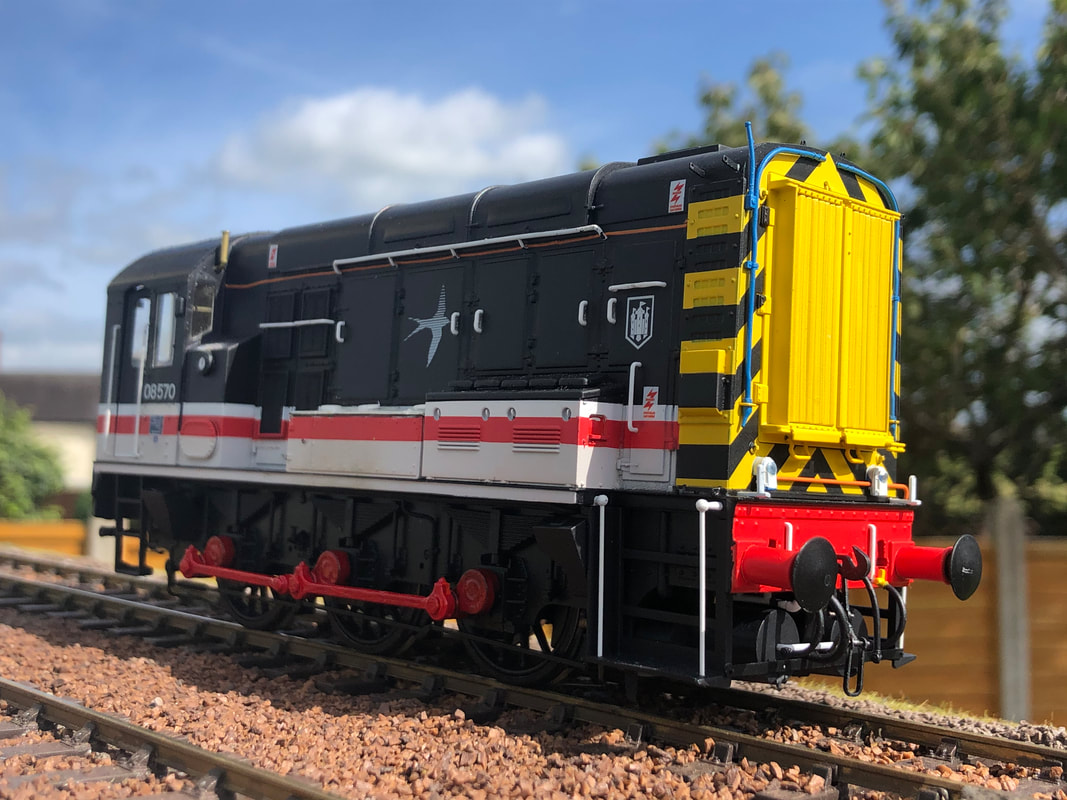
Most of the bodywork which needs transfers is relatively easily accessible, but 08570 has orange cant rail stripes running above the bodyside handrail, so these were gently removed to be refitted later. Given Dapol’s paint finish is pretty good I then set about with some cotton buds and a bottle of Klear floor polish. Initially I only planned on polishing up where the transfers will go, but ended up polishing all the dark grey to give it a uniform finish.
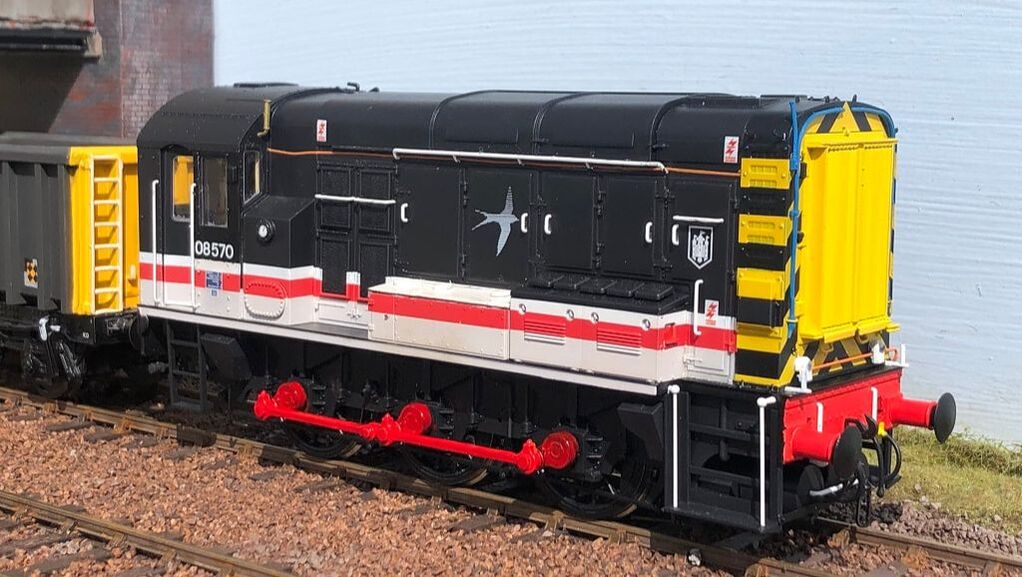
Transfers from Railtec have been applied using numerous prototype pictures to ensure as near as possible they are in the right place. Once dry I masked the windows and underframe with masking tape and gave the whole loco a couple of coats of Windsor & Newton matt artist varnish.
Eventually this loco will pass through the weathering workshop.
|
|
Sound fitting
As this is intended to be a relatively cheap build, I am not going all out with a sound chip. I have read varying report’s that Hornby’s TTS sound chips are actually pretty good so this will an experiment as much as anything else. The TTS chip has an 8 pin plug attached, but the Dapol 08’s come with a 21 pin socket. This is easily solved with an 8>21 pin adapter, I found one on ebay for about £4 including postage. With the roof of the body removed it is simply a case of removing the blanking plate and replacing this with the 8>21 pin adapter, then plugging in the TTS chip. I knew that the speaker that came with the TTS chip would be somewhat weak, but before replacing this it is worth checking that the chip works. A short length of track and my Lenz controller to hand it duly burst into life and happily moved forward and back. There are some limitations of the chip in combination with the way that the Dapol 08 is wired, this means that I only have directional lights on one end which swap between red/white depending on direction of travel. At some point I will re-wire it with a constant red/white combination at each end. Don’t forget this chip is really designed to be used in Hornby’s OO 08!
|
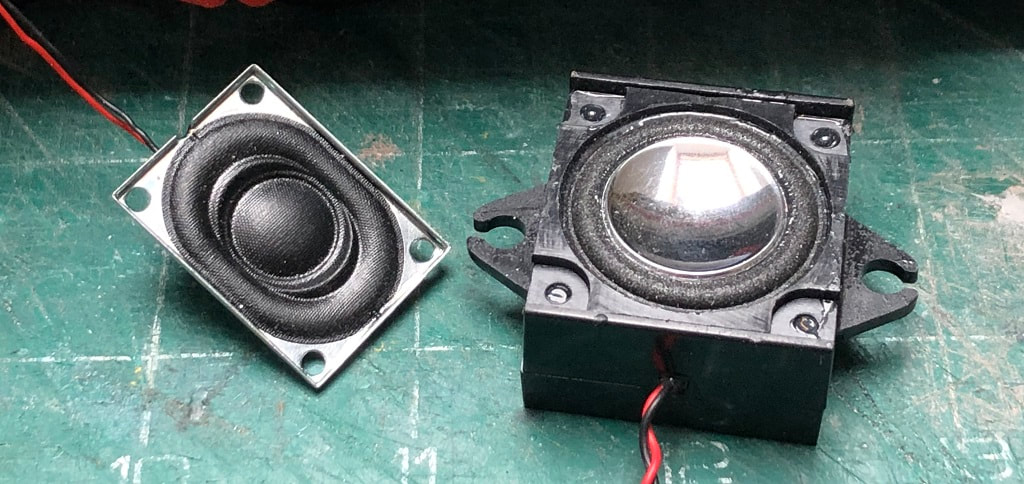
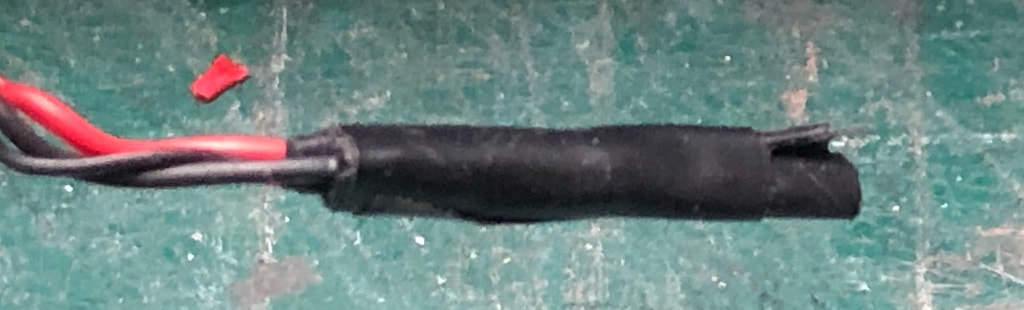
Back to the speaker, when I bought the chip, I got an alternative speaker at the same time knowing that the Hornby one isn’t great (28x32x15mm Megabass 8ohm speaker from Roads & Rails). This is simply a case of nipping the wires off the old speaker and soldering the new one on. Once securely soldered I wrapped each lead with insulating tape, then taped them together. I cut the mountings off each side of the speaker so it would easily slide into the cavity face up behind the front grill. This was tacked in place with a small amount of blu-tac. The roof re-fitted and we have a sound fitted 08 at the fraction of the cost of a large ESU or Zimo speaker.
|
|

In conclusion this has been an enjoyable little project to add a relatively cheap addition to the fleet. Yes the TTS chip has its limitations, but for a loco which will spend most of its life pottering around either on shed or within station limits ticking over to itself, I can certainly live with it. It’s not like it’s is going to be hauling heavy freight or class 1 passenger trains down the mainline.
|

|
08912
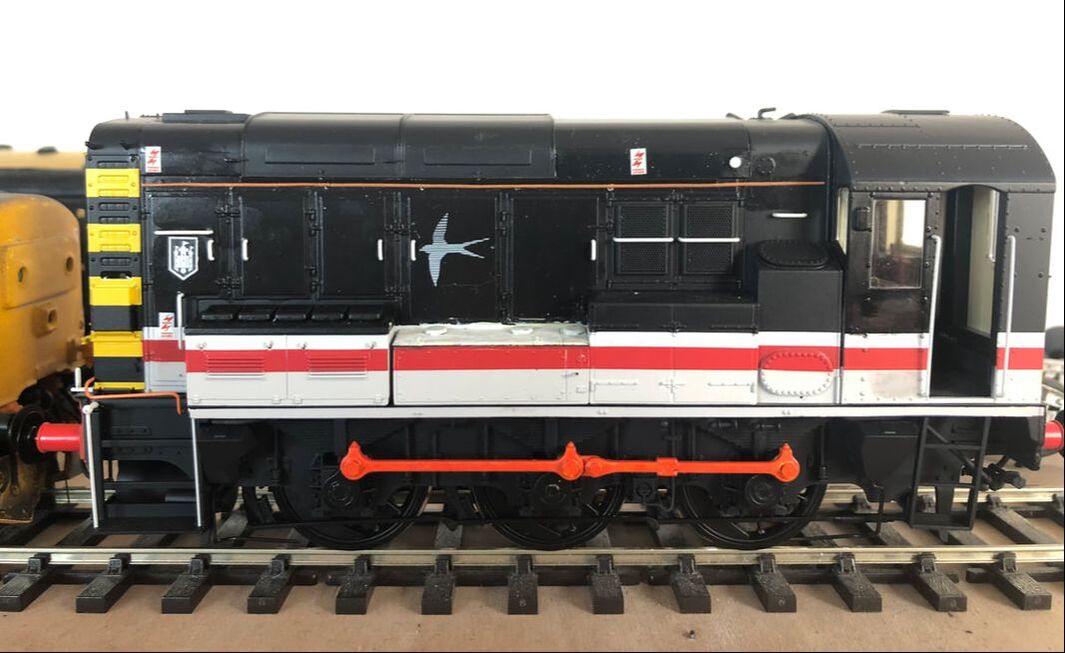
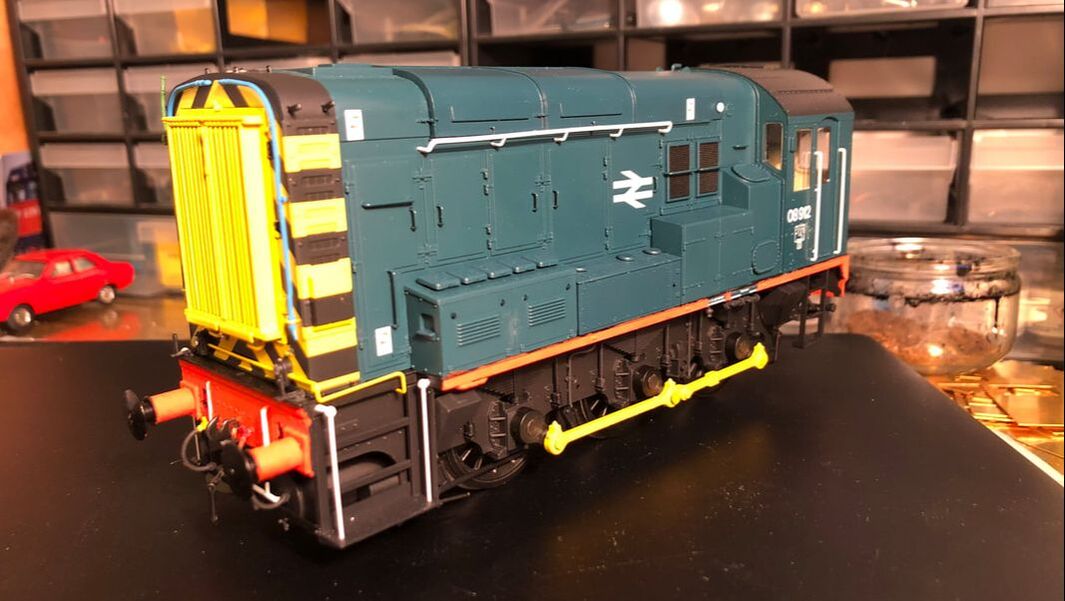
OK, so 08570 wasn't the end of my 08 dabbling. With the amount of wagons I seem to be building, and a new shed thoughts had already turned to building a small layout based on a WRD, then one Sunday morning trawling the internet I found another Dapol second from DDC supplies, I really wasn't looking for another one honest. Again, too good just to strip for my speed-link train but this time BR blue. The only issues with this loco appears to be a missing Vac & Air pipe (air pipe was broken off but in the box) and the life guard's underneath broken off, not that you will see these when running. Now what to do with it? A number of evenings trawling Flickr and Carlisle's 08912 appeared to be a suitable candidate.
A quick and easy job, this will either end up with a similar sound set up to the above or I have some V4 chips out of OO loco's which may get re-blown. Work consisted of repainting the buffer beams and sole bar's rail match Rail Red (204) and new numbers from Railtec. This model carriers the 'IS' depot identity which should really be 'CL' but I am really not that bothered and it will get covered in dirt.
A quick and easy job, this will either end up with a similar sound set up to the above or I have some V4 chips out of OO loco's which may get re-blown. Work consisted of repainting the buffer beams and sole bar's rail match Rail Red (204) and new numbers from Railtec. This model carriers the 'IS' depot identity which should really be 'CL' but I am really not that bothered and it will get covered in dirt.

|
|
Both loco's were subsequently tripped over to Cam's workshop for a liberal dose of dirt. 08570 fairly light but 08912 more workworn.
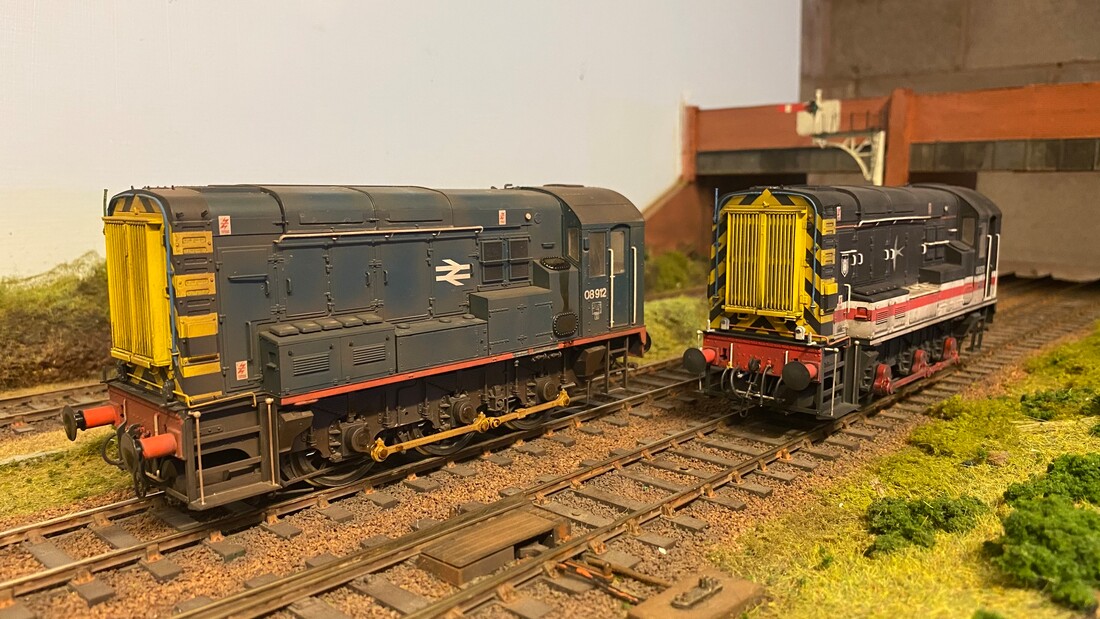
And then there were three. There may well be a further addition to this page as I have just ended up with one of the early release loco's. There is a plan so watch this space.