Since I started tinkering in 7mm scale I’ve wanted a few VGA’s. I have always thought them quite a striking wagon especially when clean in the 80’s & 90’s along side older vehicles. The lack of RTR led me down the line of kits which in turn led me to the GJH resin and PRMRP brass representations. Now as much as I can put brass together, I am not the most confident with soldering iron so I was left with the option of the GJH model. I had seen a number of models built but wasn’t overly impressed, now this could have been down to the builder or the kit but alas at the time I wasn’t prepared to purchase a kit that I wasn’t sure about or seen in the flesh. Some time past and there was talk of a new resin kit from another manufacturer, now this has already taken some time and has yet to materialise but the person doing the cad work also sells 3D prints so an order was duly placed. Another period of time passed and for various reasons the 3D prints hadn’t materialised and I needed some buffers and bits from Graham at GJH so gave him a bell, while on the phone asked what kits he had in stock and the VGA was one of them which he mentioned had been updated. So I thought I would give it a go and see how I got on. The 3D printed version has since materialised but its place in the production line has been superseded by other things for now.
Out of the Box
|
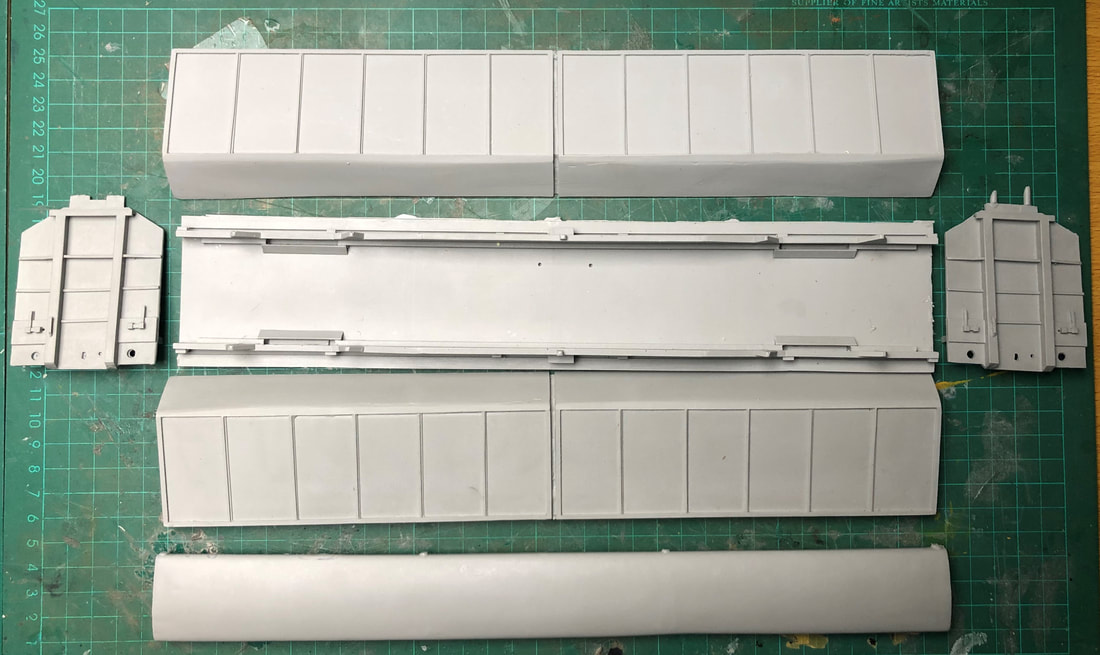
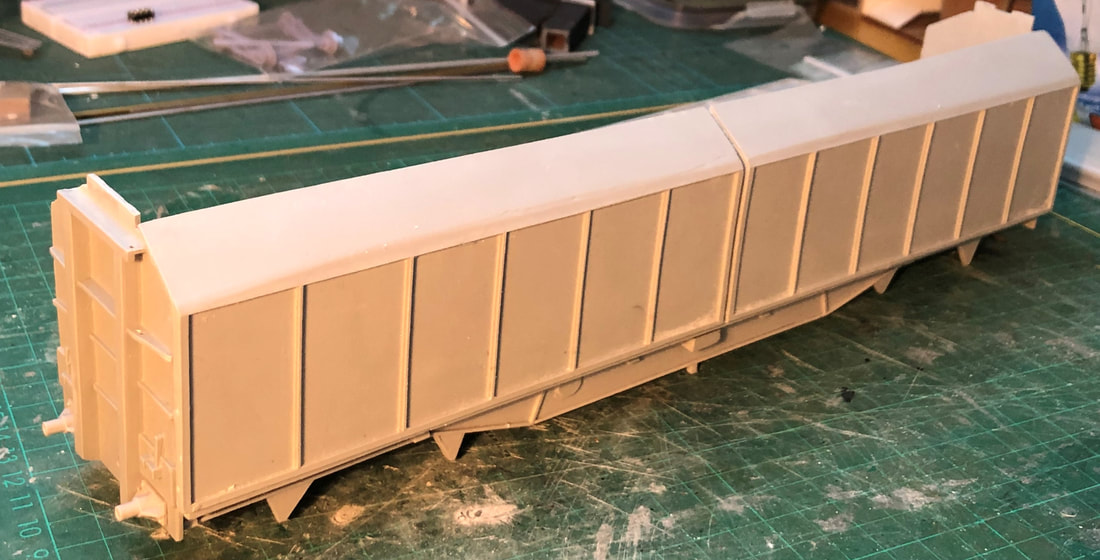
The GJH kit is made up of a ‘box’ of resin parts consisting of chassis, sides, ends and roof, six parts in total. Accompanying the resin body are white metal axle boxes, buffers, couplings and other underframe parts. All that is needed to complete are wheels, paint & transfers.
|
|

Body
|
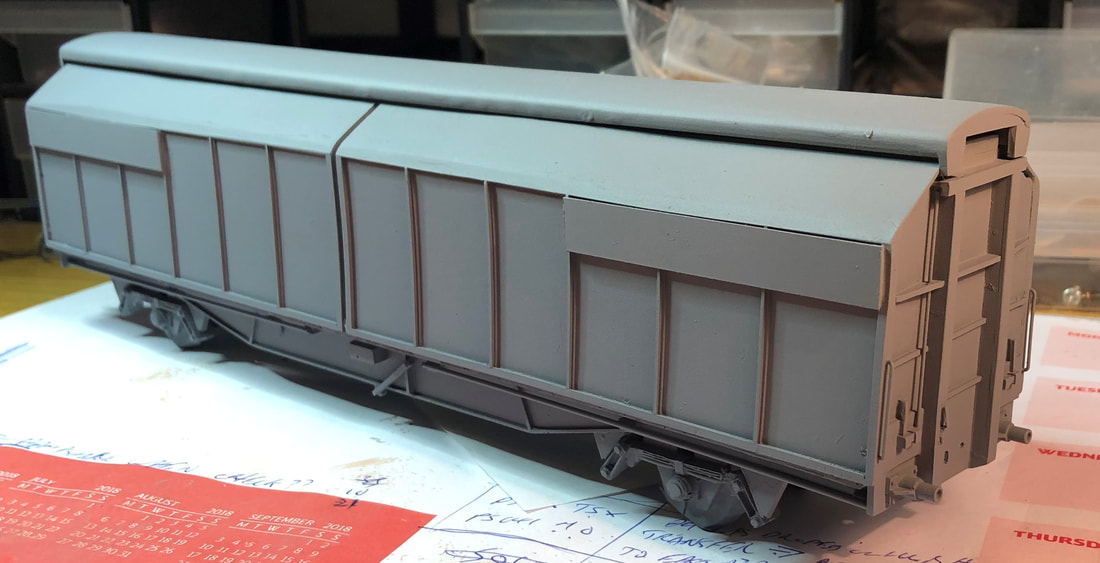
On first inspection the castings look nice and crisp however I found an issue with the roof which had quite a large bubble in the resin, on first glance it looked fine so I could see why it hadn’t been picked up when packing. Out with the files and it was tidied back to a squarer hole and filled with an off cut of plastic rod and fillers, once dry, filed and sanded back to shape. I needed to do this a couple of times to get a smooth surface. Although as mentioned the castings are nice and crisp on the outside there is a fair bit of work to do on the backs of the sides in particular to get a nice tight joint. A lot of trial and filing is required here, but working with resin it’s not particularly hard, just a little time consuming. This was meant to be a quick fill in job to re-gain some motivation so I probably should have spent more time on this than I did. If i do some more I will spend more time on this stage and hopefully get a better finish.
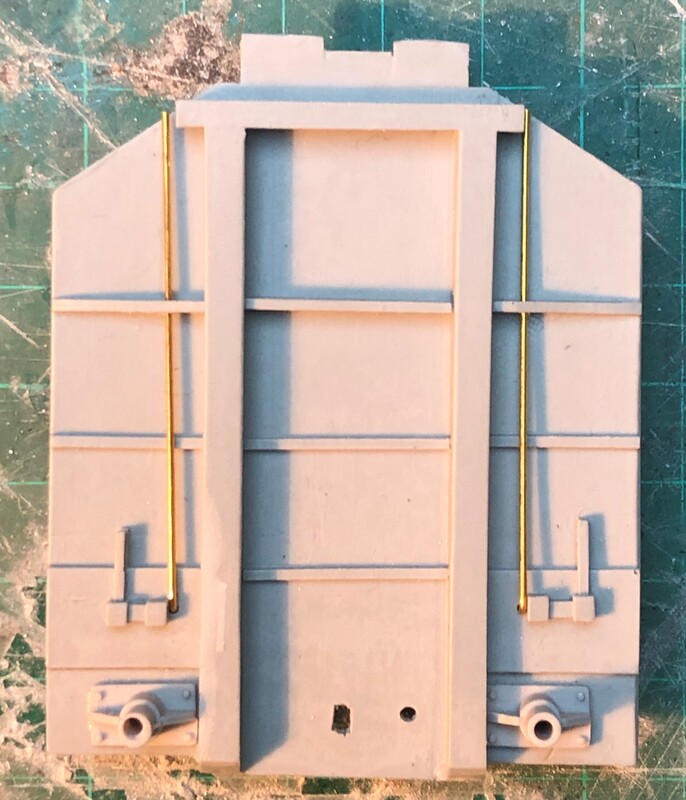
At this point I fitted the buffer housings and brass wire to the ends then offered them up to the chassis, first gluing one end with Cyano then the opposite end with the roof fitted loosely to hold. |
|
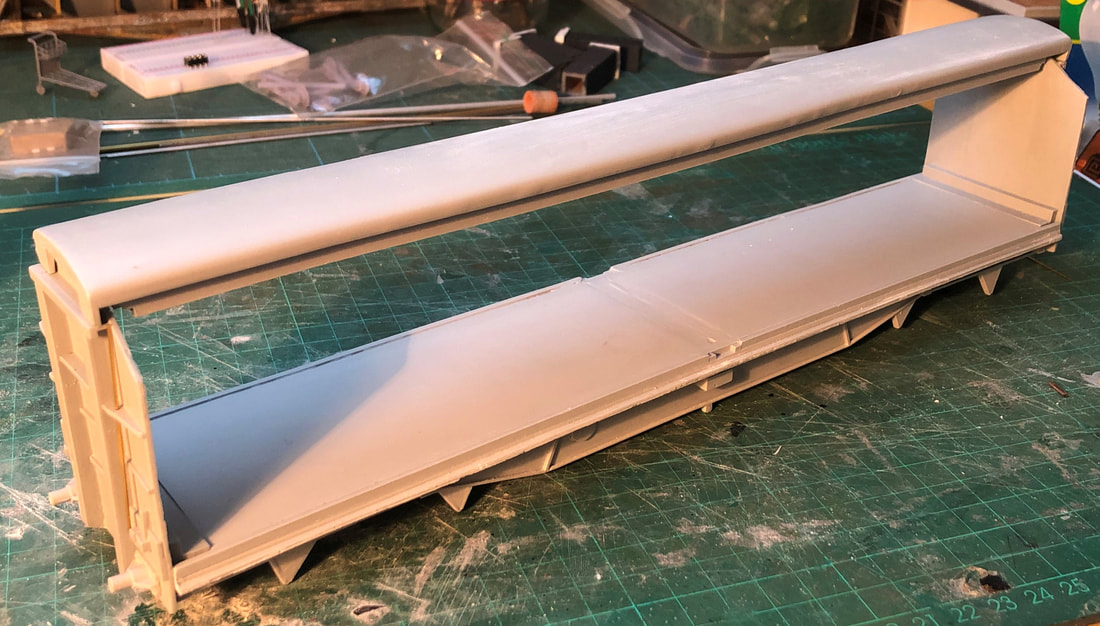
Next it was time to fit the sides, still not 100% happy with them it was again time to offer up/file/sand/repeat a few times before I was happy with them. Again, one side glued on, the roof temporarily added then repeated for the opposite side. Lastly gluing the roof in place. This is quite a imposing wagon for a four wheeler, and it size quickly becomes apparent. The side rods and hand brake levers can now be trimmed to size and attached.
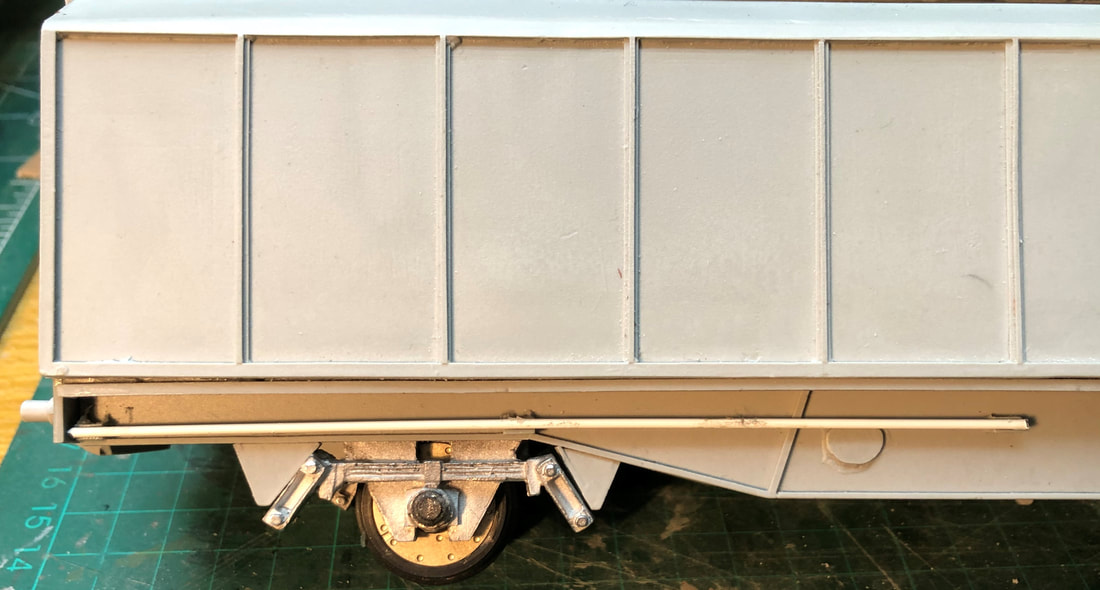
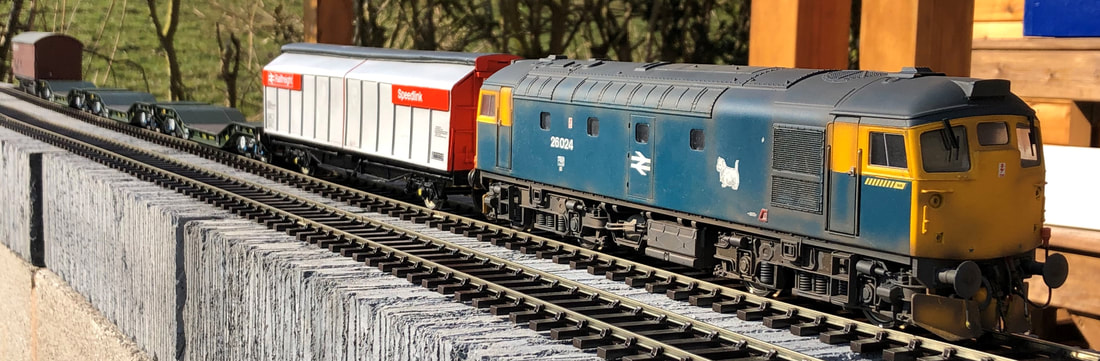
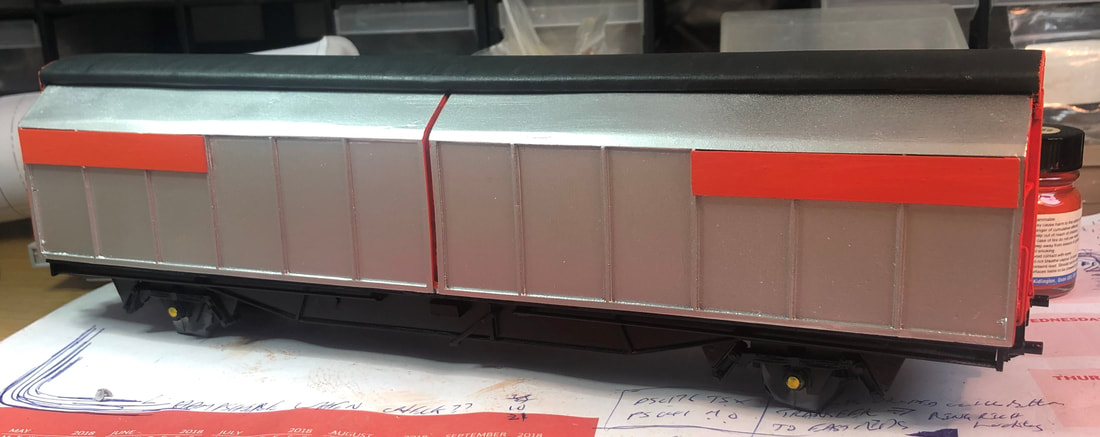
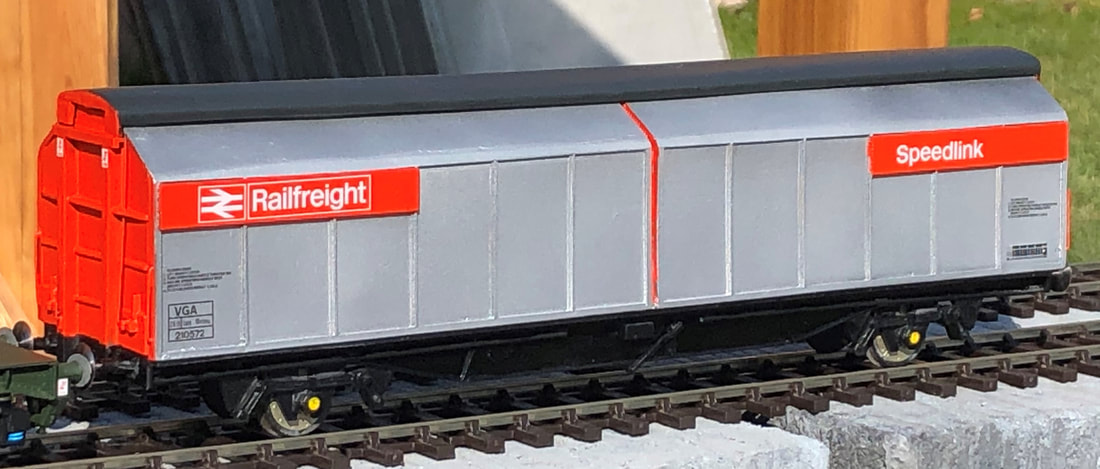
The one thing missing from the kit are the large boards which carried the ‘Railfreight’ and ‘Speedlink’ logos when these wagons were first introduced, these are simply fabricated from an off cut of plasticard sheet. These should cover three panels in total. By a combination of measuring a Bachman 4mm wagon & scaling up, the transfers and the GJH wagon I came to a size of 76mm x 11mm.

Underframe
|
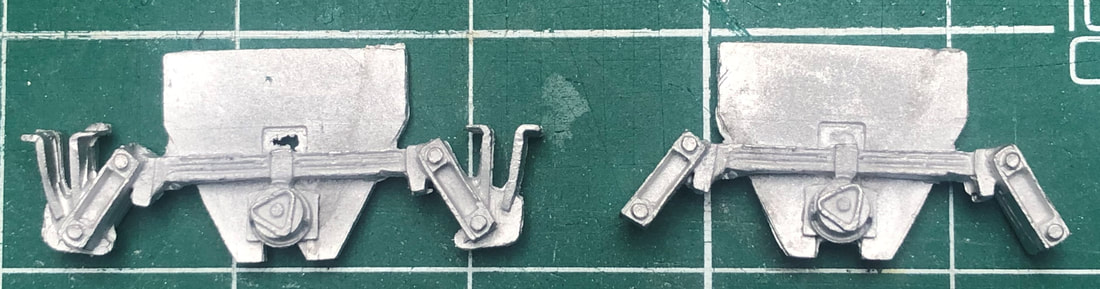
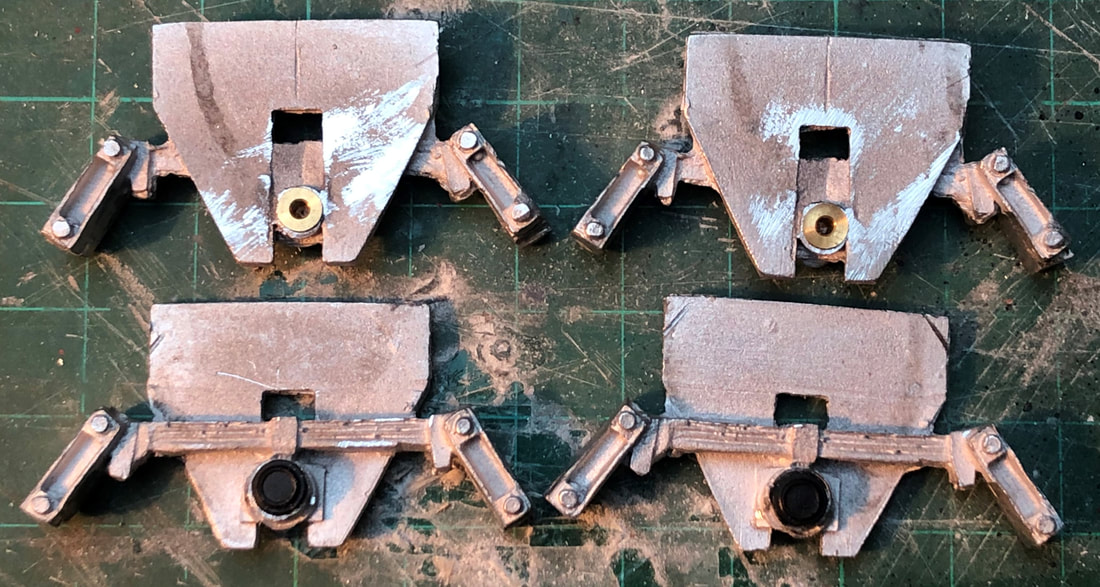
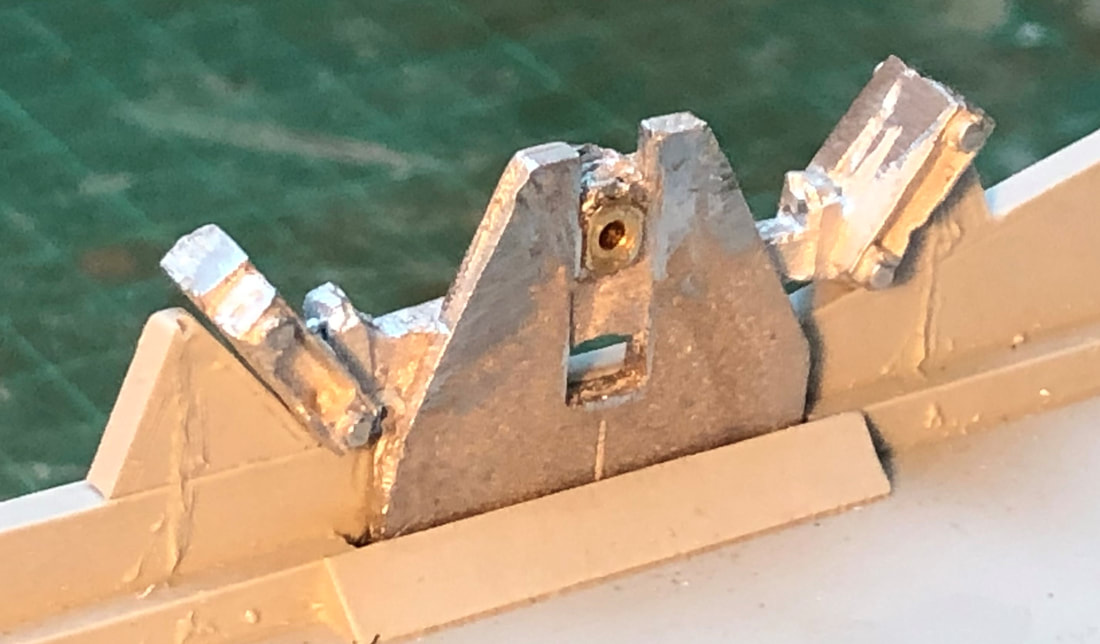
The axle boxes supplied with the kit need some trimming and tidying up, you’ll see the mountings on both sides of the axle boxes bellow need trimming off with a razor saw and filing back. The axle boxes should then drop into the slots on the underside of the chassis. While doing this I noticed that the axle box covers are wrong for a VGA so off to the spare parts box and I found a set of spare plain round axle box covers. The original axle boxes were carefully filed off and new ones glued on. Here I made a bit of a mistake, I should have fitted the bearings first! I have used Peartree wheels on this kit and they are supplied with suitable bearing, after drilling out the back of the axle boxes I fitted the bearings then trialled them in the chassis with a wheel set to make sure they turned freely. They didn’t. So, after removing the bearings I drilled further into the axle box, yes you guessed it, I went straight through a couple of axle box covers! Thankfully I had a couple more.
|
|
|
|
|
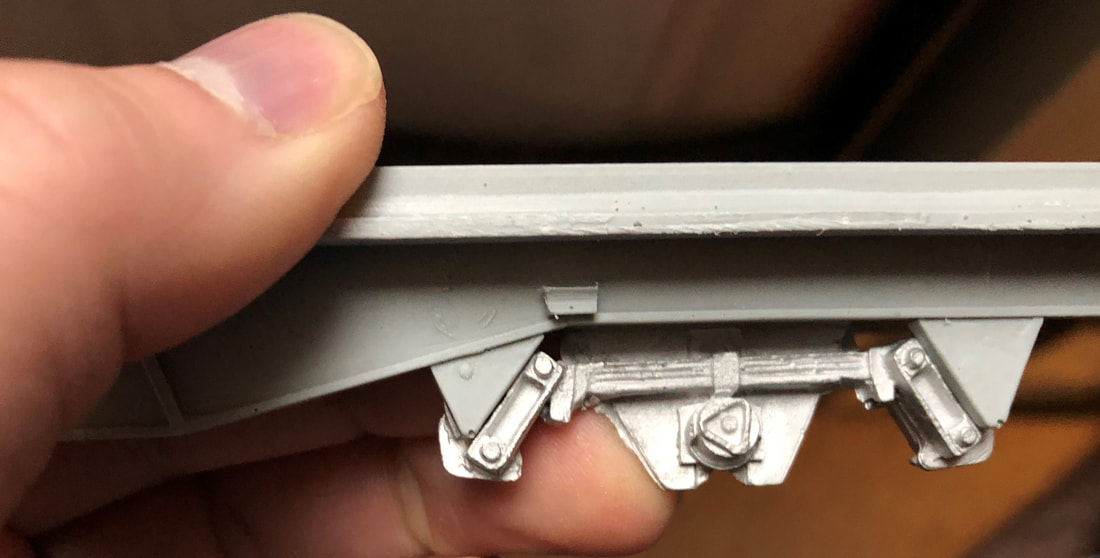
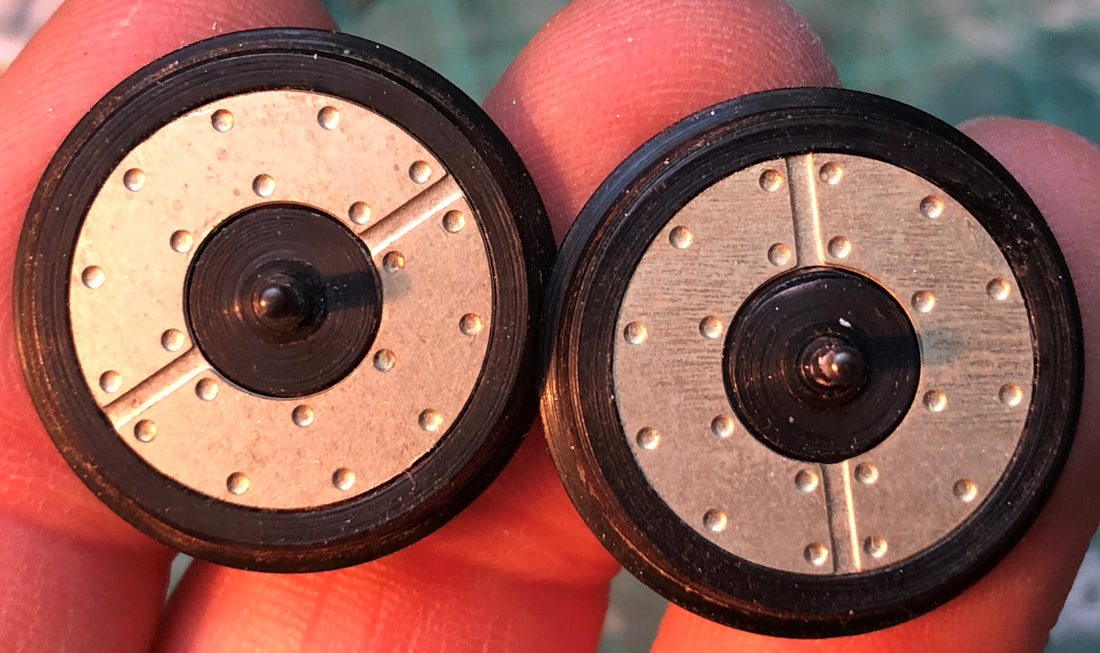
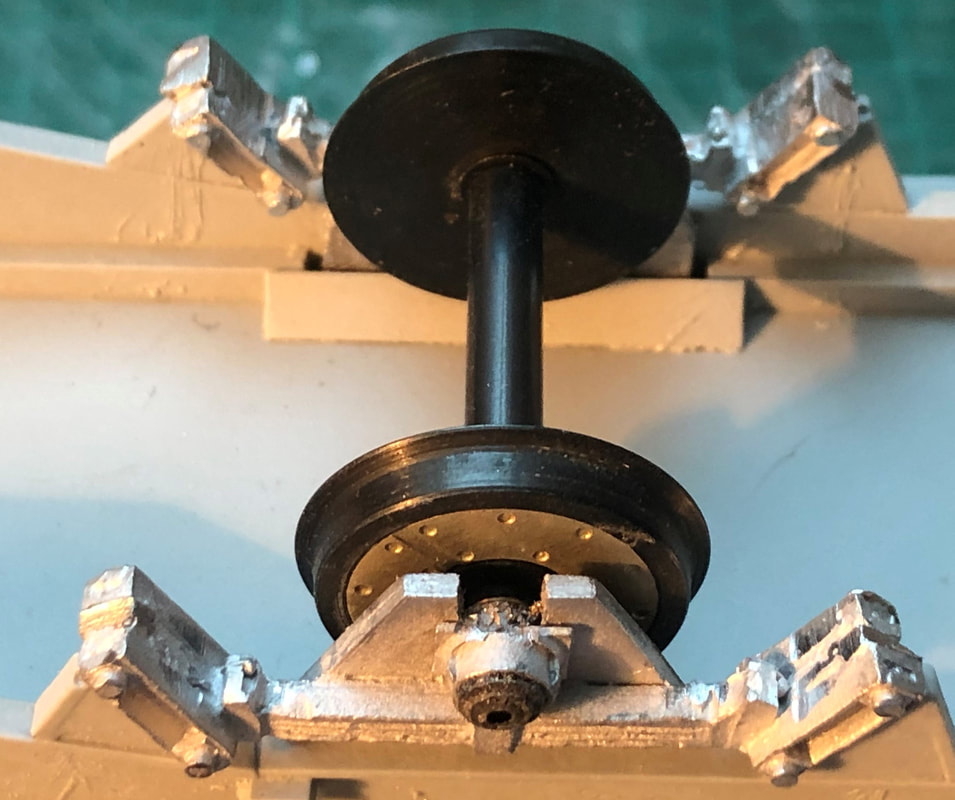
Peartree supply their 3’1” wheels with brake disc inserts for £1.50 more than just the plain wheels, I have now taken to ordering these as standard instead of without the discs, those not used provide spares that can be used on other wagons, Dapol’s RTR HAA’s for example, though I have not checked if they fit. The discs are simply glued to the outside face of the wheels. The axle boxes can then be glued into the chassis. I did one side first with the opposite side loosely placed in the holes making sure everything is square, once set I slid the loose set out to glue again checking it was square.
|
Underframe equipment can also be attached at this point or painted and added later on. I deliberately left off the brake callipers so that I could mask the wheels for painting, these will be glued in place the end of the build.
Paint, Transfers & Final Finishing
|
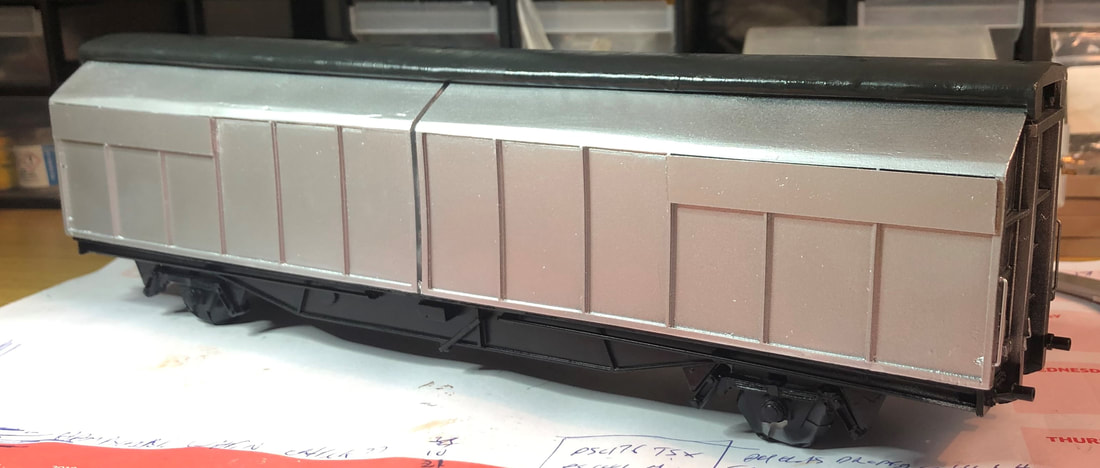
First up is a couple of coats of Tetrosyl grey primer and once dry I gave the whole wagon three coats of gloss black, I have read somewhere that black gives a good base coat for metal coloured paint. I am not sure if this is true, but it was also relatively easy to mask the chassis off so thought I would give it a go. I had been undecide what paint to use for the main body colour but found autotek Aluminium spray paint on ebay so invested in a can (well, three I think as it was better price and will come in handy in the future), if it turned out bad then it could be used for base coats. I am quite pleased with the outcome so on to masking the rest of the wagon, firstly painting the roof (Humbrol Matt 67) and then masking up for Railmatch Rail Red (204).
|
|
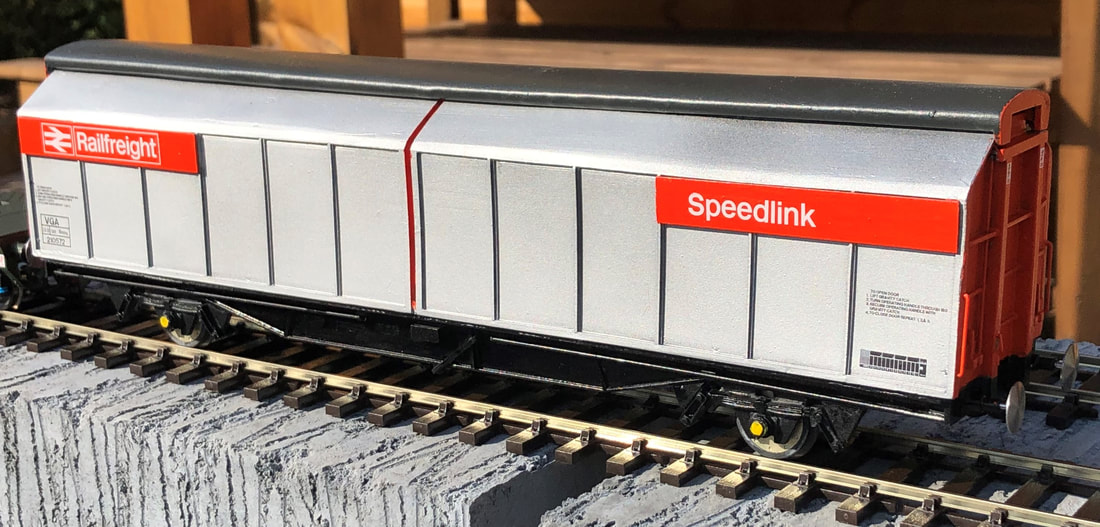
Given a day or two to dry the masking tape all removed and overspray was cleaned up and touched in where required and the whole wagon given a couple of coats of gloss varnish before the addition or Railtec Transfers (I used 7mm-6630 but Steve also does sets for the later unbranded ones and in 4mm and the DB RBA’s, so a 7mm version isn’t out of the question). Then finally a couple of coats of satin varnish to seal the transfers in. Buffers, couplings and brake callipers added and that’s another different wagon added to the fleet.
|
|
In Conclusion
VGA’s are perfect addition to any modern layout from the early 80’s to the present day in range of liveries including Railfreight, RfD, EWS, there are even a few recoded as RBA’s in DB Cargo livery for moving new units around. Although had my doubts, and this is by far not my best work, Graham’s kit does make up into a very nice representation of a VGA which I am more than happy with, once I have cleared the workbench of a few things I will more than likely have a couple more, maybe even in different liveries. It will now find a home within my MOD set along with a couple of Hattons Warwells and Heljan VAA’s.
The GJH Plant VGA can either be bought direct from Graham via Phone (01603 882257) or Email ([email protected]) or through INVERTRAIN | Invertrain Model Railways .
The GJH Plant VGA can either be bought direct from Graham via Phone (01603 882257) or Email ([email protected]) or through INVERTRAIN | Invertrain Model Railways .