Heljan Airbraked 26024 Conversion
|
|
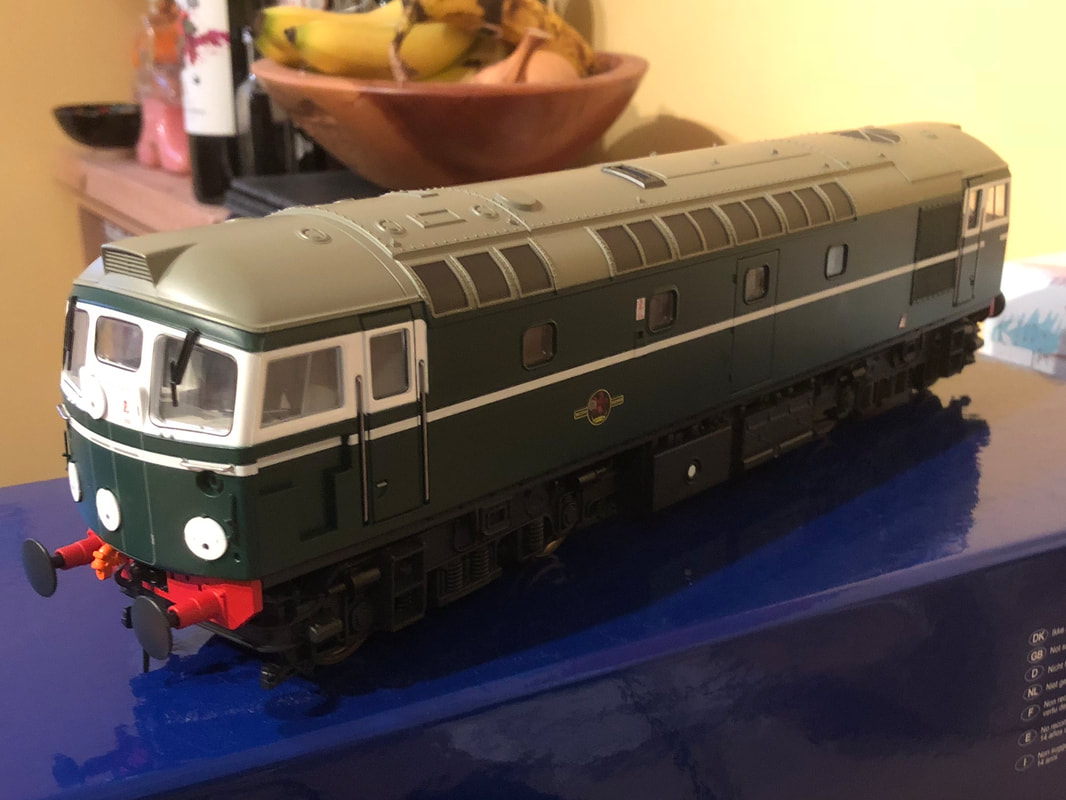
I have always had an appreciation of the humble BRCW McRats but only remember them towards the end of their mainline careers in the early 90’s on trips to Scotland with my father. As a kid I had numerous Lima 4mm 26’s (pretty much every TOPs numbered one that was released) and eventually replaced most of these with the Heljan 4mm version, however I always had a fancy for a 7mm one. I thought long and hard about buying the Heljan 7mm version when they first came out but they we’re only released as Vacuum only steam heat loco’s and I wanted an NB Air Braked one. Having seen some fantastic conversions I eventually thought I’d give it a go only to find that they had finally sold out! A slight delay ensued until I found a second hand one at a reasonable price. This would also be my first proper venture into O gauge, previously I had owned a Brassworks 24 and a couple of Lima MK1’s but I didn’t do the work on them myself.
Bodywork
|
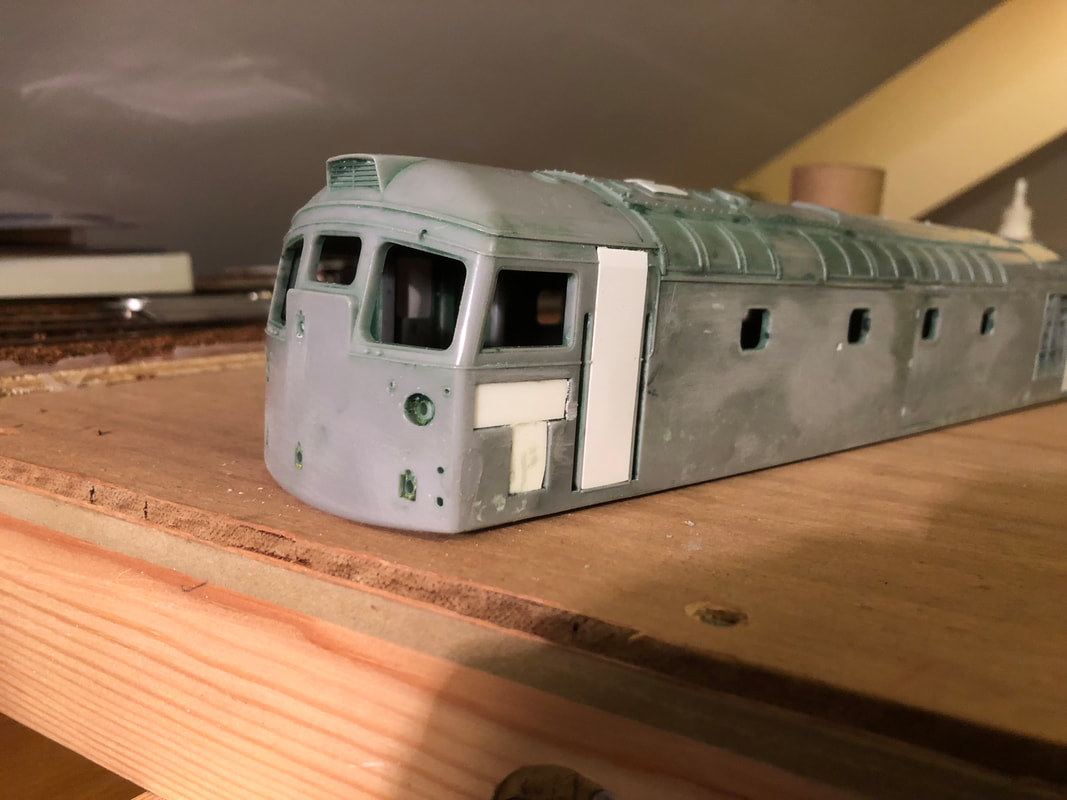
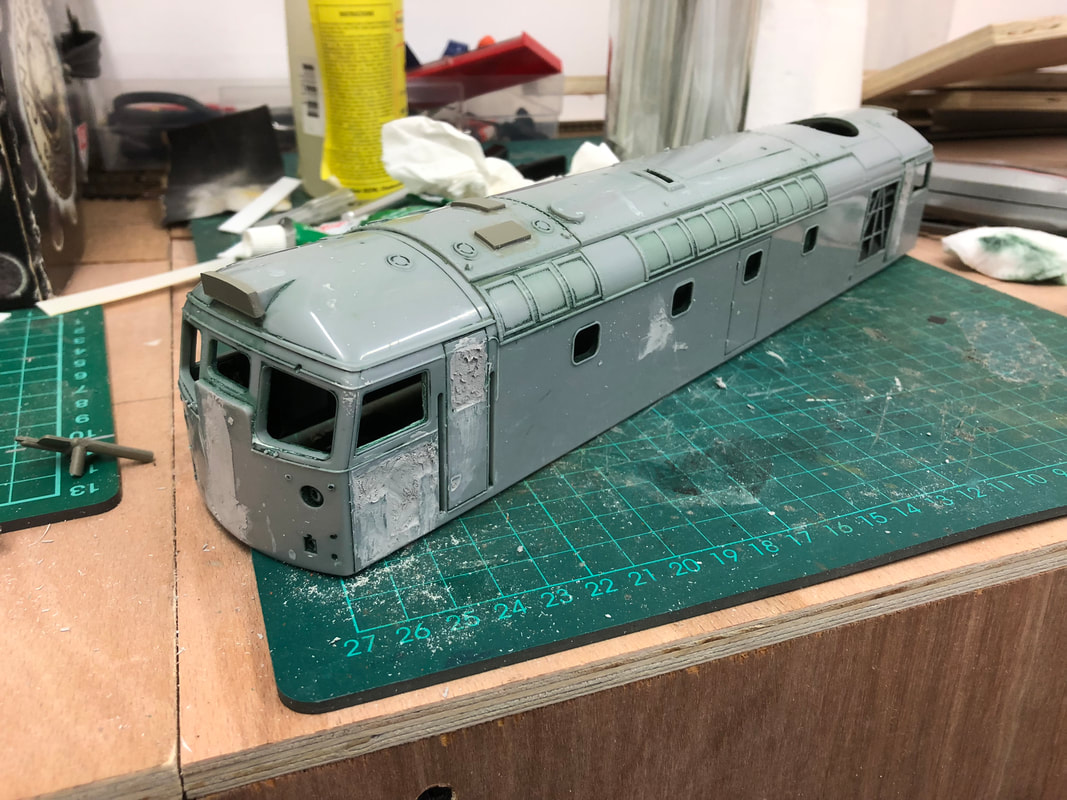
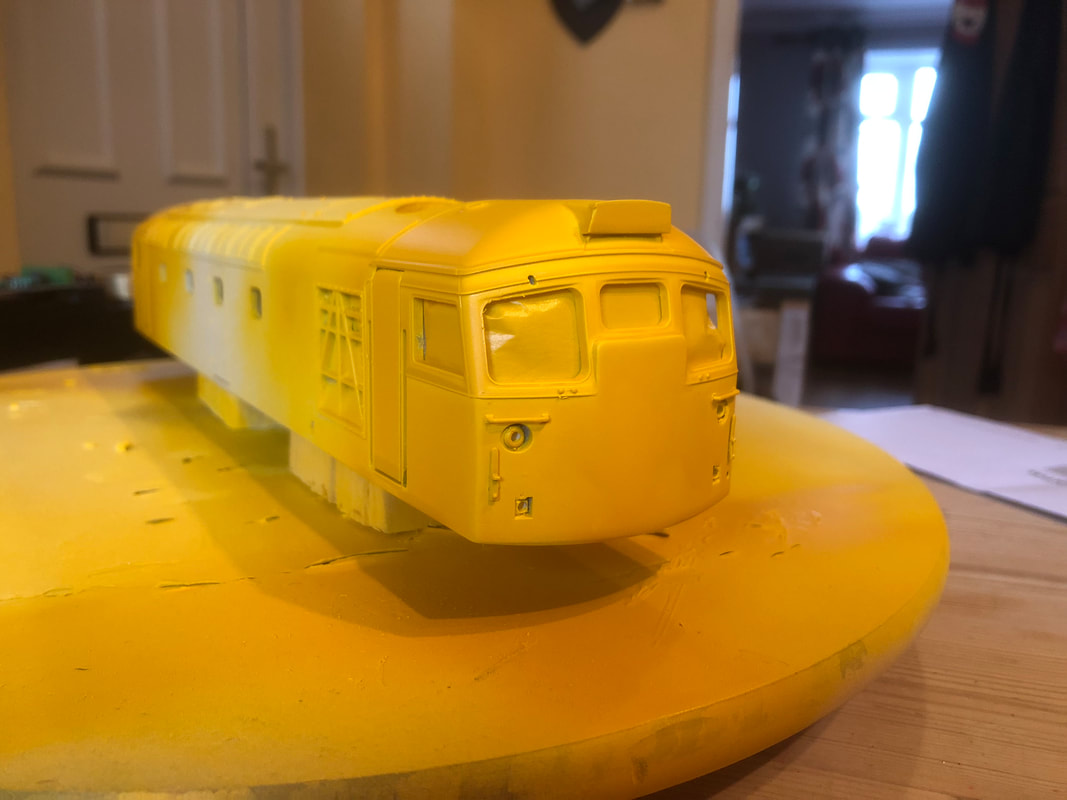
First job was to strip down the loco into component parts and a dip in the paint stripping bath, there are a number of modifications to the body to make for an air braked 26. The most obvious of these is to fill the tablet catcher on the drivers cab sides and the cab door windows but there are a few other mods too.
|
The tablet catcher recess is filled with a piece of plasticard inside the body, then off cuts of plastic strip cut to as near as possible the correct size then stuck in the recess. This is then covered with a liberal coating of filler and sanded back, this was done a couple of times to ensure the hole was filled as flush as possible.
|
|
Initially I filled the cab door windows, however this did not go too well, I couldn’t get them anywhere near flush! Someone then mentioned to me that the doors actually pop out. After popping the doors out I replaced these with some plasticard of the same thickness cut to size with the top edge filed to the same profile as the cant rail.
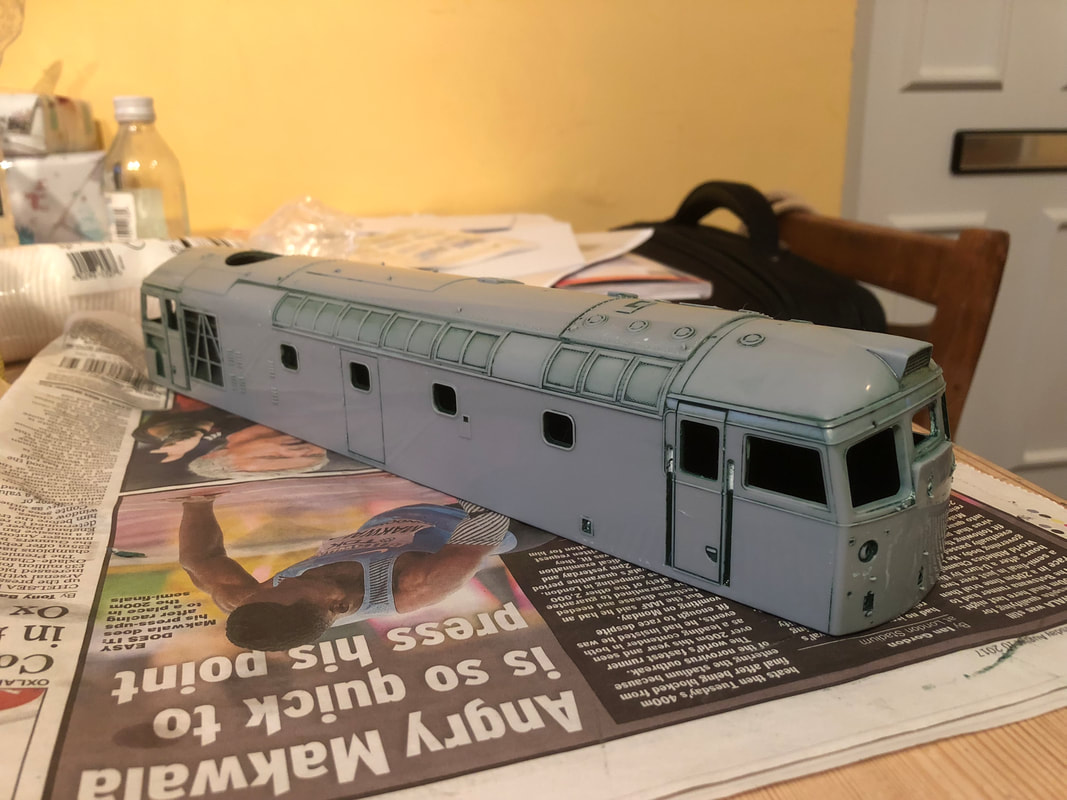
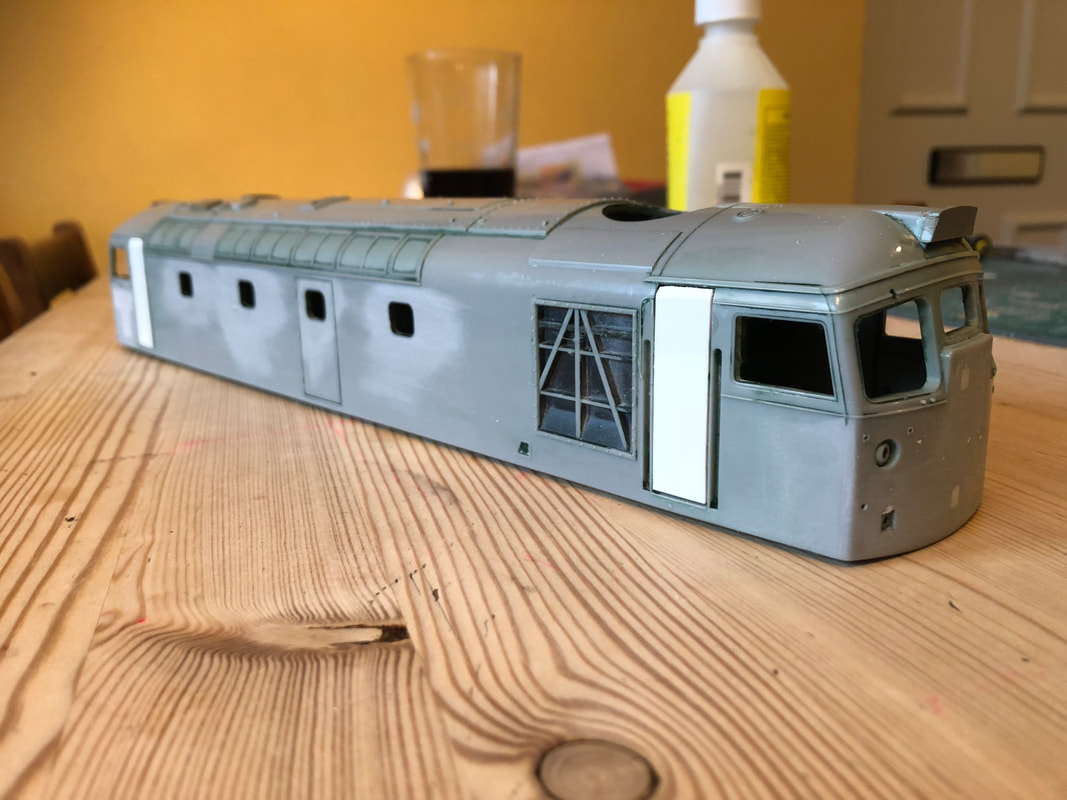
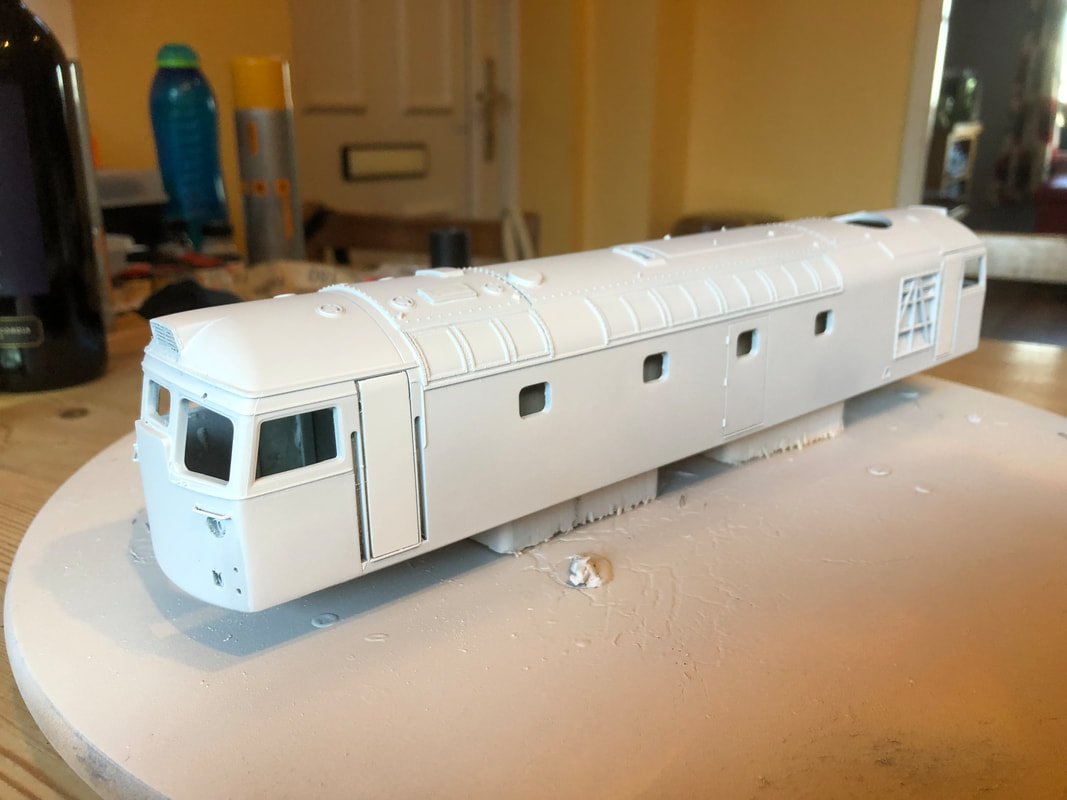
Once I was happy with all the filler (it still won’t be perfect at this stage) I masked up the areas filled and sprayed with Halfords filler/primer (the one with the yellow lid) and again sanded back and re-filled a couple of times until happy. Time spent at this stage getting the bodywork right will pay off later on in the build. Once completely happy the whole body was given a couple of coats of Halfords White plastic primer.
Once I was happy with all the filler (it still won’t be perfect at this stage) I masked up the areas filled and sprayed with Halfords filler/primer (the one with the yellow lid) and again sanded back and re-filled a couple of times until happy. Time spent at this stage getting the bodywork right will pay off later on in the build. Once completely happy the whole body was given a couple of coats of Halfords White plastic primer.
|
|
Underframe

|
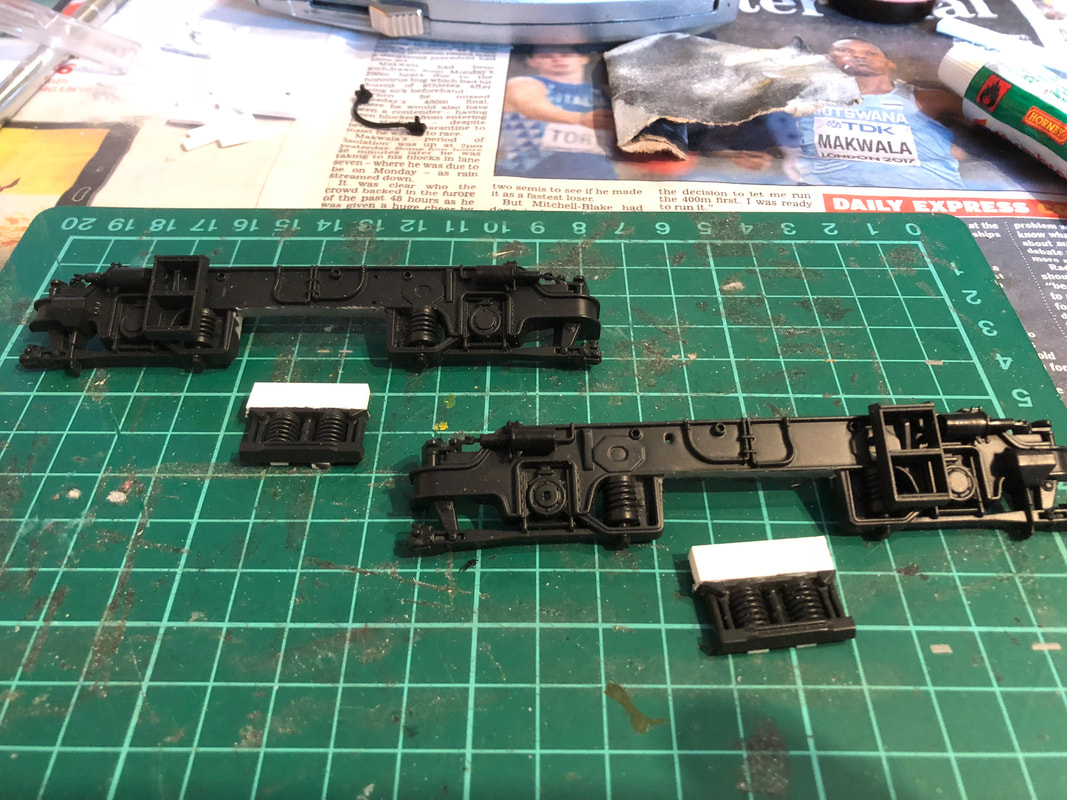
The two main jobs for the under frame are modifications to the bogies and modifying the fuel/water tanks to be fuel/air.
On both the 4mm & 7mm BRCW type 2’s & 3’s Heljan produce, the spring detail is too far forward, this is being rectified on the next release of the 7mm 33. Looking at the bogies first, with a sharp knife I removed the spring detail taking care not to damage the mouldings as these will be refitted. With scraps of plasticard mounted to the top and rear on the spring detail for support these were then fitted to the rear of the bogie frame giving a much more defined look to the bogie. |
|
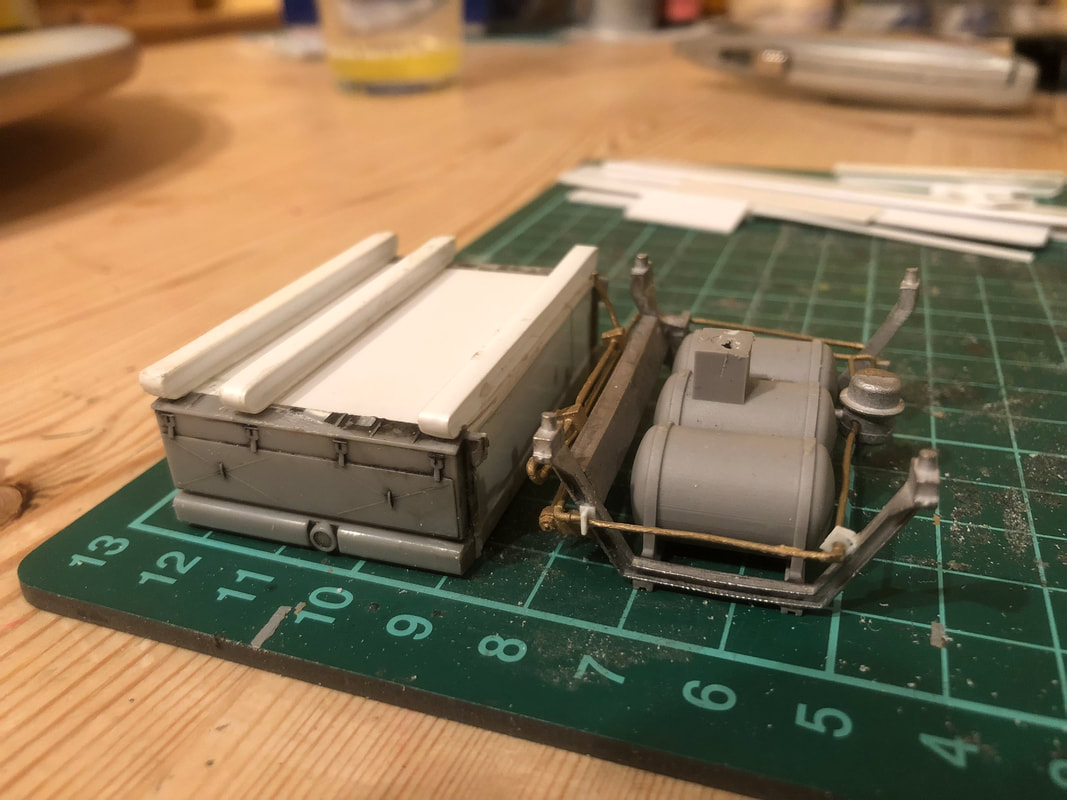
Now to the tanks, first thing to do is to remove the water tank. The Heljan tanks come in three pieces once removed from the underframe, two sides and a central section. My initial thought was to try and keep what I needed from the central section and rebuild for just the fuel tank, but once I had split the fuel tank sides from the water tank I decided I would be better off building a new box from plasticard. I also at this stage created some beams for mounting the tanks under the chassis out of plastic strip.
The air tanks were part of the reason I put this model off for such a long time. Luckily JLTRT did a detail kit of parts to make up the framework, tanks & pipework for their 26 model but also made it available separately for anyone modifying a Heljan 26. With JLTRTs demise the moulding has passed to MM1 models however it is not available at the moment, it may get re-released in the future depending on demand. |
|
To mount the tanks under the chassis of the 26 the cast mounting pins for the old tanks need to be removed, this was done with a hack saw and finished off with a dremel to make them flush for the new tanks to be fitted
Paint, Transfers & Weathering
|
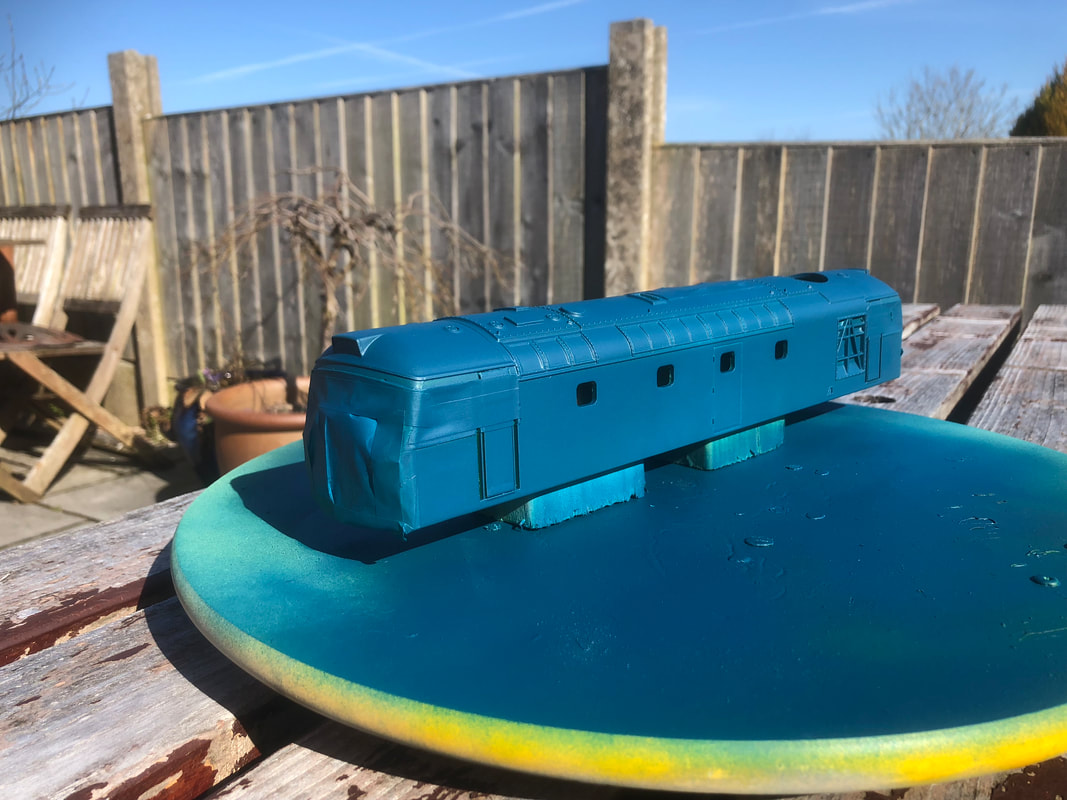
I am no expert with an air brush, I do have one and will eventually teach myself to use it, so without the skills required I went with Railmatch rattle cans. As with any paint job preparation and patience are invaluable. Yellow was applied in multiple coats before masking and the same process with blue until I achieved a nice deep flat colour.
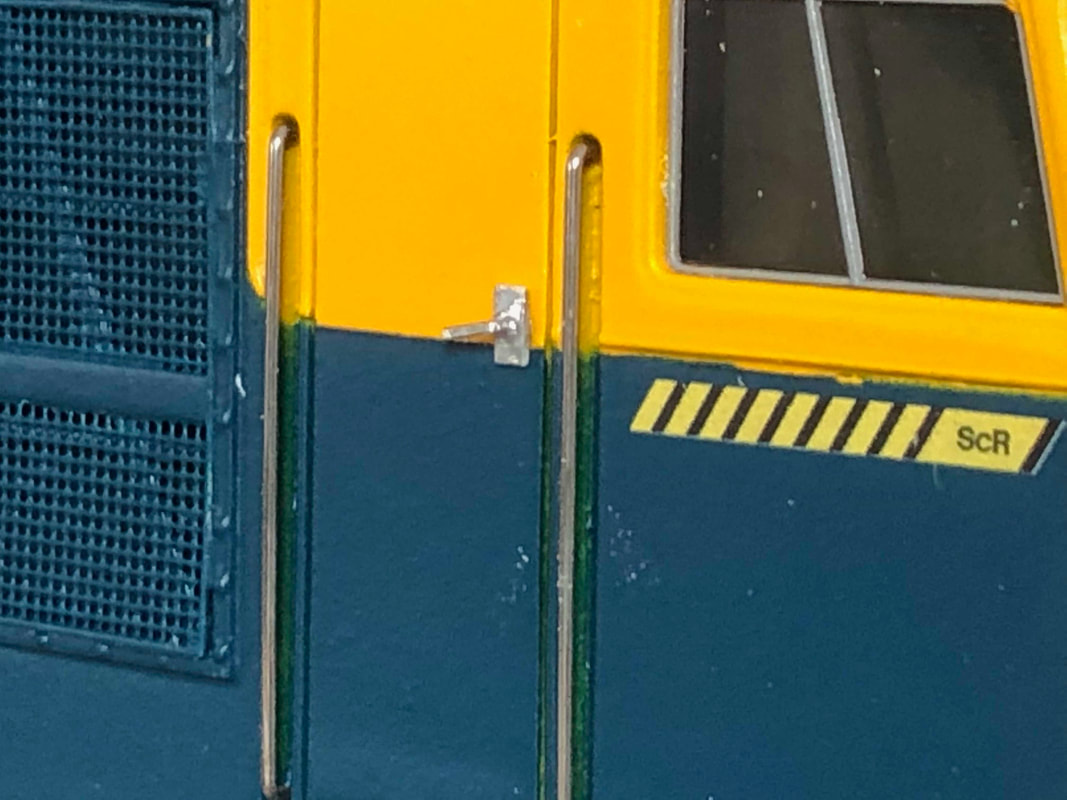
Buffer beams were detailed with the supplied Heljan parts not forgetting the addition of an air brake pipe, it would be folly to leave this off after making all the other modifications. Finally door handles fabricated from a slither of plasticard & a trimmed down staple painted silver. |
|
|
|
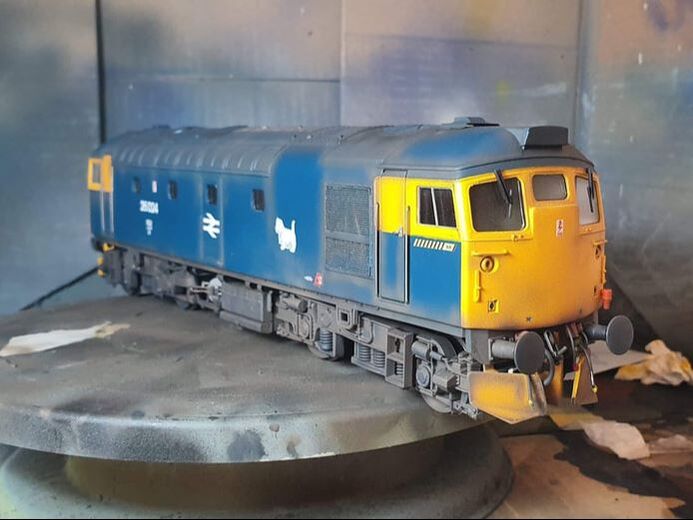
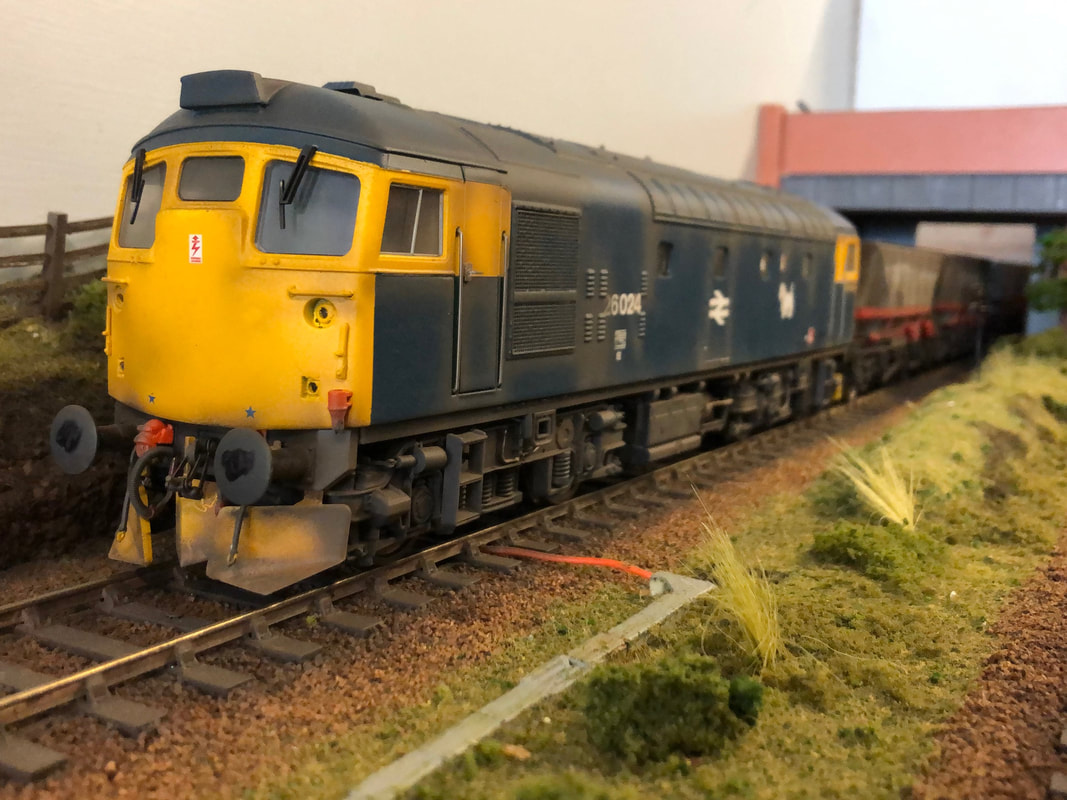
Transfers were supplied from the excellent Railtec range including the yellow ScR engineers flashes for under the second man’s cab side
Finally, Cameron took over for some heavy, end of life weathering. 26024 is now staple traction on Russel Street and has garnered much praise during the MIOG roadshows during 2019. |

|
|
Items used in the above build have been supplied from the following:
http://www.heljan.dk/shop/frontpage.html https://mm1models.co.uk http://www.railtec-models.com/index.php http://www.phd-design-etchings.co.uk/ https://www.halfords.com |