Out of the Box
|
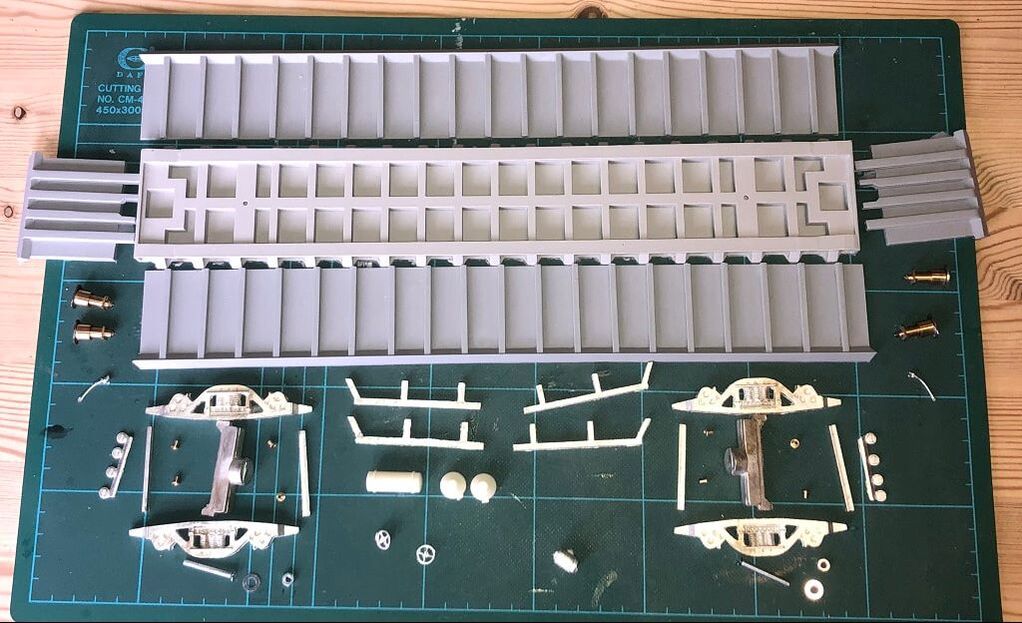
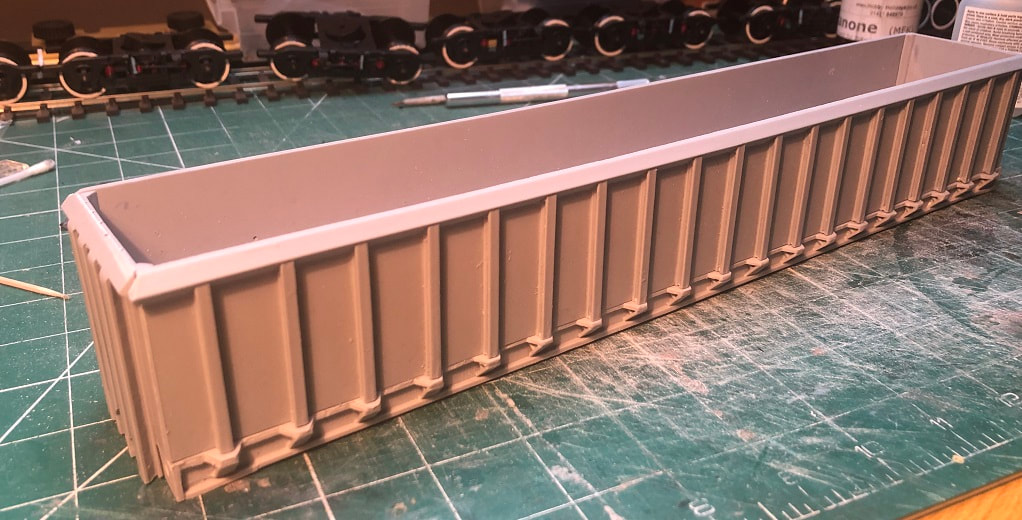
The JNA comes as a five-part resin cast box with resin and white metal underframe equipment along with a set of white metal bogies. Paul can also supple the correct pattern buffers if require. 3’1” wheels from any of the normal suppliers are required to complete the bogies and your choice of couplings and paint, transfers are also available from Railtec.
|
|
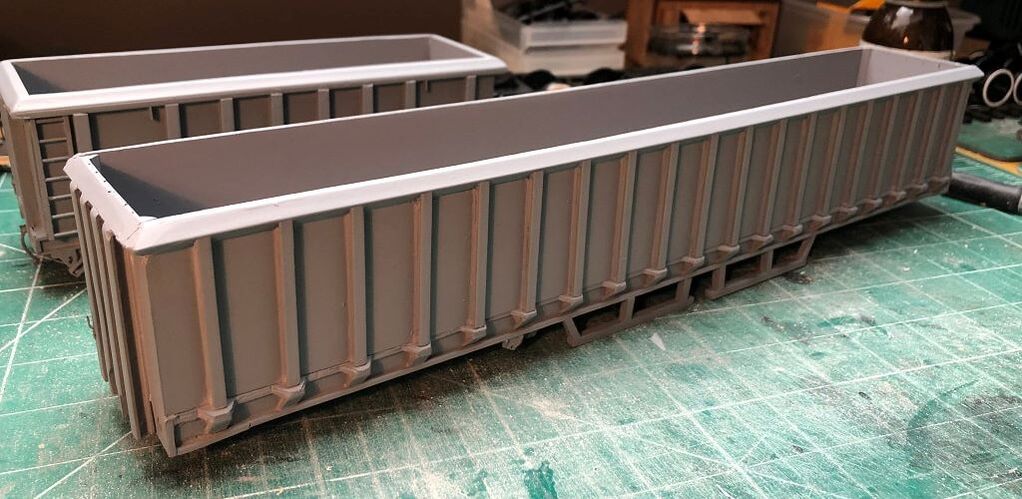
Body
Firstly, I removed any flash from the resin parts, the sides and ends were pretty clean but the chassis needed quite a bit more work. This is no detriment to the kit it is just the nature of it having more intricate detail along the sides. Once the parts we’re cleaned up I started to offer the sides and ends up to each other. Some filing is needed around the raves to ensure a nice close fit, there may be some gaps but these can be filled later on. I numbered all the corners on the back of the parts so I knew which ends of the sides and ends matched up, this helps later when you come to assembly.
|
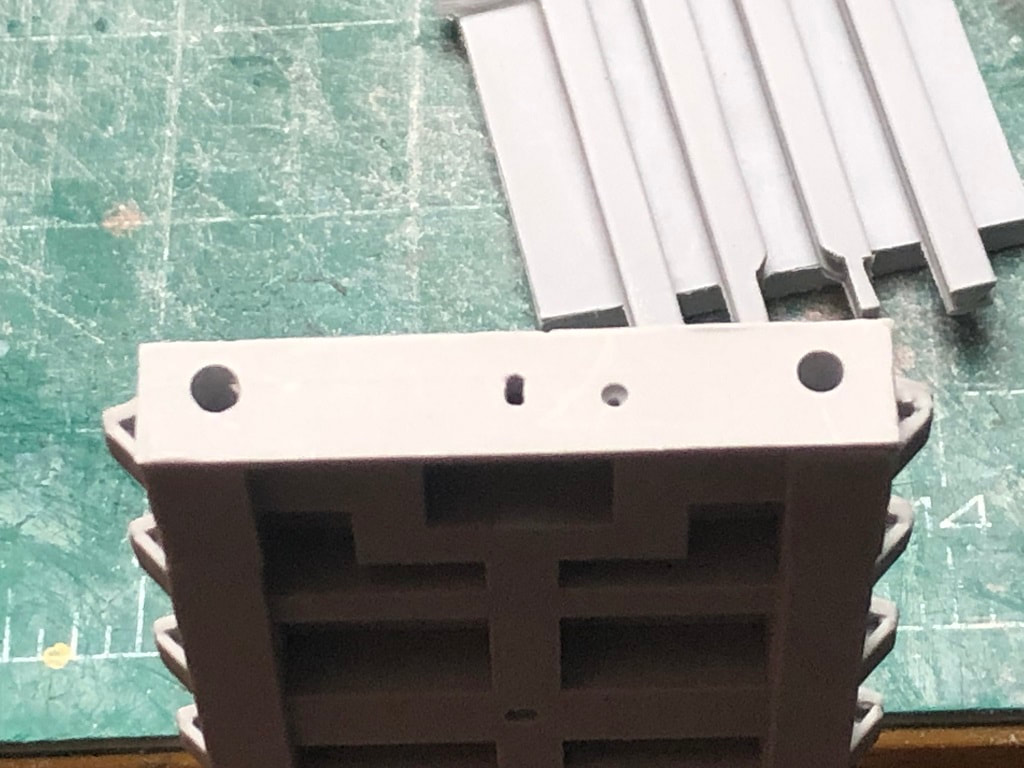
At this point it is worth drilling out the headstocks on the chassis to take your chosen couplings, buffers and brake pipes. The buffers Paul supplied with my kit have a 3.5m shank so I marked a line across the buffer beam 4mm below the top then marked 5mm in from the sides to give me a point to drill a 3.5mm hole to take the buffers. Remember to drill back far enough accept the back of the buffers once depressed. I also drilled out a slot centrally and below my marked line to take a set of Dapol screw couplings and a 2mm hole to the right of the slot for the coupling to take an air brake pipe. Lastly, I drilled a 3mm hole through the chassis (marked) to take the bolt for attaching the bogies.
|
|
On looking at available pictures on the internet it looks to me that on most wagons part of the uprights on the ends has been removed to provide better access to the air brake pipe, I again filled part of the upright on the ends back to better represent this.
|
|
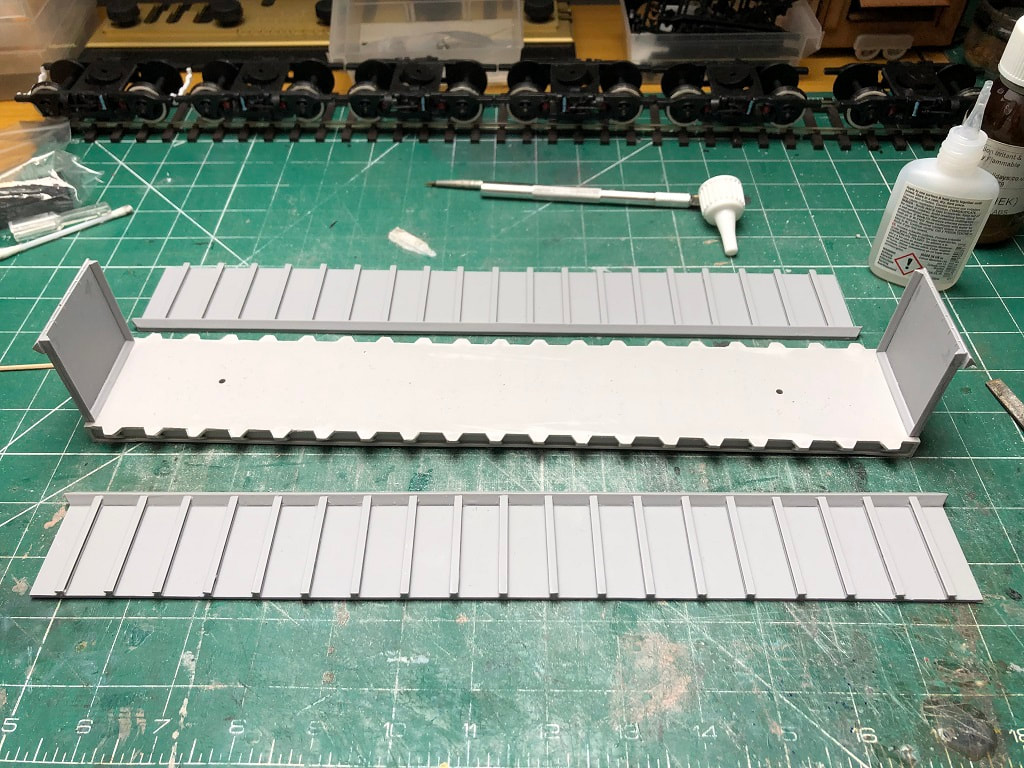
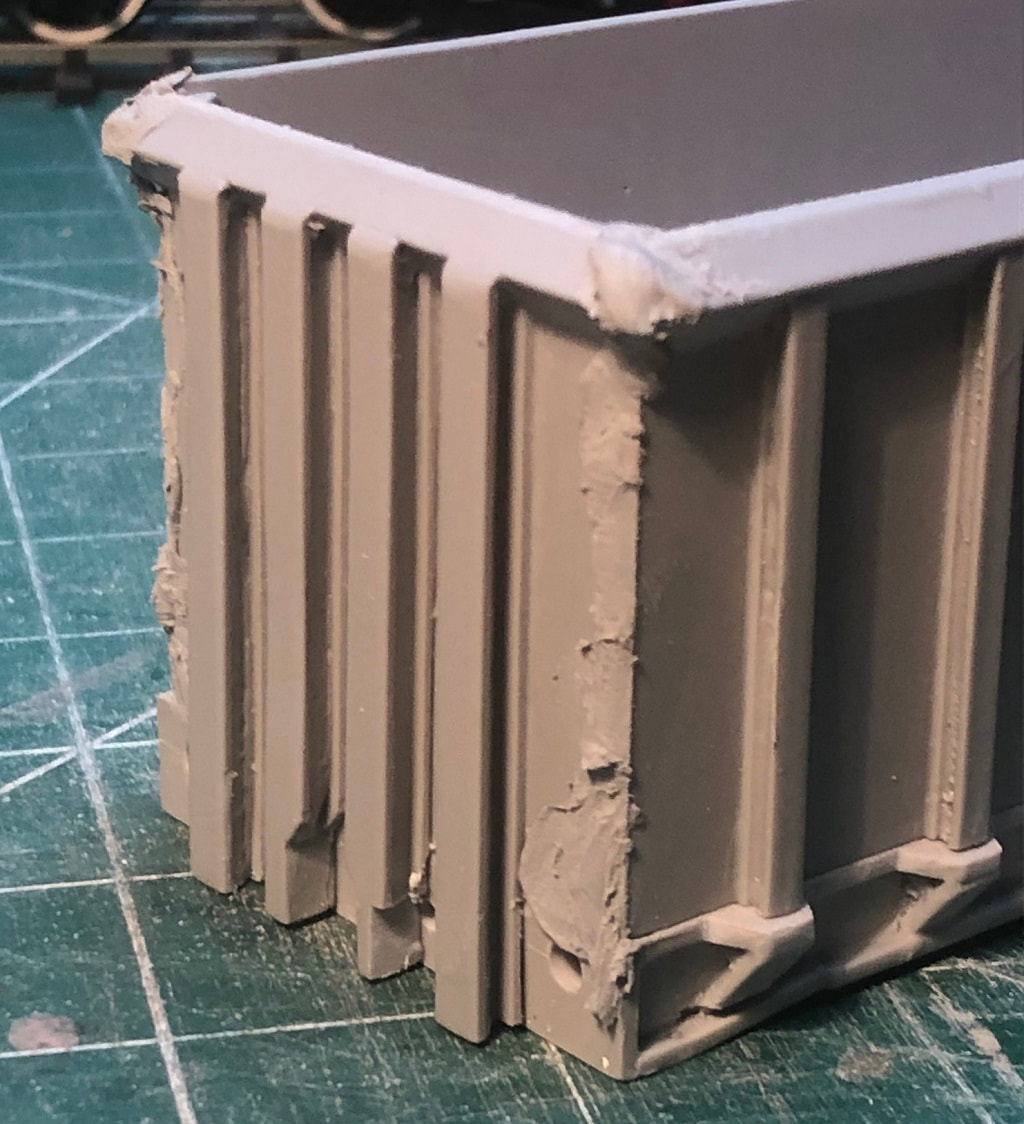
Now all the resin parts have been prepped it is time to glue them all together. Firstly, taking an end and fixing it centrally on the chassis with super glue, I then fixed the opposite end. The sides should just about slot into place between the ends, ensure that the uprights match up to the banding on the chassis. Don’t worry too much about the corners 100% matching up, next is to fill all the gaps. Be fairly liberal with the filler, you can always file/sand it back. I ended up filling & filling twice on all four corners and a third time on parts of the raves until I was happy. Once primed you may well want to do some more filling depending how it comes out.
|
|
|
Underframe Equipment
|
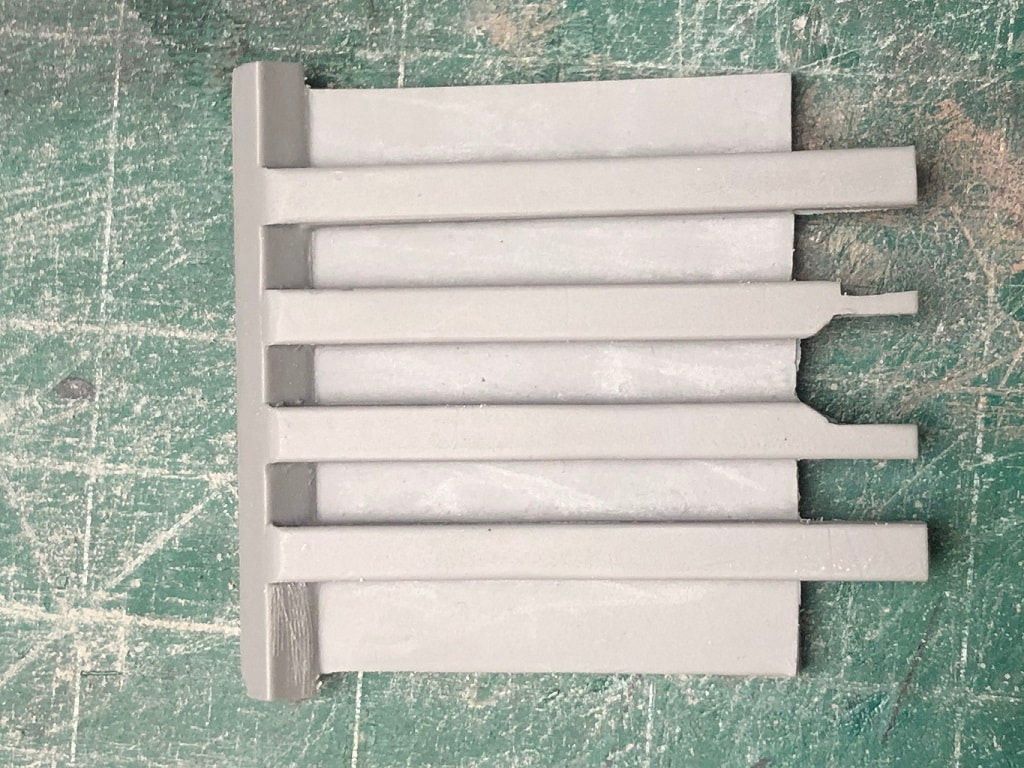
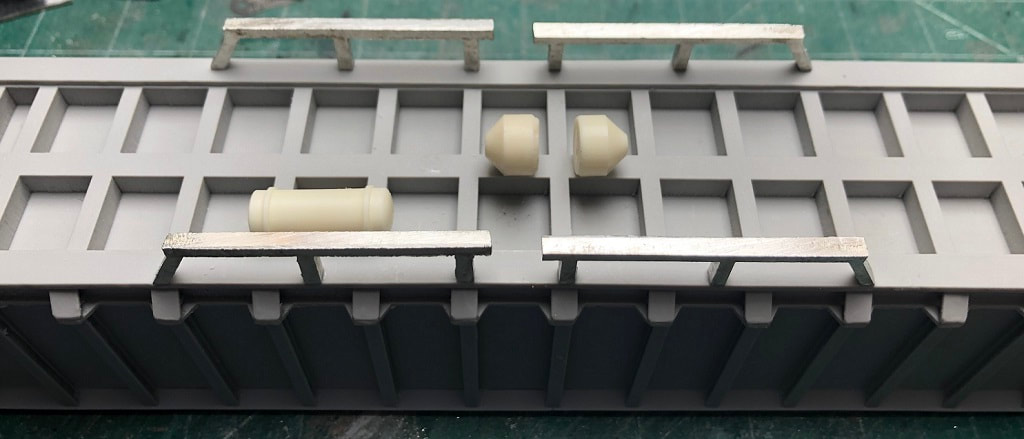
The white metal frames need some tidying up with a file and approximately 4mm cutting off the ends. With the wagon upside down working from the left the first part of the frames line up with the sixth bodyside upright. The first and third strut on the frame should line up directly with the bodyside struts. These were fixed with a good super glue. Brake Cylinders, the Air tank and Distributer are all cast resin and need a little tidying up, these again are fixed with superglue using pictures and drawings as a guide.
|

|
|
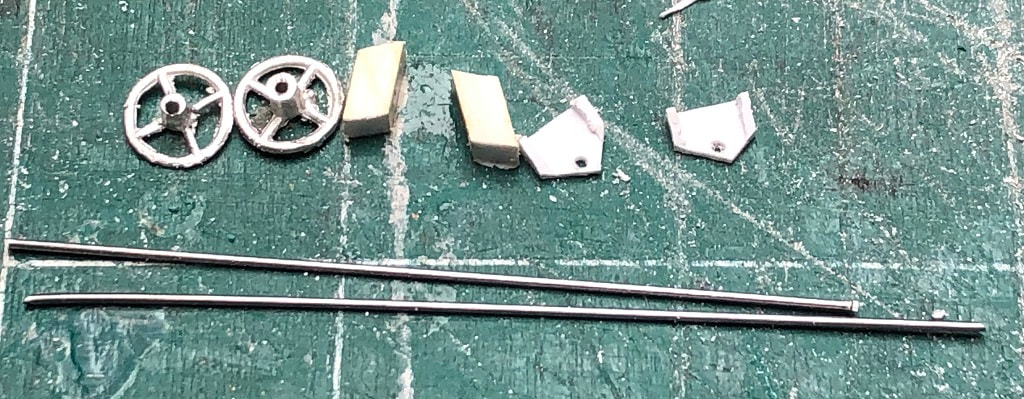
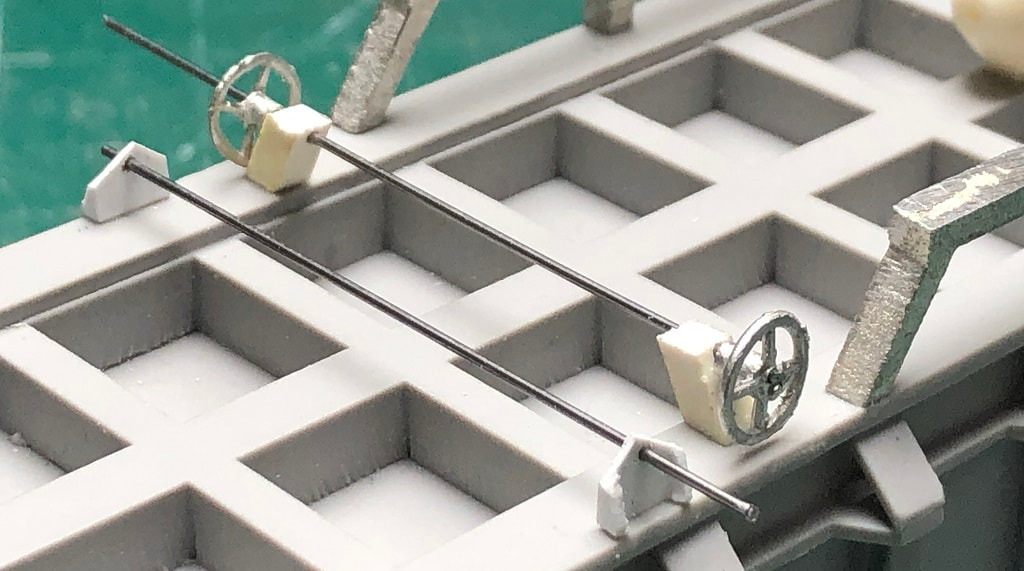
The kit is supplied with hand brake wheels but no method of fixing them to the chassis, there is also no representation of the hand brake on/off indicator (not that these are ever reliable!) so off to the scraps box and a short piece of square styrene and a piece of ‘U’ shaped styrene were found. For the brackets I cut a short piece of the square styrene at an angle and drilled a 1mm hole through it, also drilling a 1mm hole through the centre of the handbrake wheel to pass a piece of hand rail wire through. I cut the hand rail wire longer than needed as I will trim and fit the hand brake wheels after the rest of the body is painted. For the indicators I cut a 6mm piece of 'U' shaped plastic then filed off the edges 3mm down. What was then left of the edges of the ‘U’ piece I then filed at an angle. Lastly cutting the lower part of the indicator into a ‘V’ shape. I also drilled a 1mm hole through the point of the V to add a piece of wire for the indicator itself once painted.
|
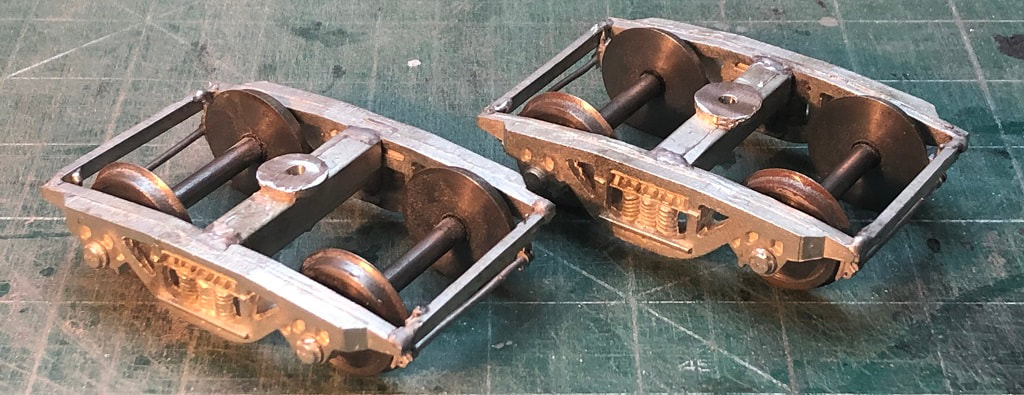
Bogies
|
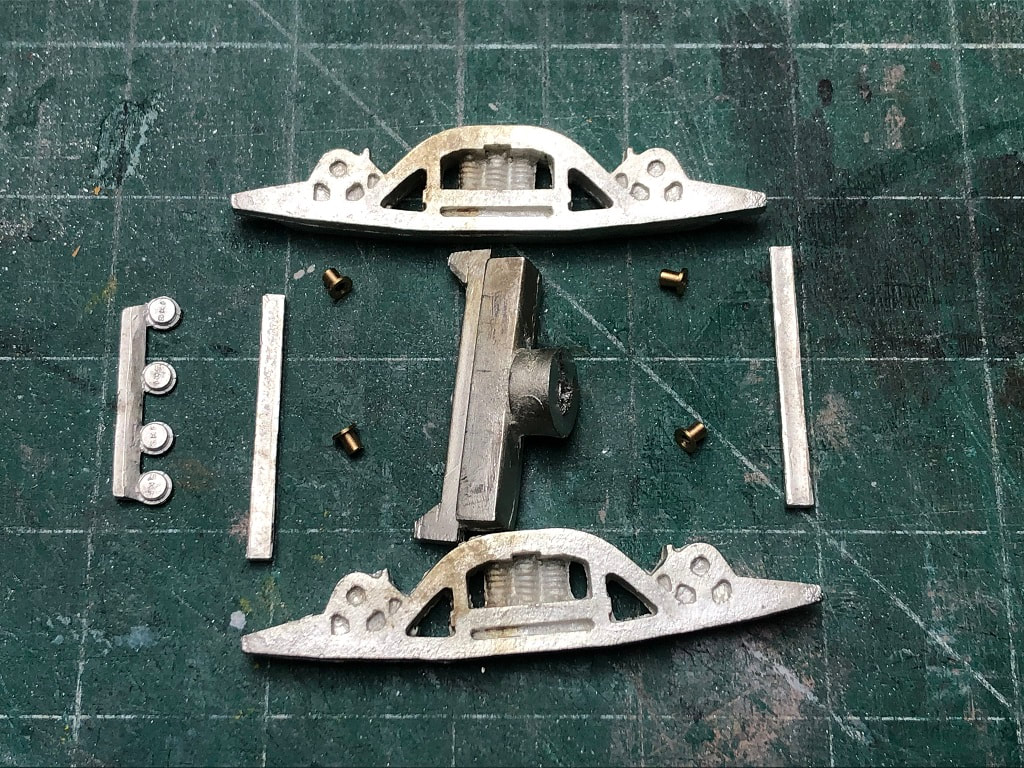
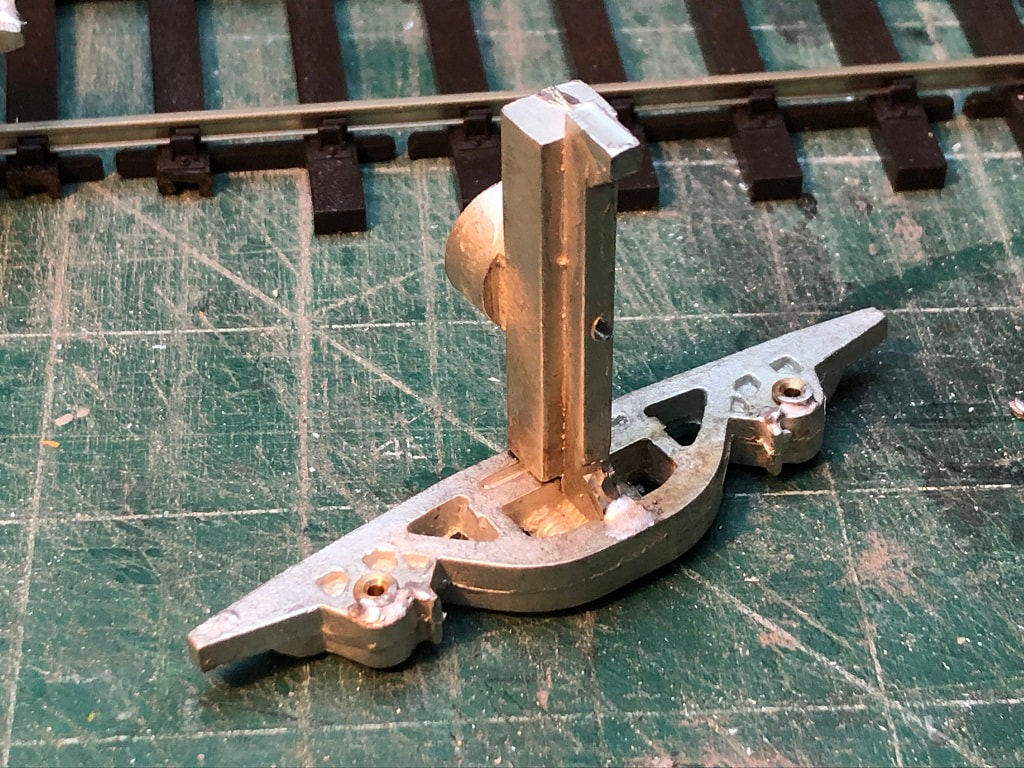
The bogies for the JNA are a collection of white metal castings. Two sides, a central bolster and two end bolsters. The set I received didn’t have a hole through the center bolster to mount the bogies on the wagon once completed so I set about with my Dremel and a vice to drill these out. The bolts provided need this hole to be 3mm so I marked the bolster centrally drilling a small 1mm hole with a pin chuck, then proceeded to drill a 3mm hole through them. If you have access to a pillar drill this would make getting the hole square so much easier. I didn’t quite get this hole as square on one bogie as I should have but with a little work with the Dremel I opened it out to about 4mm so the bolt dropped through, there is a washer to use when fixing which should cover any errors (it does with mine!). Paul's current stock of the bogies are "as cast" but once these are exhausted future bogie parts will be pre drilled with a 3mm hole and the pivot pre milled down 3 or 4mm.
|
|
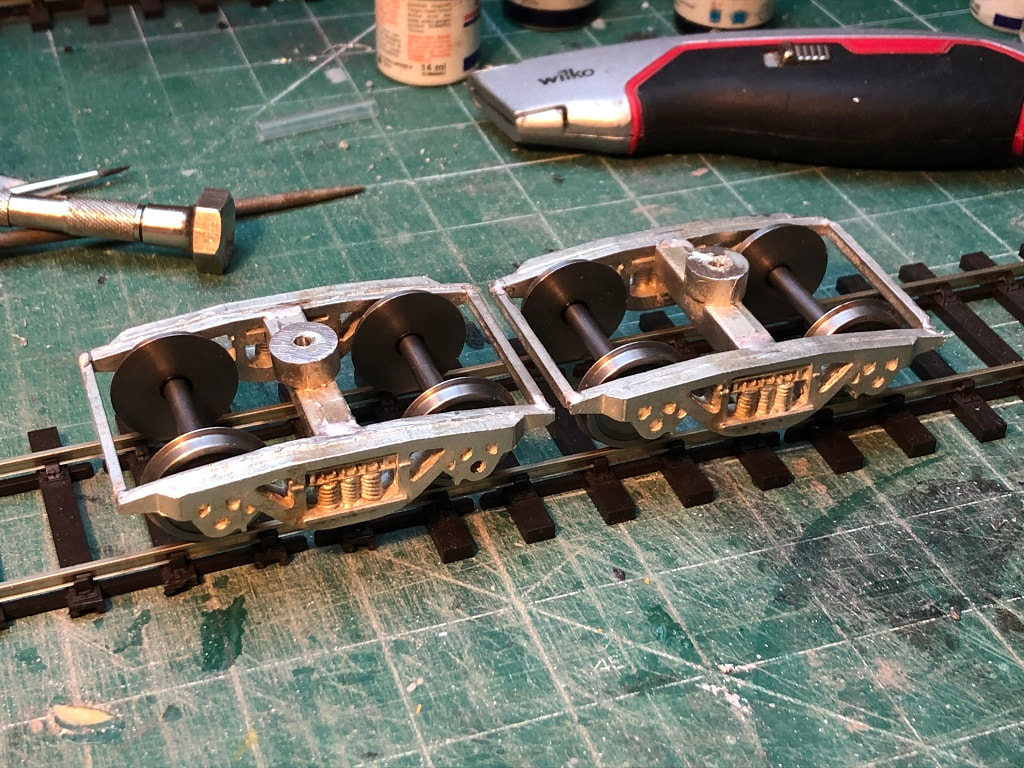
The side frames also need opening out to take the bearings for your chosen wheels. Once all the parts were prepped it is worth having a dry run to ensure all fit as you would expect, some filing may be required to ensure the central bolster fits correctly in the side frame. The side frames can be dremelled out in the recesses to give them a more "open" appearance which is best done before assembley. I then set about building the bogies themselves, firstly setting the bearings in the axle boxes with a little solder, then soldering the bolster to one side ensuring it is square with the side frame. Next dropping the wheels in and soldering the other side frame to the central bolster. All being well you should now have a nice free running bogie!!
The end bolsters can now be fitted. The kit Paul sent me didn’t have brake shoes but he will be providing them on future kits. He did send me a set after I had fitted the end bolsters but I would recommend fitting them before fitting the bolsters to the ends of the bogies. It’s a faff trying to fit them with the wheels in the way!
The end bolsters can now be fitted. The kit Paul sent me didn’t have brake shoes but he will be providing them on future kits. He did send me a set after I had fitted the end bolsters but I would recommend fitting them before fitting the bolsters to the ends of the bogies. It’s a faff trying to fit them with the wheels in the way!
|
|
|
Last thing to do is to fit the SKF axle box covers, after cutting them off the spur they were lightly filled back to a round shape and glued over the axle boxes with super glue. Make sure you get them the right way up!!
|
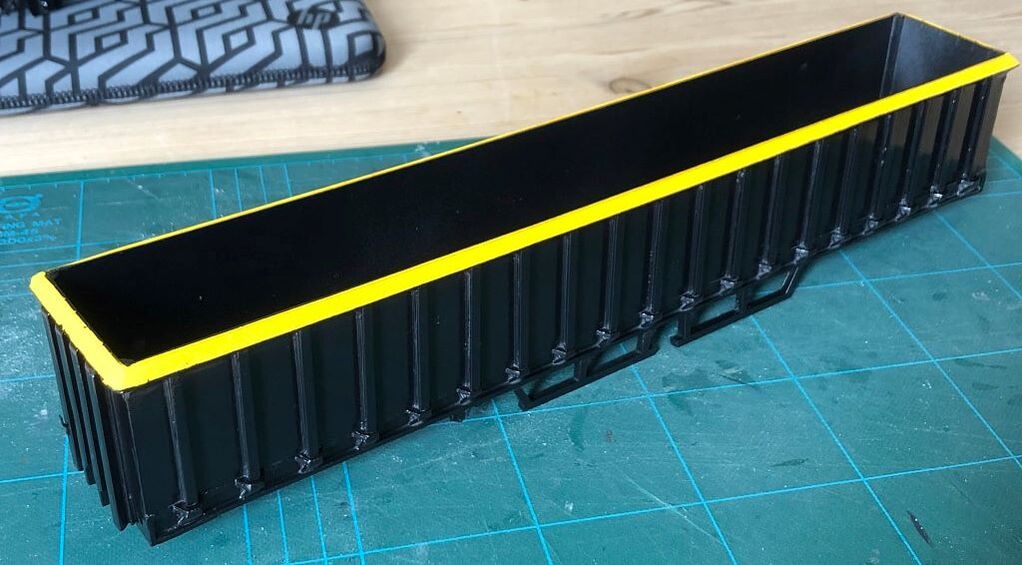
Paint, Transfers & Final Finishing
|
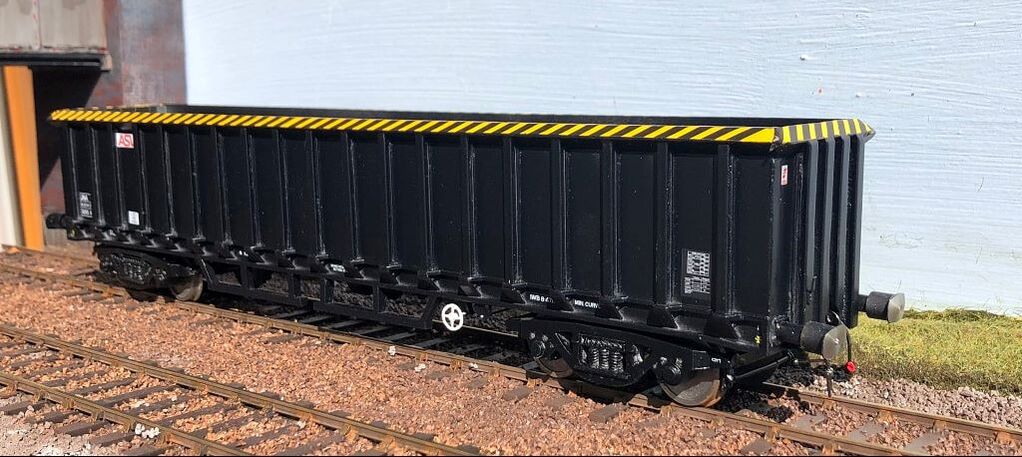
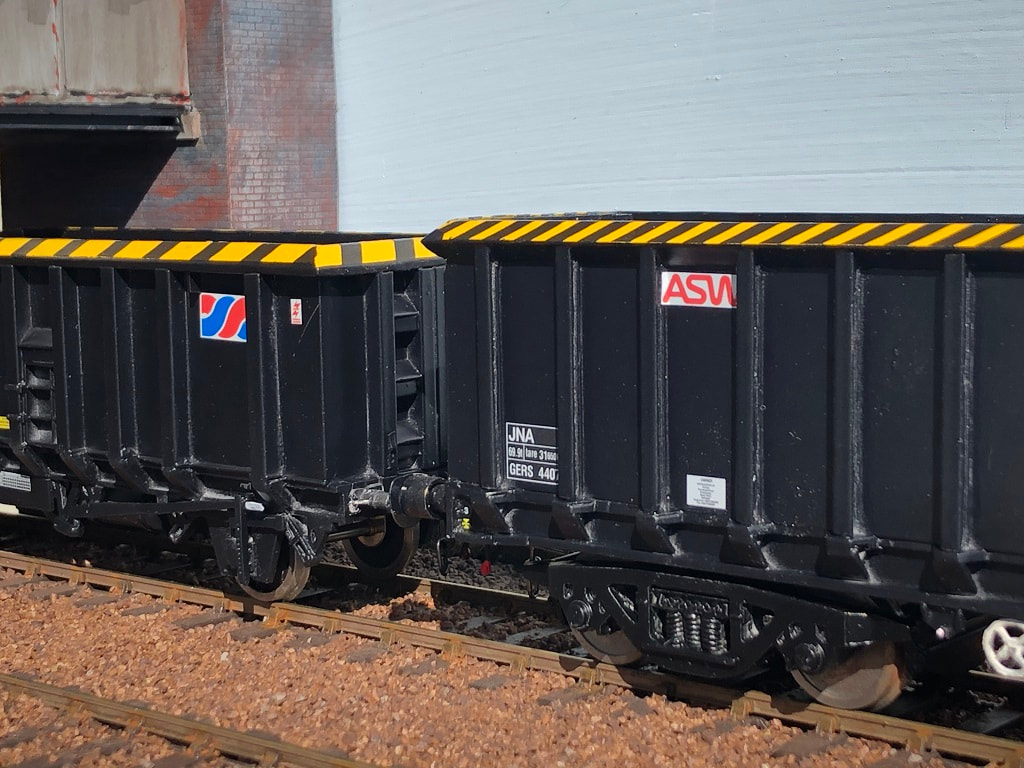
Transfers are readily available from Railtec range (6163 & 6164) for all the marking’s and the black chevrons for the raves. I used pictures from the net to give me a guide as to where the chevrons and other embellishments should go, Paul Bartlett’s site is a great resource for this. Most of the embellishments are relatively easy to fit, even down to the small ICD, lifting points & corner numbers. When you come to the chevrons however, take your time. When you think they are ready to fit, leave them in your water for another 30 seconds!!! I managed to split a couple of strips until I got the knack of it, I manipulated them round with a scalpel and a wet cotton bud until I got them where I wanted, once I was happy I rolled a dry cotton bud gently along the transfers to remove excess water, be careful as you may move the transfer slightly, if you do this (as I did) go back to the wet cotton bud and re-wet the transfer. Once I was happy with the transfers, I gave the whole wagon three coats of Satin Varnish, making sure each coat was dry in between.
|
|
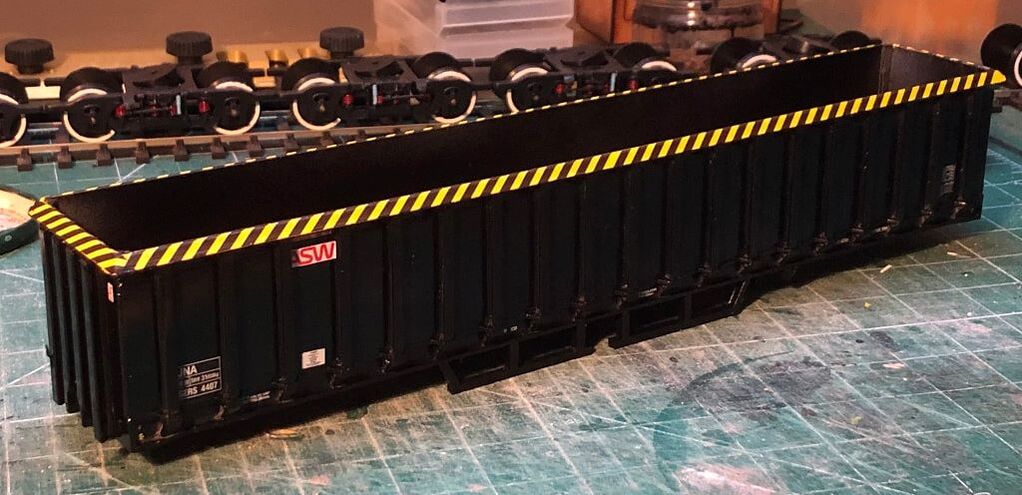
In Conclusion
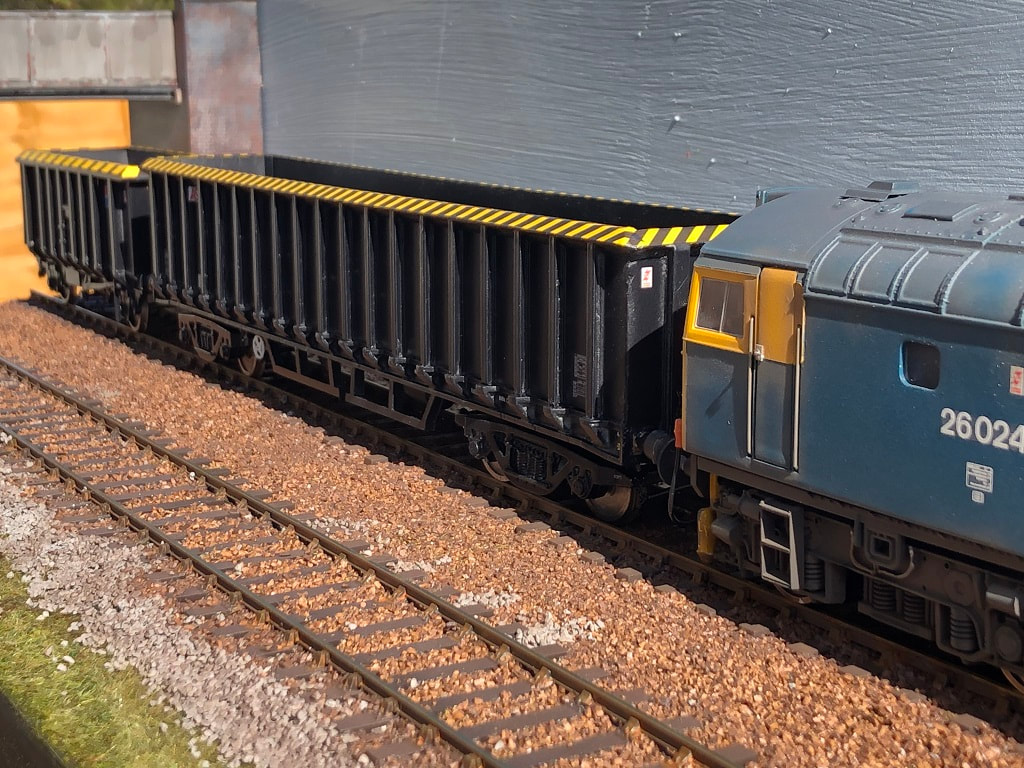
Paul’s intention with his kits is to allow the average modeller maybe looking at a first venture into O gauge from OO or N to achieve a good representation of the chosen prototype with as little effort as possible. The JNA is a very slight step up from the POA Blackadder with a five-piece body and white metal bogies, but is still a relatively simple kit to put together. With a little time and effort, a great wagon which some presence can be achieved. I may well add another of these to my fleet at some point in the future.
Impressionist Models JNA's are available on the Intentio website along with Paul's other kits:
www.intentio.shop/
Impressionist Models JNA's are available on the Intentio website along with Paul's other kits:
www.intentio.shop/
|
|