Intentio LNER Type D Hut
Intentio specialise in a range of replica model buildings with an emphasis on railway architecture made from laser cut MDF, Ply, and card. In addition to this they offer a bespoke service to design and create scale buildings to your specifications
Here we build and paint their LNER Type 'D' Hut which is available from their website and at shows.
Here we build and paint their LNER Type 'D' Hut which is available from their website and at shows.
Out of the Box
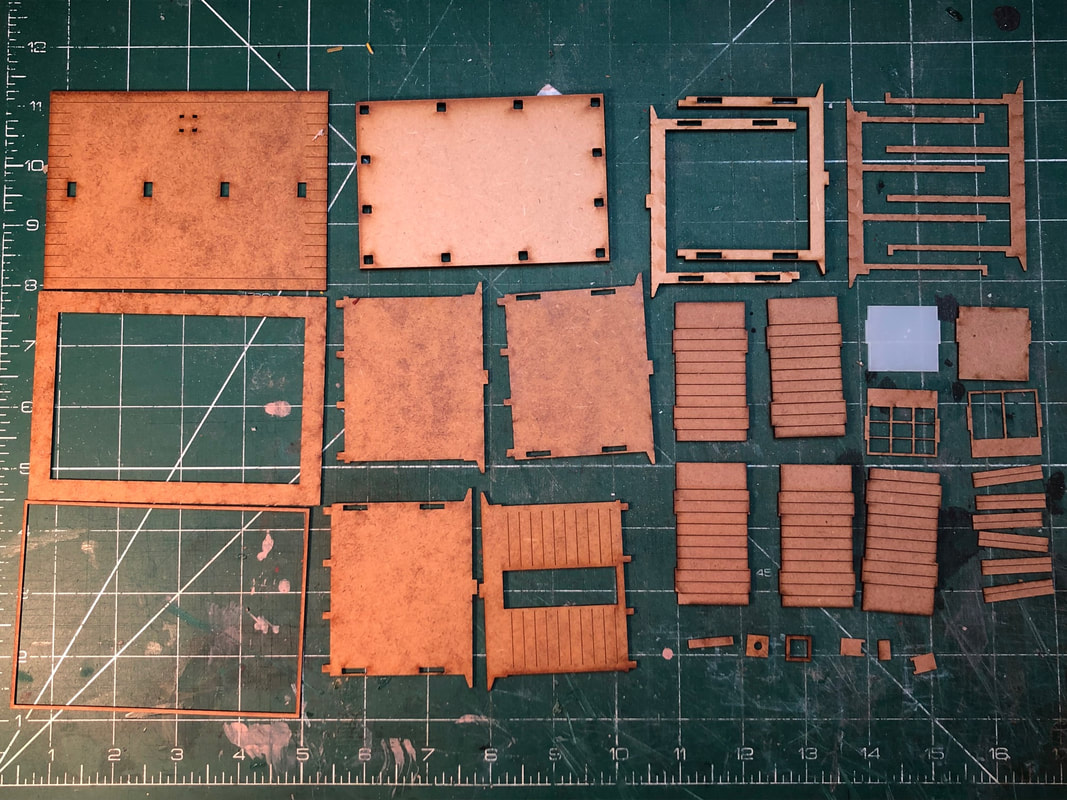
As ever first thing I usually do is to lay out all the parts and check everything is there. This kit does not come with instructions or a parts list however they are available on the website. With a picture of the made up kit to had I made a dry run slotting all the bits where they appeared to go, at this stage it looks like I have everything needed to put the kit together. All that is really needed to put this kit together is glue and paint, my chosen glue for card & wood based kits these days is ‘Gorilla Wood Glue’ which can usually be picked up from Aldi for a reasonable price.
|
|
Build
|
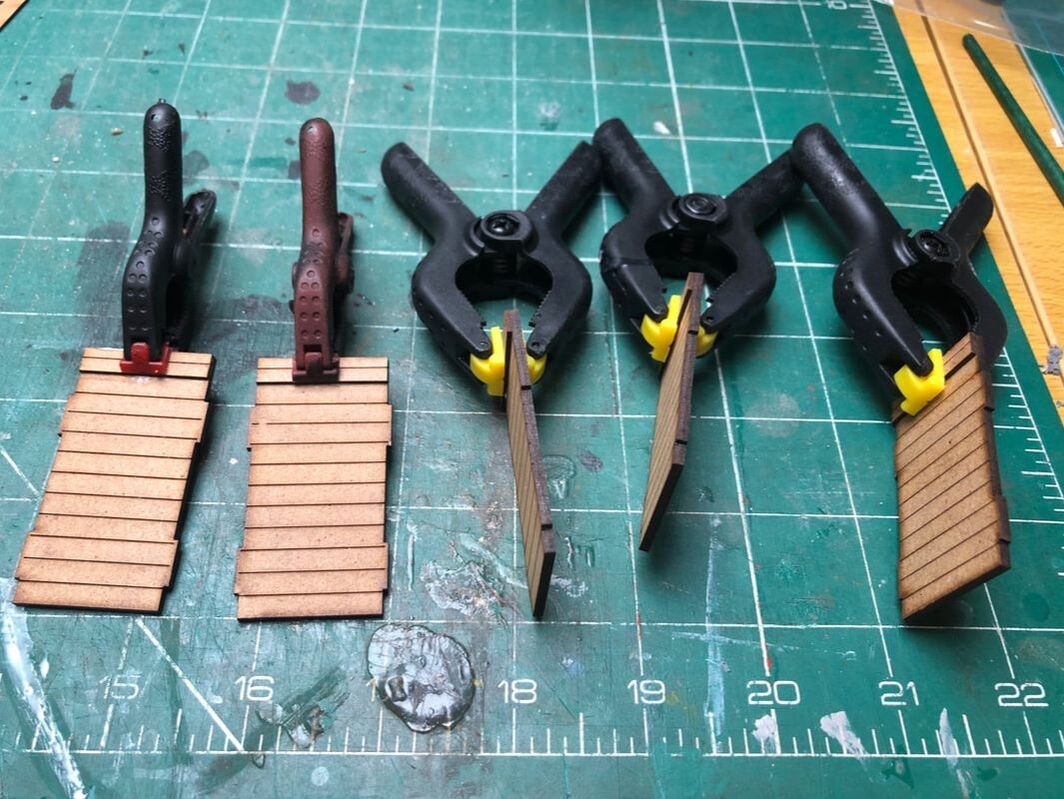
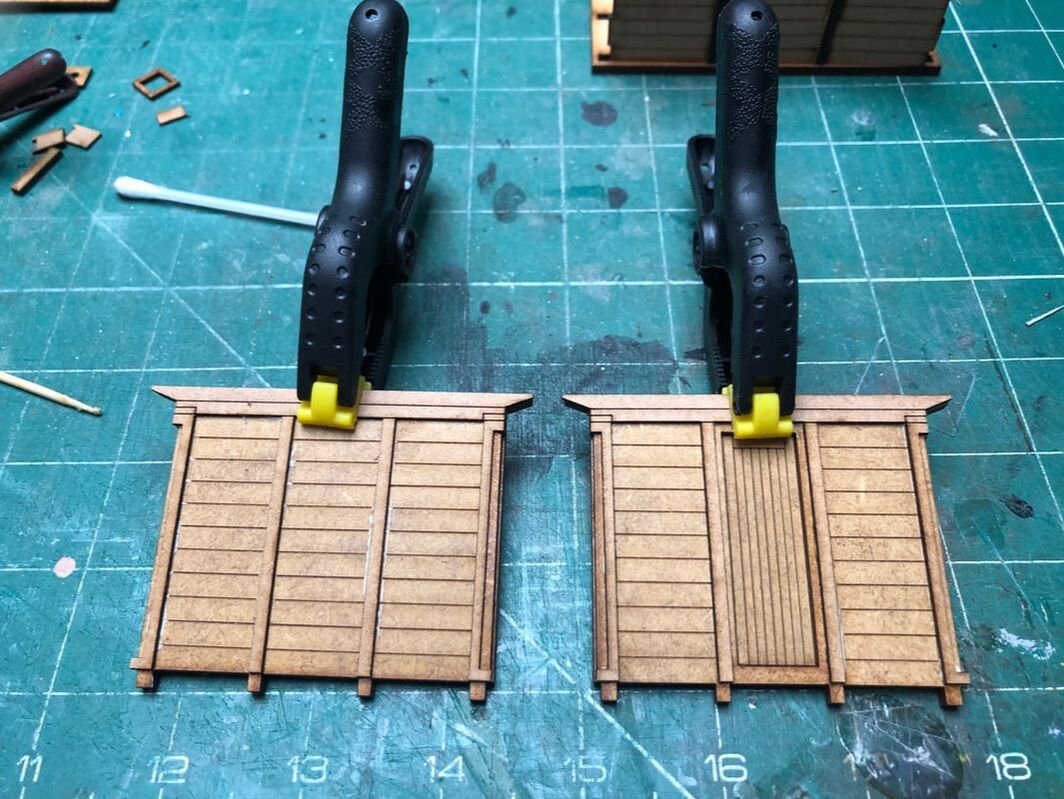
After assessing how the parts go together during my dry run I decided that it would make sense to make the panels up separately so they could be clamped together to dry rather than having to stick pieces to already formed walls. Aldi often have multi packs of clamps for a sensible price, which reminds me I need to keep an eye out for another pack.
|
|
|
|
|
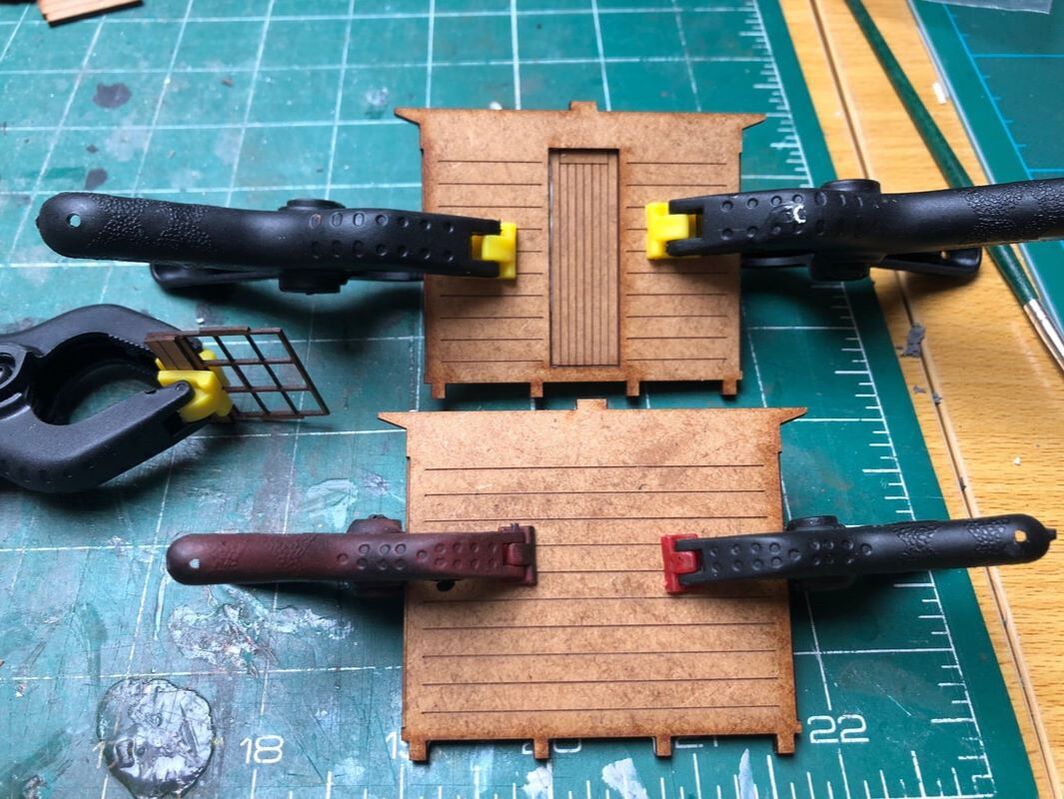
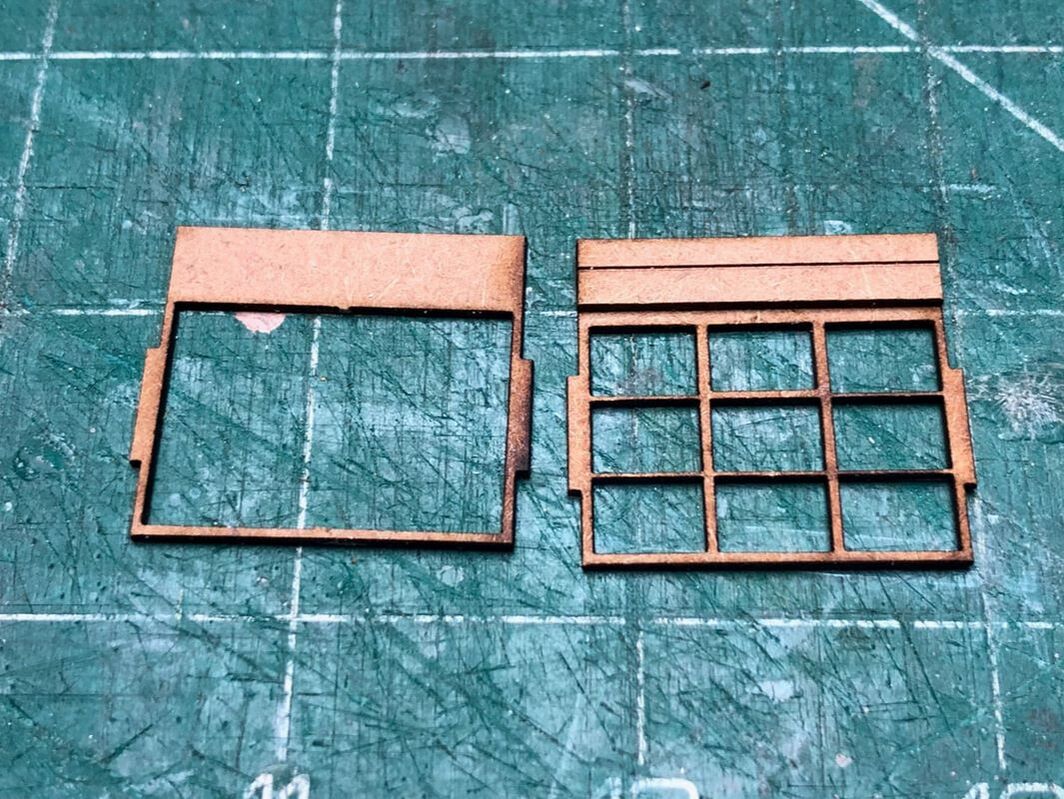
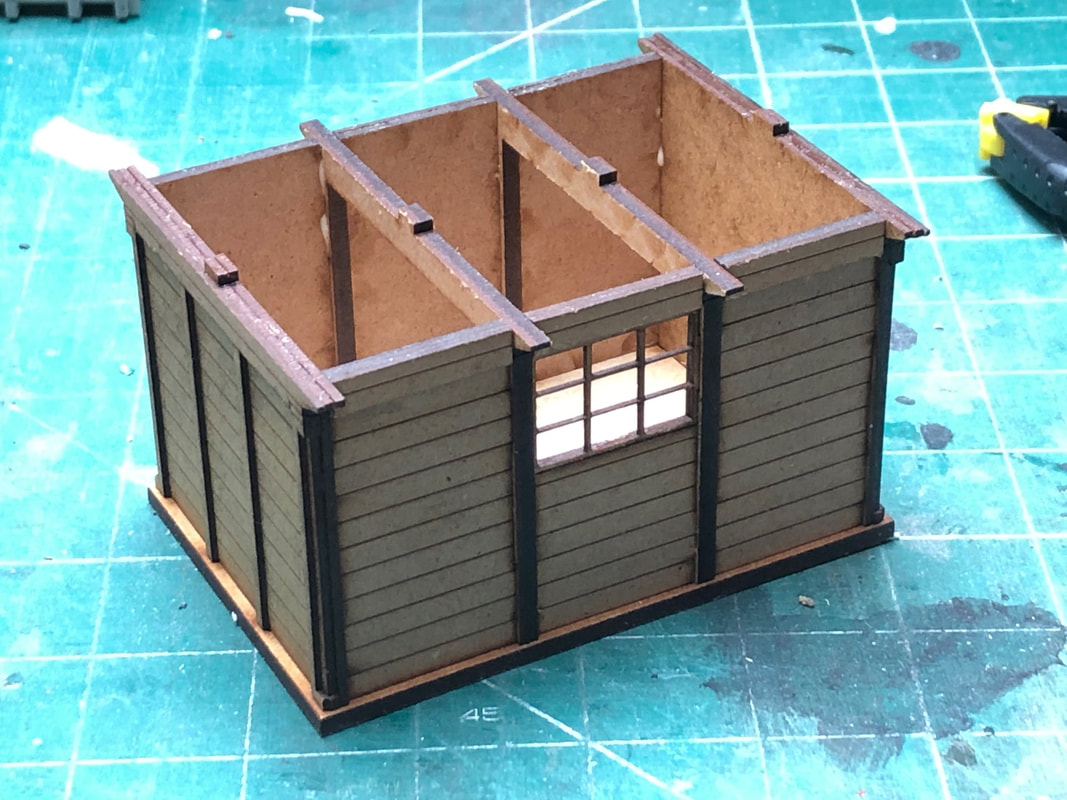
You get two different styles of window in the kit, one with two panels and one with nine along with a piece of glazing. The intention here is that one window and the glazing piece make up the panel in the middle of the side wall, however thinking ahead I wondered how best to paint the kit once complete with the glazing installed. I decided to use both windows to make up the panel and cut a new piece of glazing to fill the aperture once painted. To do this I cut the window bar in the two panel window to use vice the glazing during the build. You could of course do this the other way round if you wanted a two pane window.
|
|
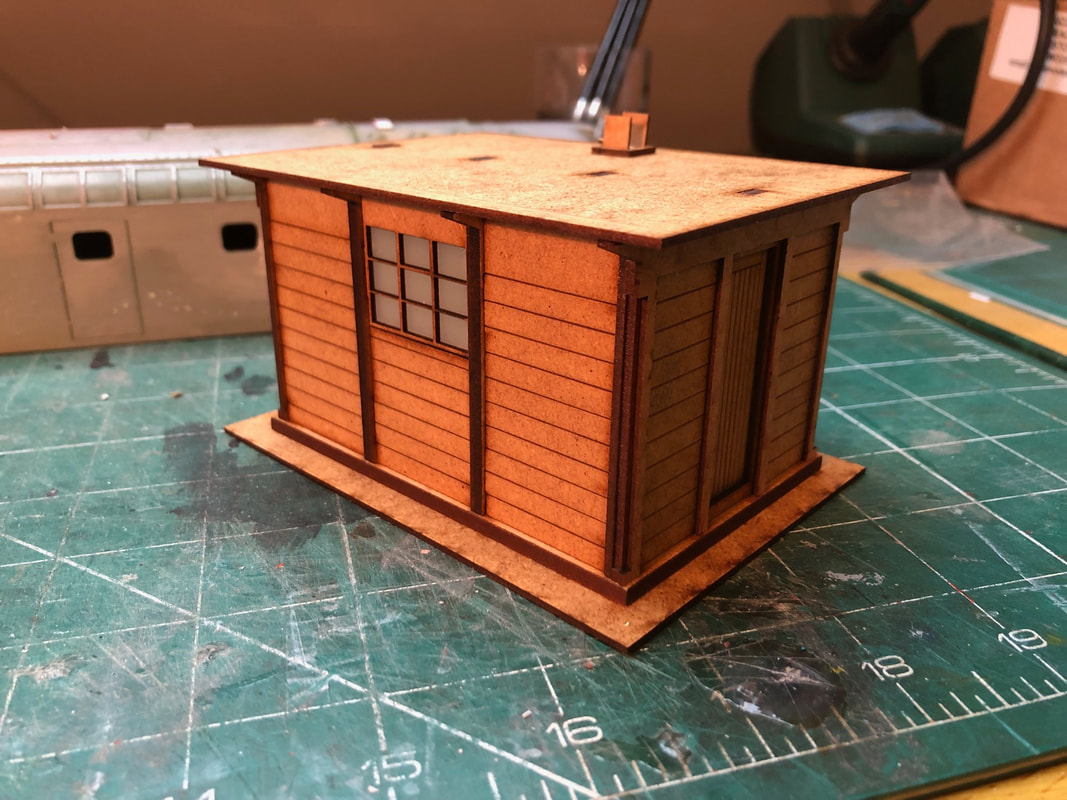
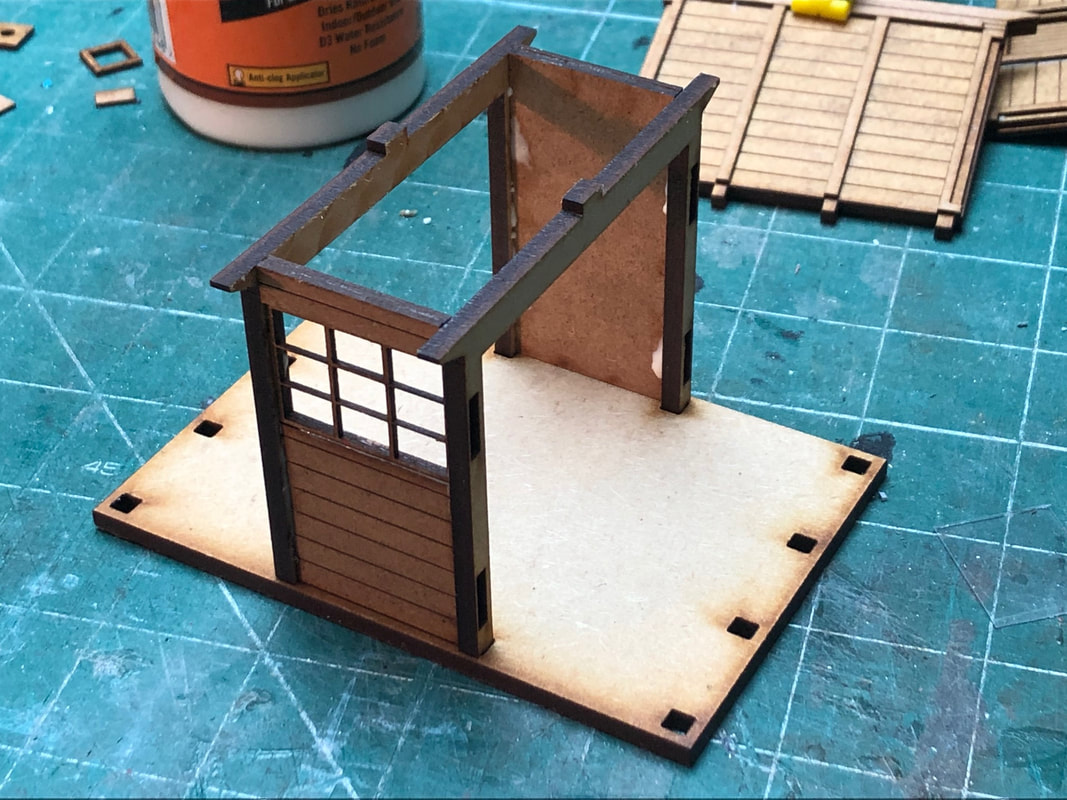
Once all the panels were dry I set about building the walls. At this point I figured it was best NOT to stick the walls to the base so that I could lift each piece out slightly to stick the next wall section. Starting from the centre I fitted a wall section and the window panels to the two centre supports, locating them in the base to keep them square, but only glued to each other, not the base.
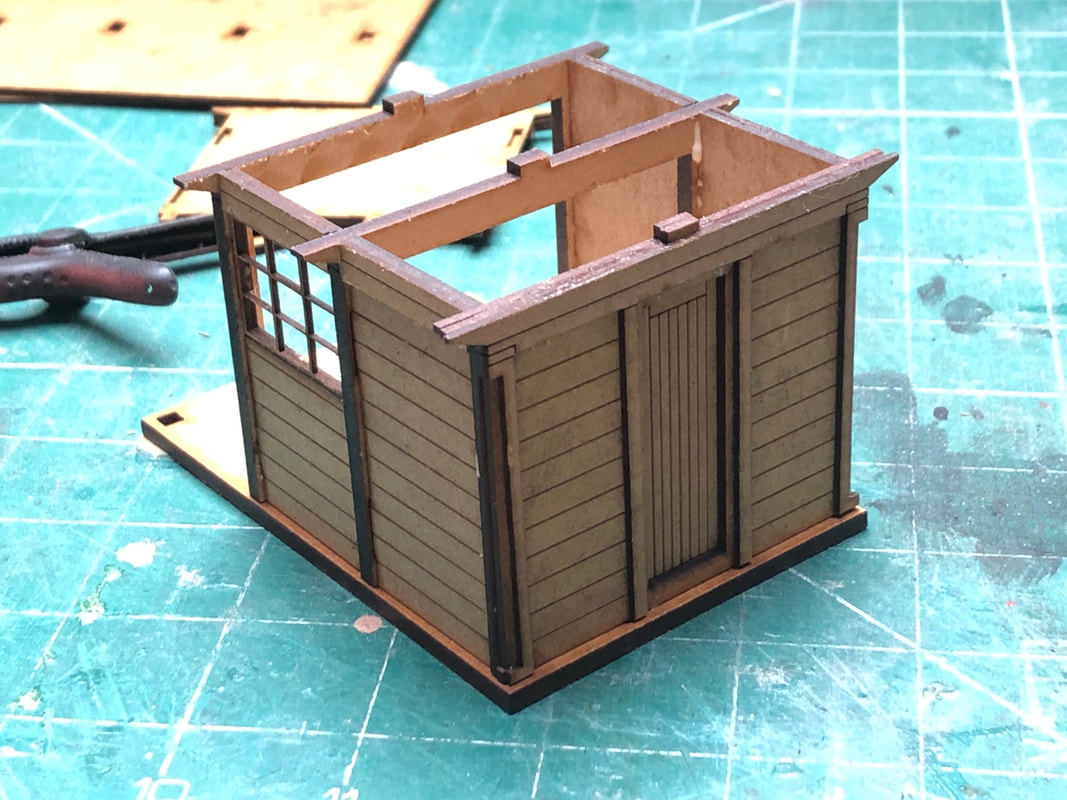
When this had set I fitted the next two panels and the door end, this is where not gluing to the base comes in handy, you can lift the centre section out then once glued drop the assembly back into the base. Again, once set I fitted the last of the side walls and the other end. At this point gluing the whole assemble to the base. |
|
|
|
|
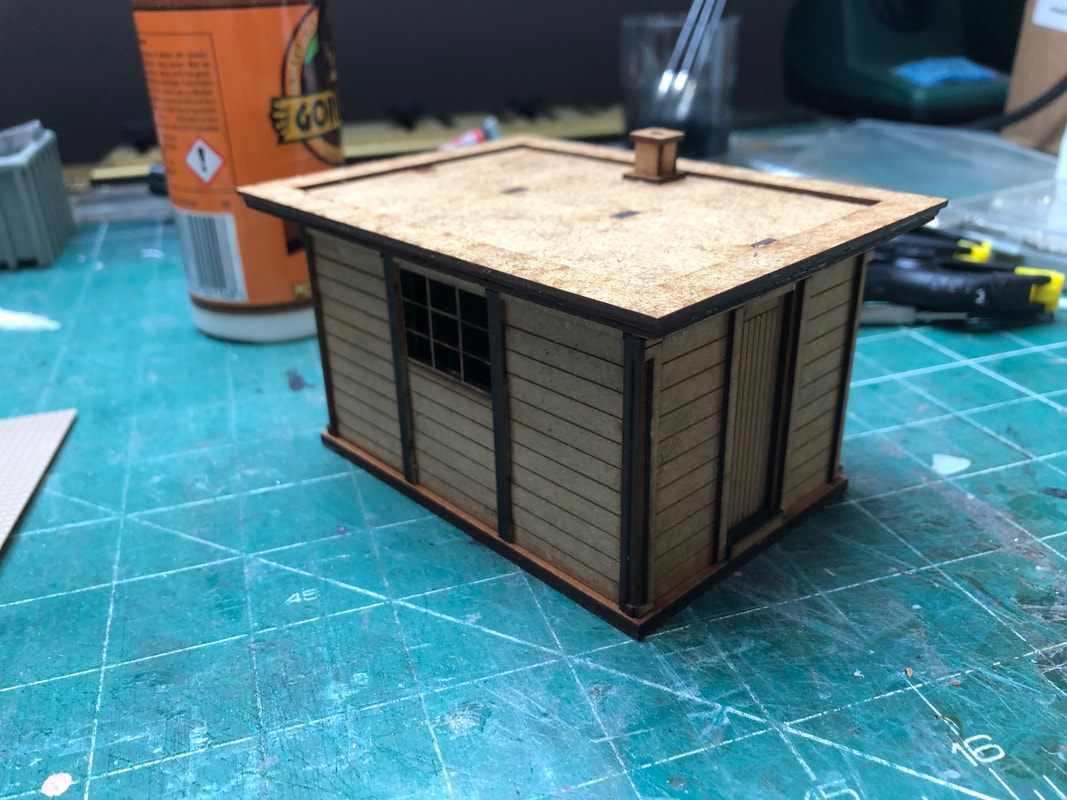
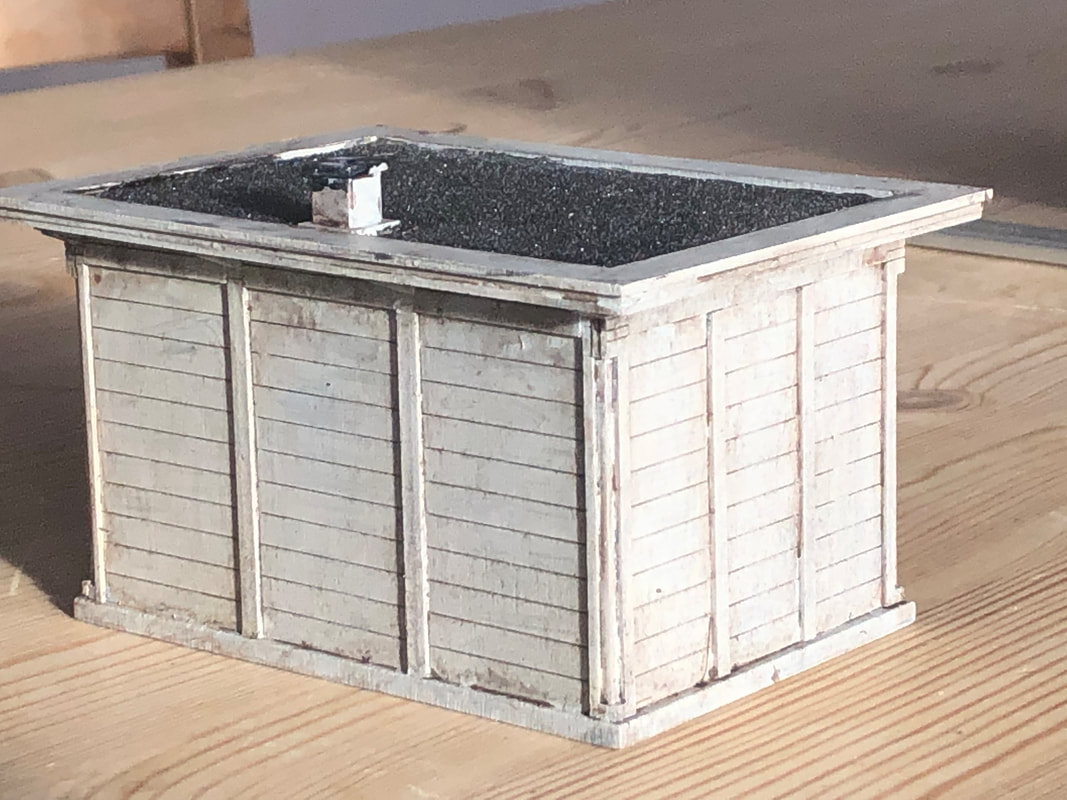
I completely forgot to take a picture of the three layers of the roof that go together, so here is the last one before paint with the Chimney complete and the roof on. I have deliberately left the roof loose so that I can a) glaze the window once painted, & b) potentially build an interior and maybe even light it up
|
Paint & Final Finishing
|
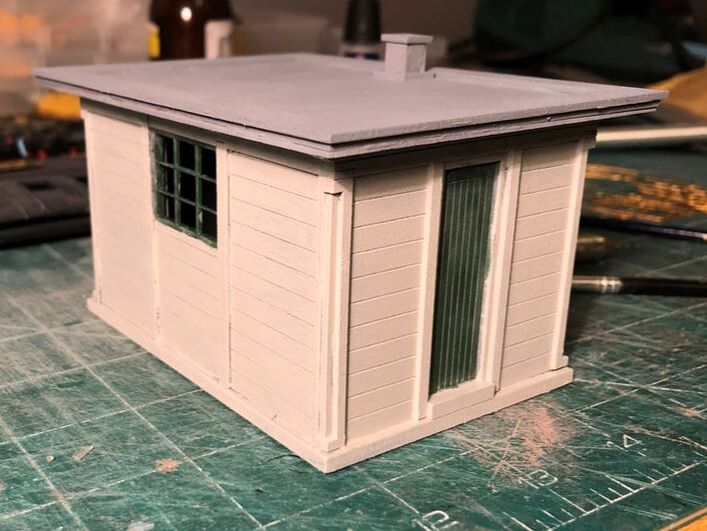
Initially the whole building was give a coat of Halfods Grey primer followed by a couple of coats of Humbrol 166 (Light Aircraft Grey) with the door and window frame picked out in Humbrol Matt 30. The roof had a sheet of 120 grit sand paper cut out and glued down followed with a coat of matt black.
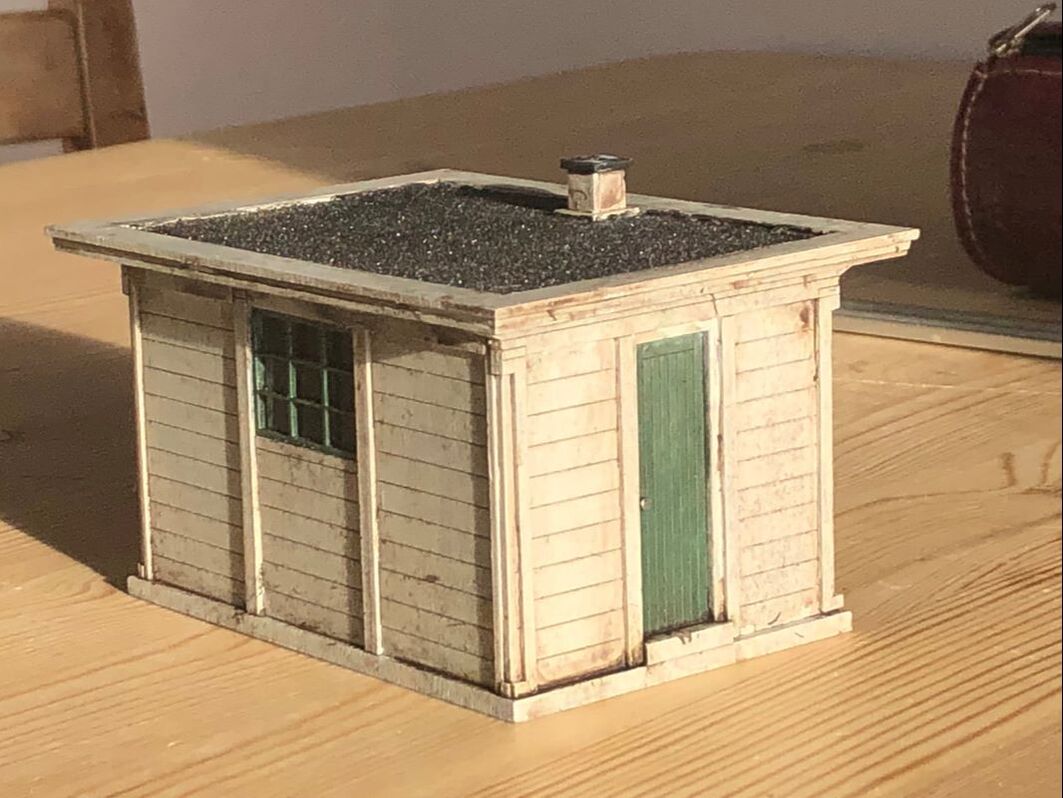
The door handle has been represented with a cut down pin, a 1mm hole drilled through the door then tapped in place and the window glazed with a piece of clear plastic cut from a packet. The kit does come with glazing, but has you'll have read further up I intended replacing this so I didn't have to glaze the kit before painting it. Lastly the whole building has been subject to a number of washes to weather it down and pick out some of the detail. Firstly the dirty water from my paint brush cleaning pot and subsequent coats of various Games Workshop washes found in my weathering stash. |
|
|
|
Conclusion
Although this kit comes without instructions (they are available from the website) it is very simple and with a picture of the completed kit to hand easy to put together. A little forethought as to what order to put the kit together is helpful and putting the panels together first I think is a good move as you can keep them flat or clamp them until set. All in all the build of this kit probably took under an hour of actual build time (with setting time in between).
The Intentio LNER Type D Concrete Hut can be bought from the Intentio website here along with numerous other kits and bits: http://intentio.co.uk/
The Intentio LNER Type D Concrete Hut can be bought from the Intentio website here along with numerous other kits and bits: http://intentio.co.uk/