Northumbrian Painting Services Warehouse/Supermarket
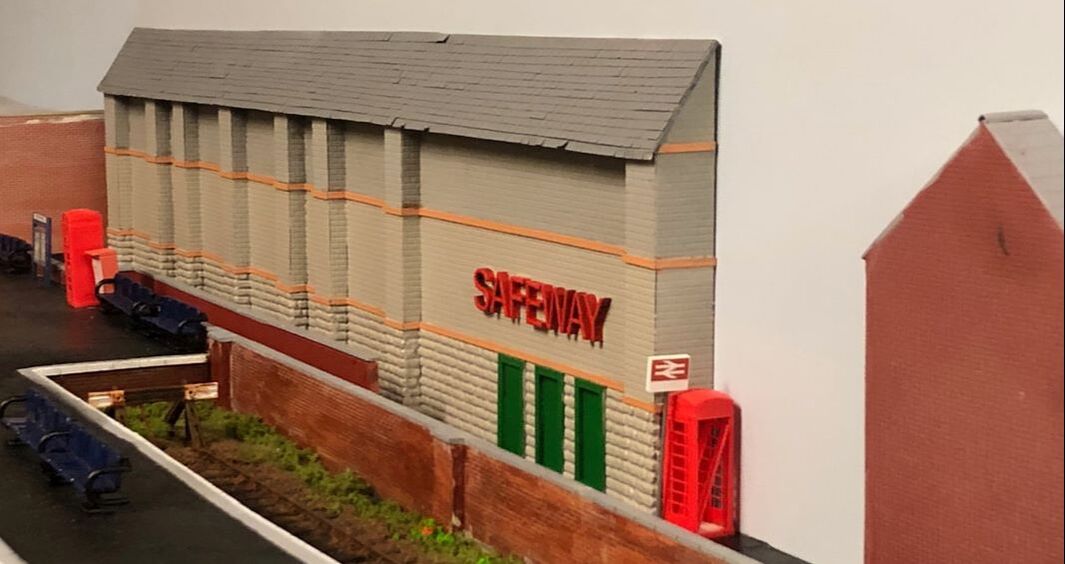
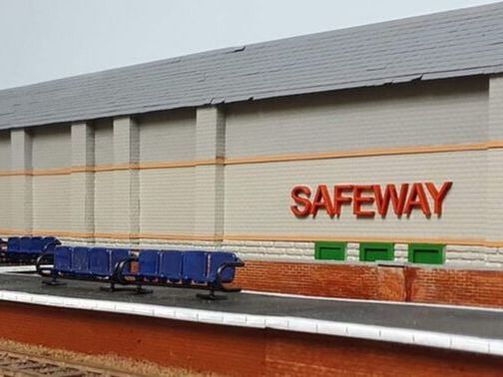
While Cameron and I were working on Russel Street we needed some low relief buildings to give some relief to the back scene. I built some Terrace house ends but felt that too many would be overkill, what we needed was something different. We tried a couple of items we had in stock but nothing looked right or fitted very well, I suggested what we needed was something along the lines of a supermarket, something like the Morrisons (formerly Safeway) situated beside Fort William Station at the end of the WHL in Scotland. I have fond memories of arriving at Fort William on 1B01 and diving across to the supermarket for a full breakfast before wasting the day away with a trip to Mallaig on the Jacobite or a ride back towards Glasgow to photograph any freight which was running then and heading back South on 1Y11 to Edinburgh only to do it all again the following day! A chance conversation with Rob & Michelle (of NPS) at Telford led to a few emails back and forth and a kit of parts turning up for me to build.
|
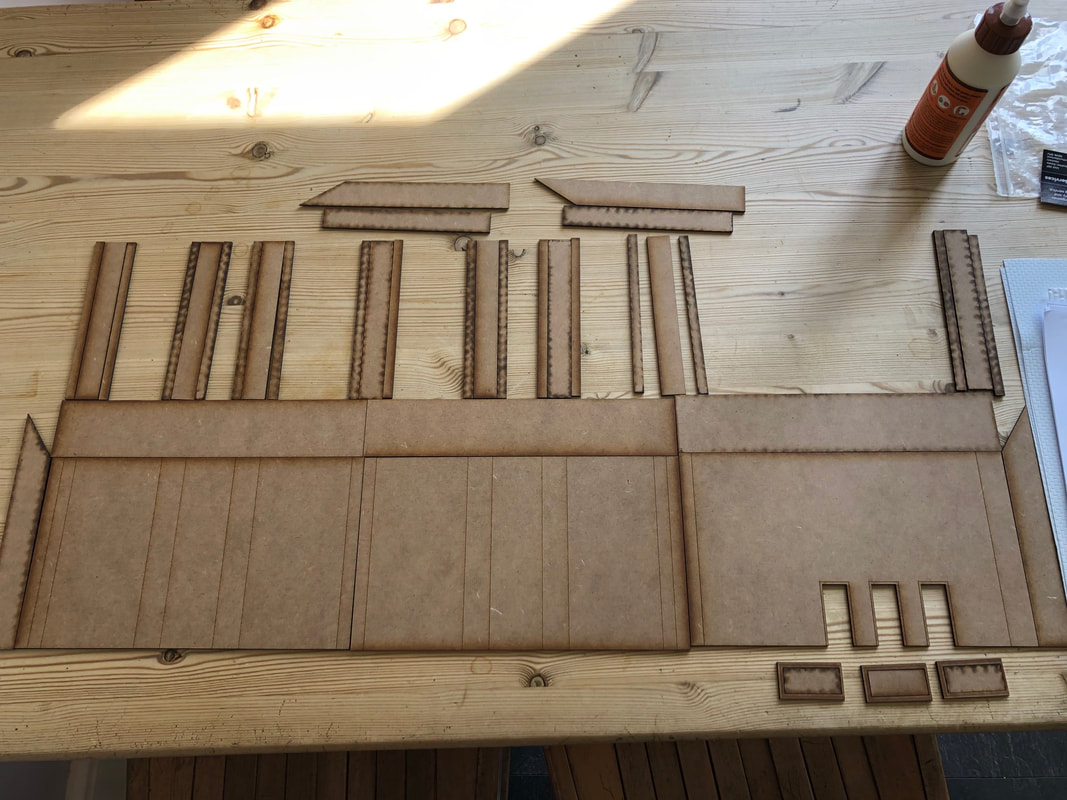
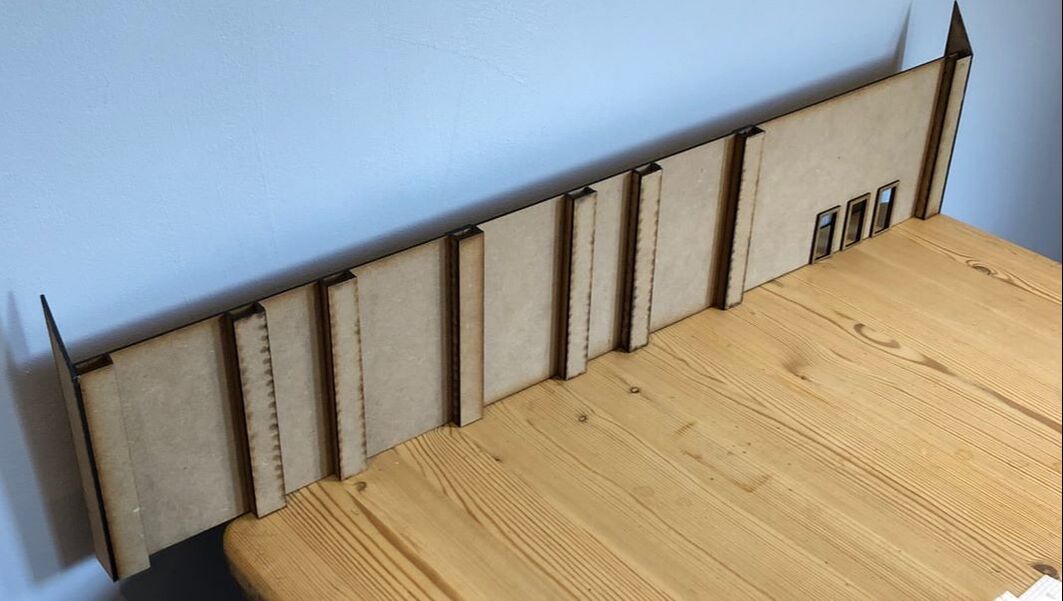
The parts they sent me included multiple laser cut wooden bits for the walls, roof, ends and buttresses along with plastic sheet of two different types of brick (Blockwork & Stone) to face the building.
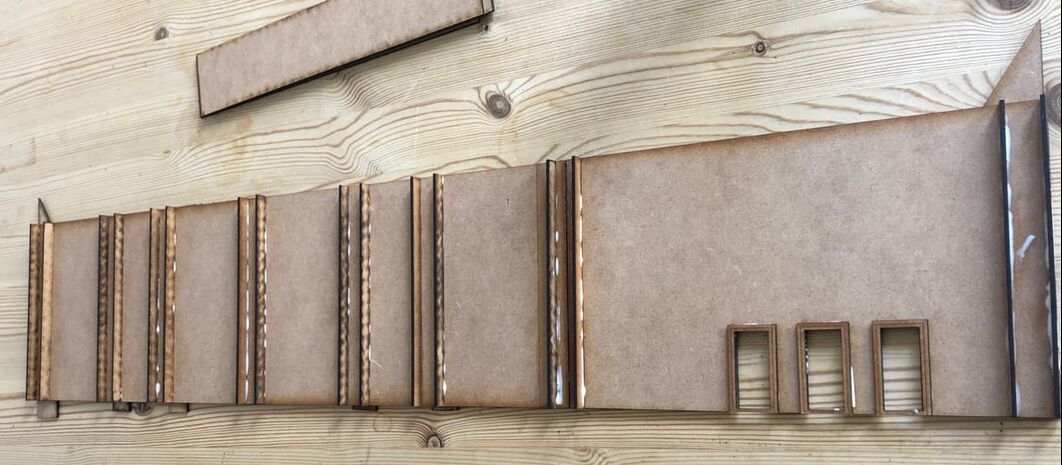
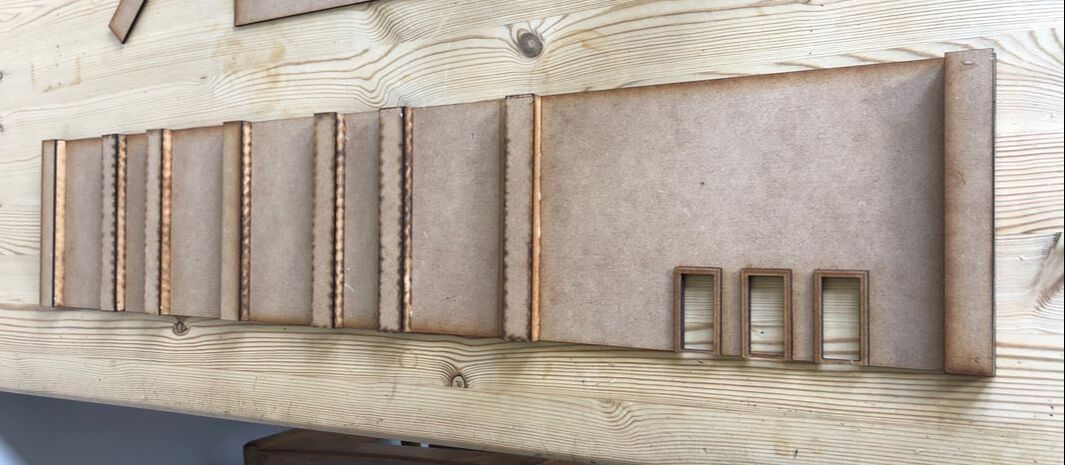
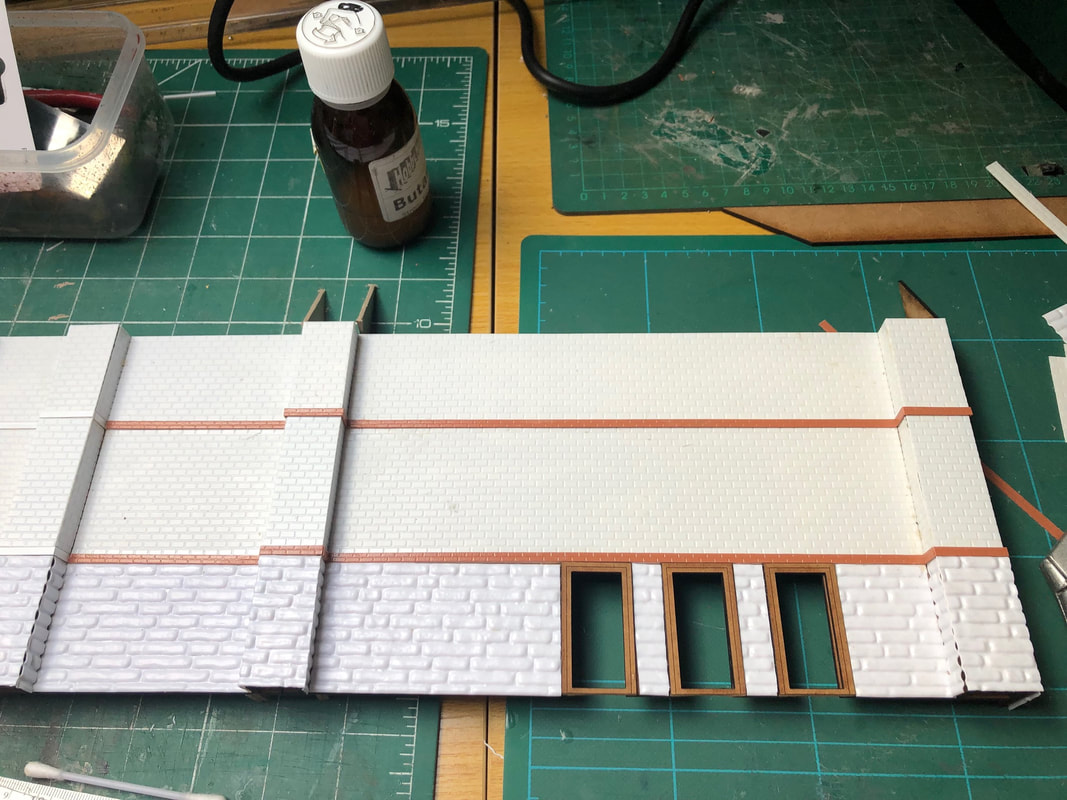
First up I laid out the front wall of the building (three parts) and fixed them together with a piece provided to overlap the joins, then built up the buttresses and the door frames provided. |
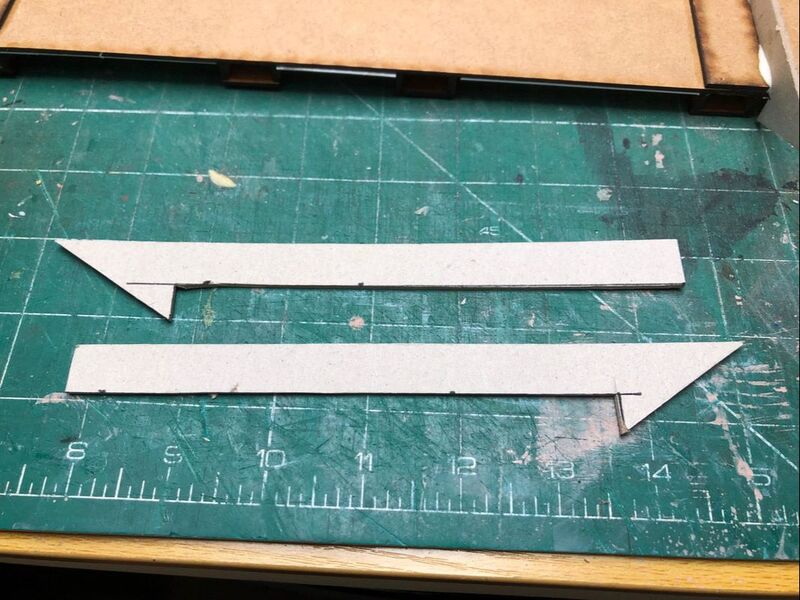
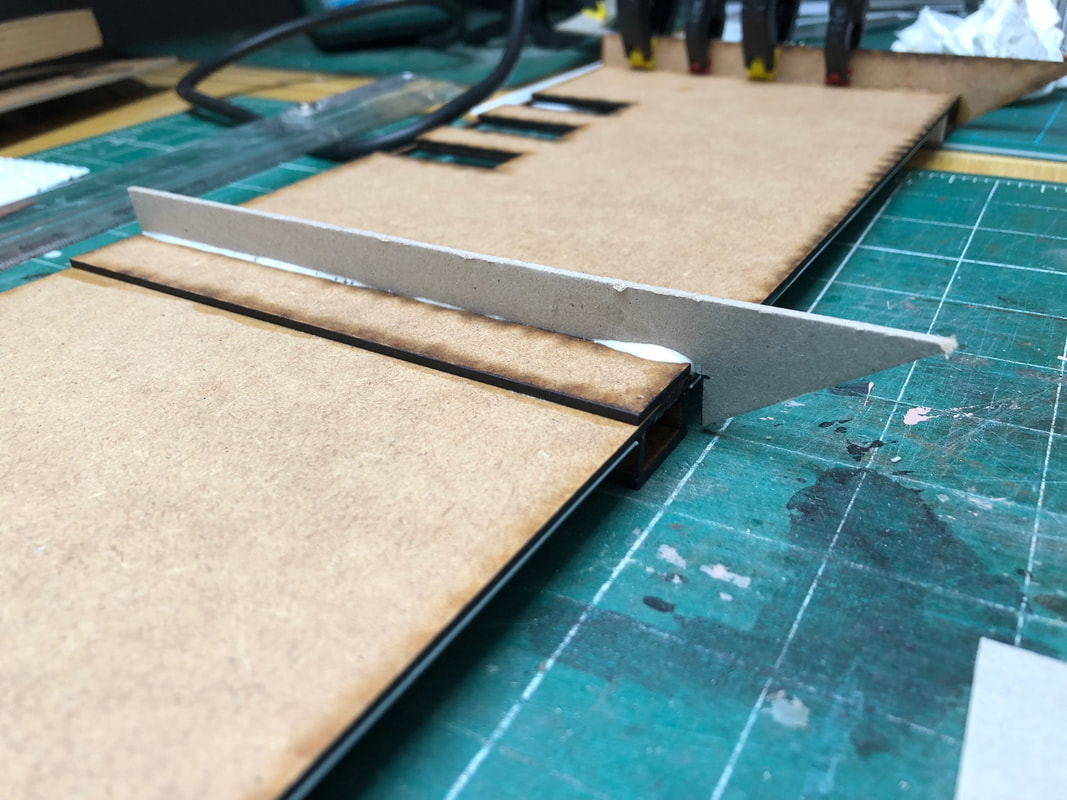
The kit of parts provided four supports for the roof to go behind the main front wall, on looking at this I realised that by working to the instructions I would a) end up with the buttresses sticking out from under the roof and b) would only be able to support two out of three of the roof pieces (keep in mind this kit was a test build and subject to change). I affixed two of the supports at each end of the structure with the front flush with the front of the end buttresses, the other two supports went into the spares box but not before using them as a template to cut 4x card support with a cut out to enable the roof to overhang the buttresses all along the building.
Cladding
|
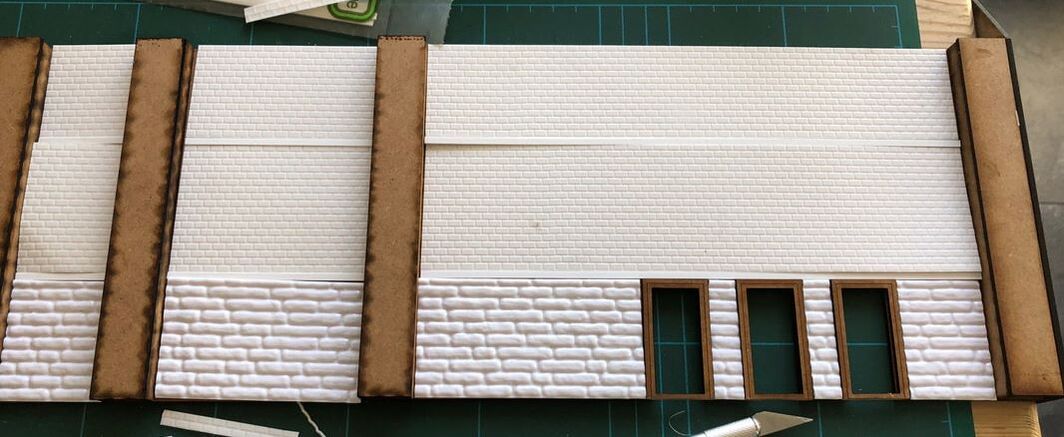
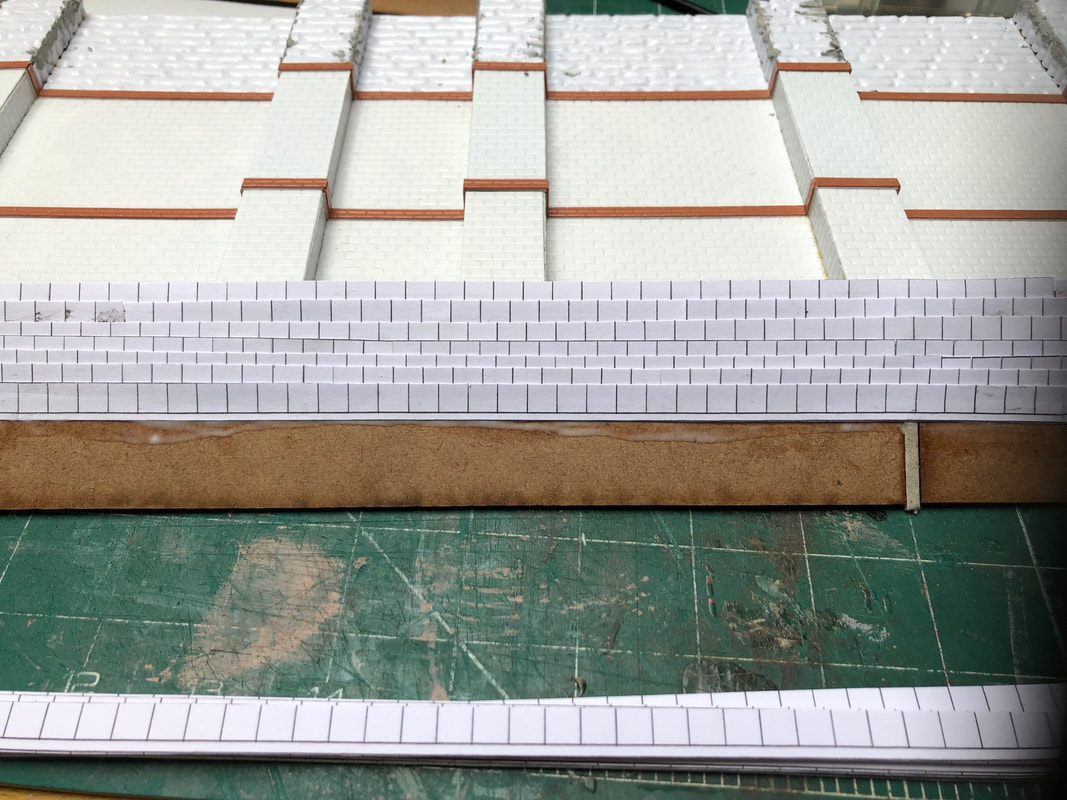
With the shell of the building now complete it was now time to clad the structure. There is no hard and fast rule as to how to do this so with the help of trawl of Flickr.com for some pictures taken at Fort William of 37’s stabled in the sidings on the sleeper stock, I laid out the stone and brick sheets to work out what split of brick would look best.
So working from the bottom of the structure I decided that the Stonework should come up to the top of the door frames which ended up being 9 1/2 courses ensuring the top course was a full height stone. Next I wanted to insert two courses of Slaters 7mm brick (just a standard brickwork) so used some 2.5 mm strip I had in stock so that this would be slightly raised, if I was to do this again I wouldn’t bother breaking up the blockwork with strip and simply laminate the two courses of brick on top. After 18 courses of blocks I added another strip to split this up again, 15 courses of block later I’d reached the roof. |
|
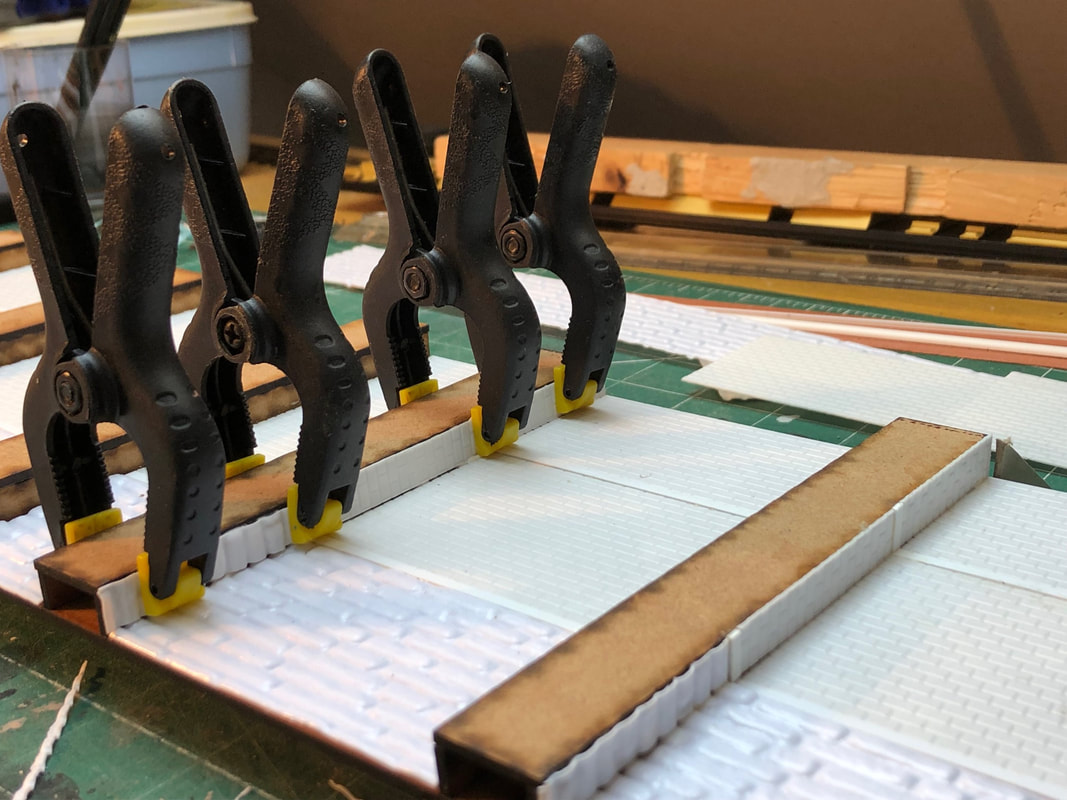
Now that I had worked out the number of courses for each type of brick it was time to start cutting up plasticard and laminating it to the wooded sub structure. I figured the best way of approaching this was to do the main wall fronts first, followed by the sides of the buttresses and finally the buttress fronts, this was to ensure any overlapping would hide rather than expose any gaps in my work! Something to weigh down the cladding on to the face of the structure and clamps come in handy here.
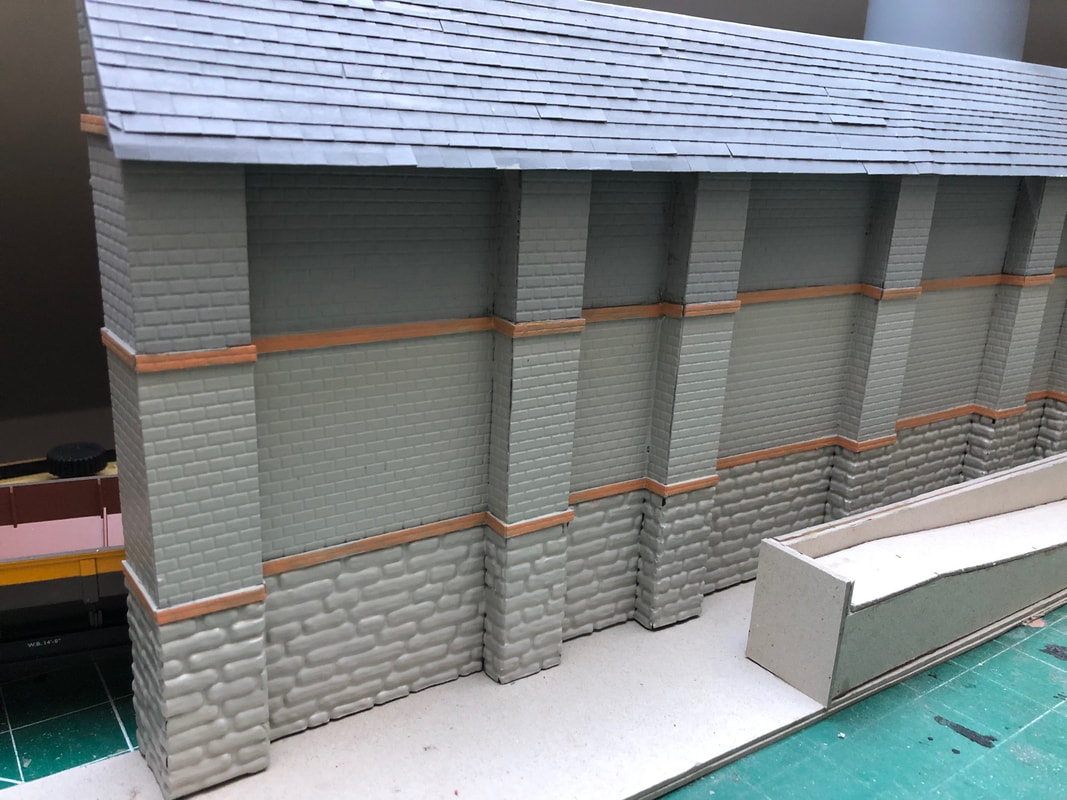
Once all the main cladding had dried, I set about coving the strip with 7mm Slater brick, two courses just to add some extra relief and detail. Rob also provided some sheets of printed roof tiles. These were cut into strips and then the individual tiles cut hallway down the marks. They were then affixed to the roof from the bottom up leaving a slight overhang, subsequent strips overlaid offset alternately with approximately half the tile showing bellow. This was my first attempt at using ‘individual’ tiles and although it was somewhat tedious and my work isn’t perfect the affect is far superior than just using a tile sheet. It looks like any further tiled building I will have to use the same method. Lastly due to the way the Stone sheet is vacuum formed you will inevitably end up with overlaps and gaps. I used filler in all the gaps then when dried with a round file and some fine sandpaper rubbed the stonework back and carefully opened out the pointing. |
Painting and Final Finishing
|
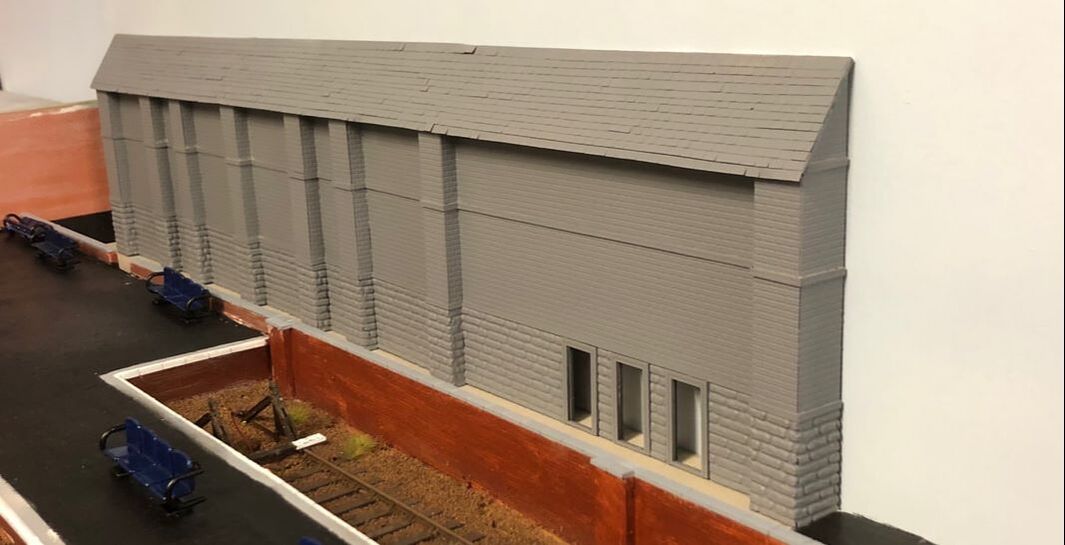
The whole structure was given a good coat of Halfords grey primer, in the end this was also used for the roof tiles (the colour looked ok so decided it didn’t need a top coat). It was then a case of what paints did I have to hand rather than go out and buy more for the rest of the building. Some of my paints must be over 20 years old from my days as a kid building various Aircraft and Formula One cars but with some thinners and a good stir, I managed to find some suitable colours. For the lower stone and lower courses of blockwork I used Humbrol 166 (Lt Aircraft Grey), the upper course of blockwork is Humbrol Matt 34 and finally Humbrol Matt 61 for the stirps of brick detailing. Doors (I assumed to be fire exits) were given a coat of Revell 36364 (Leaf Green) which appears to be a similar colour to that utilised by Safeway back in the 90’s.
|
|
Lastly, I needed a name, it was always going to be ‘Safeway’ but I needed some raised letters, transfers just weren’t going to cut it. I found some laser cut letters on ebay that looked to be suitable that were 20mm tall and cut from what appeared to be 2/3mm MDF, an order was dually placed with being received the following week. Once sprayed up red these were position on the building and glued down. They should really be lined in white but I’m afraid I don’t have the patience; I’ll maybe return to it another time.
|
I have to say a massive thank you to both Rob and Michelle form NPS for designing and providing the parts for this build and the assistance along the way. The building has turned out far better than we could have imagined. I may at some point return to it and add guttering and down pipes but it will serve its purpose very well for now.
NPS are looking to release this kit as a modular building in the new year so that you can build anything form a simple 1’ structure up to whatever size you need depending on the modules you purchase.
NPS are looking to release this kit as a modular building in the new year so that you can build anything form a simple 1’ structure up to whatever size you need depending on the modules you purchase.
Proudly powered by Weebly
